This post may contain affiliate links. Please read our disclosure policy.
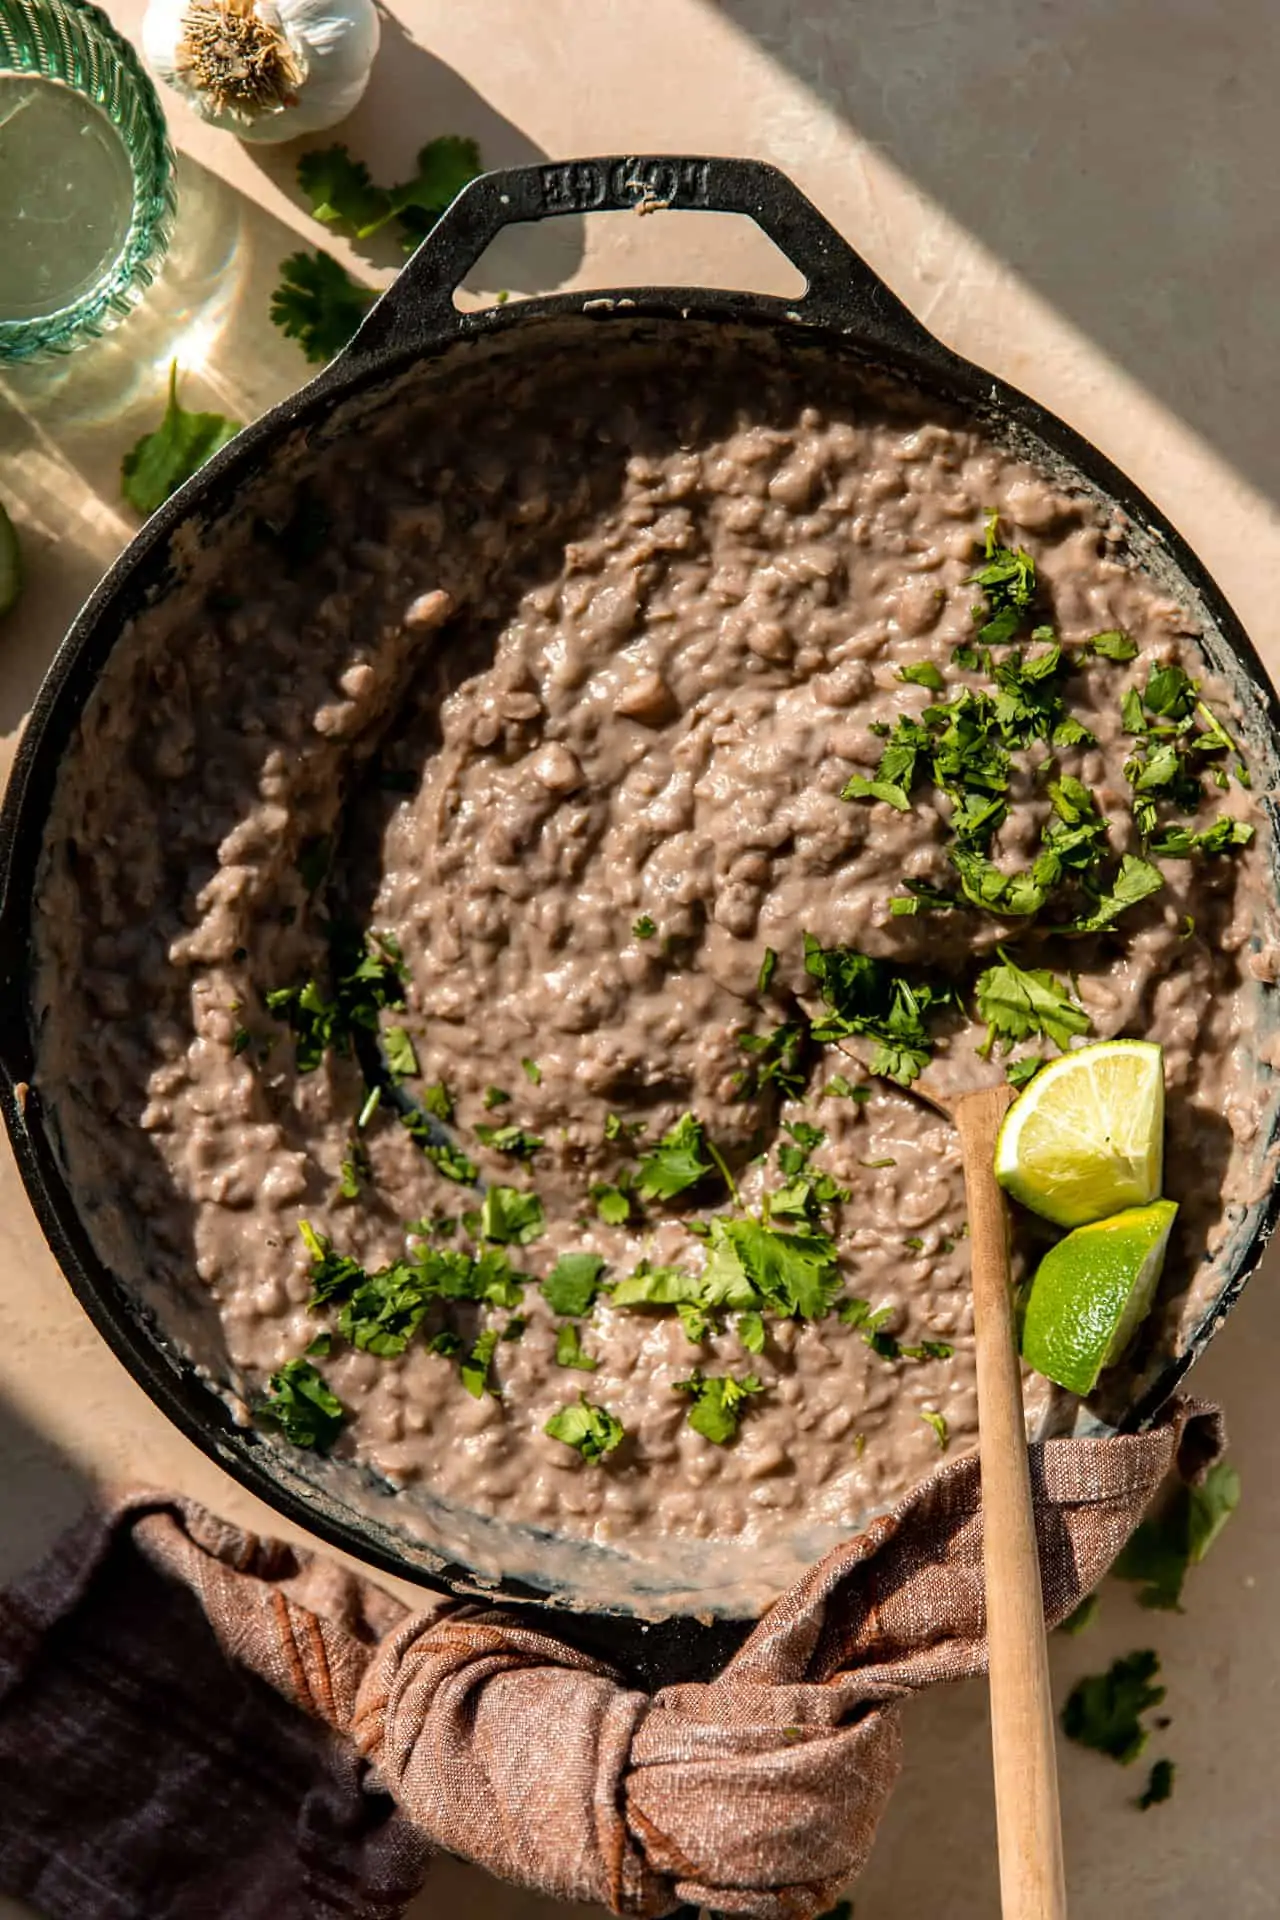
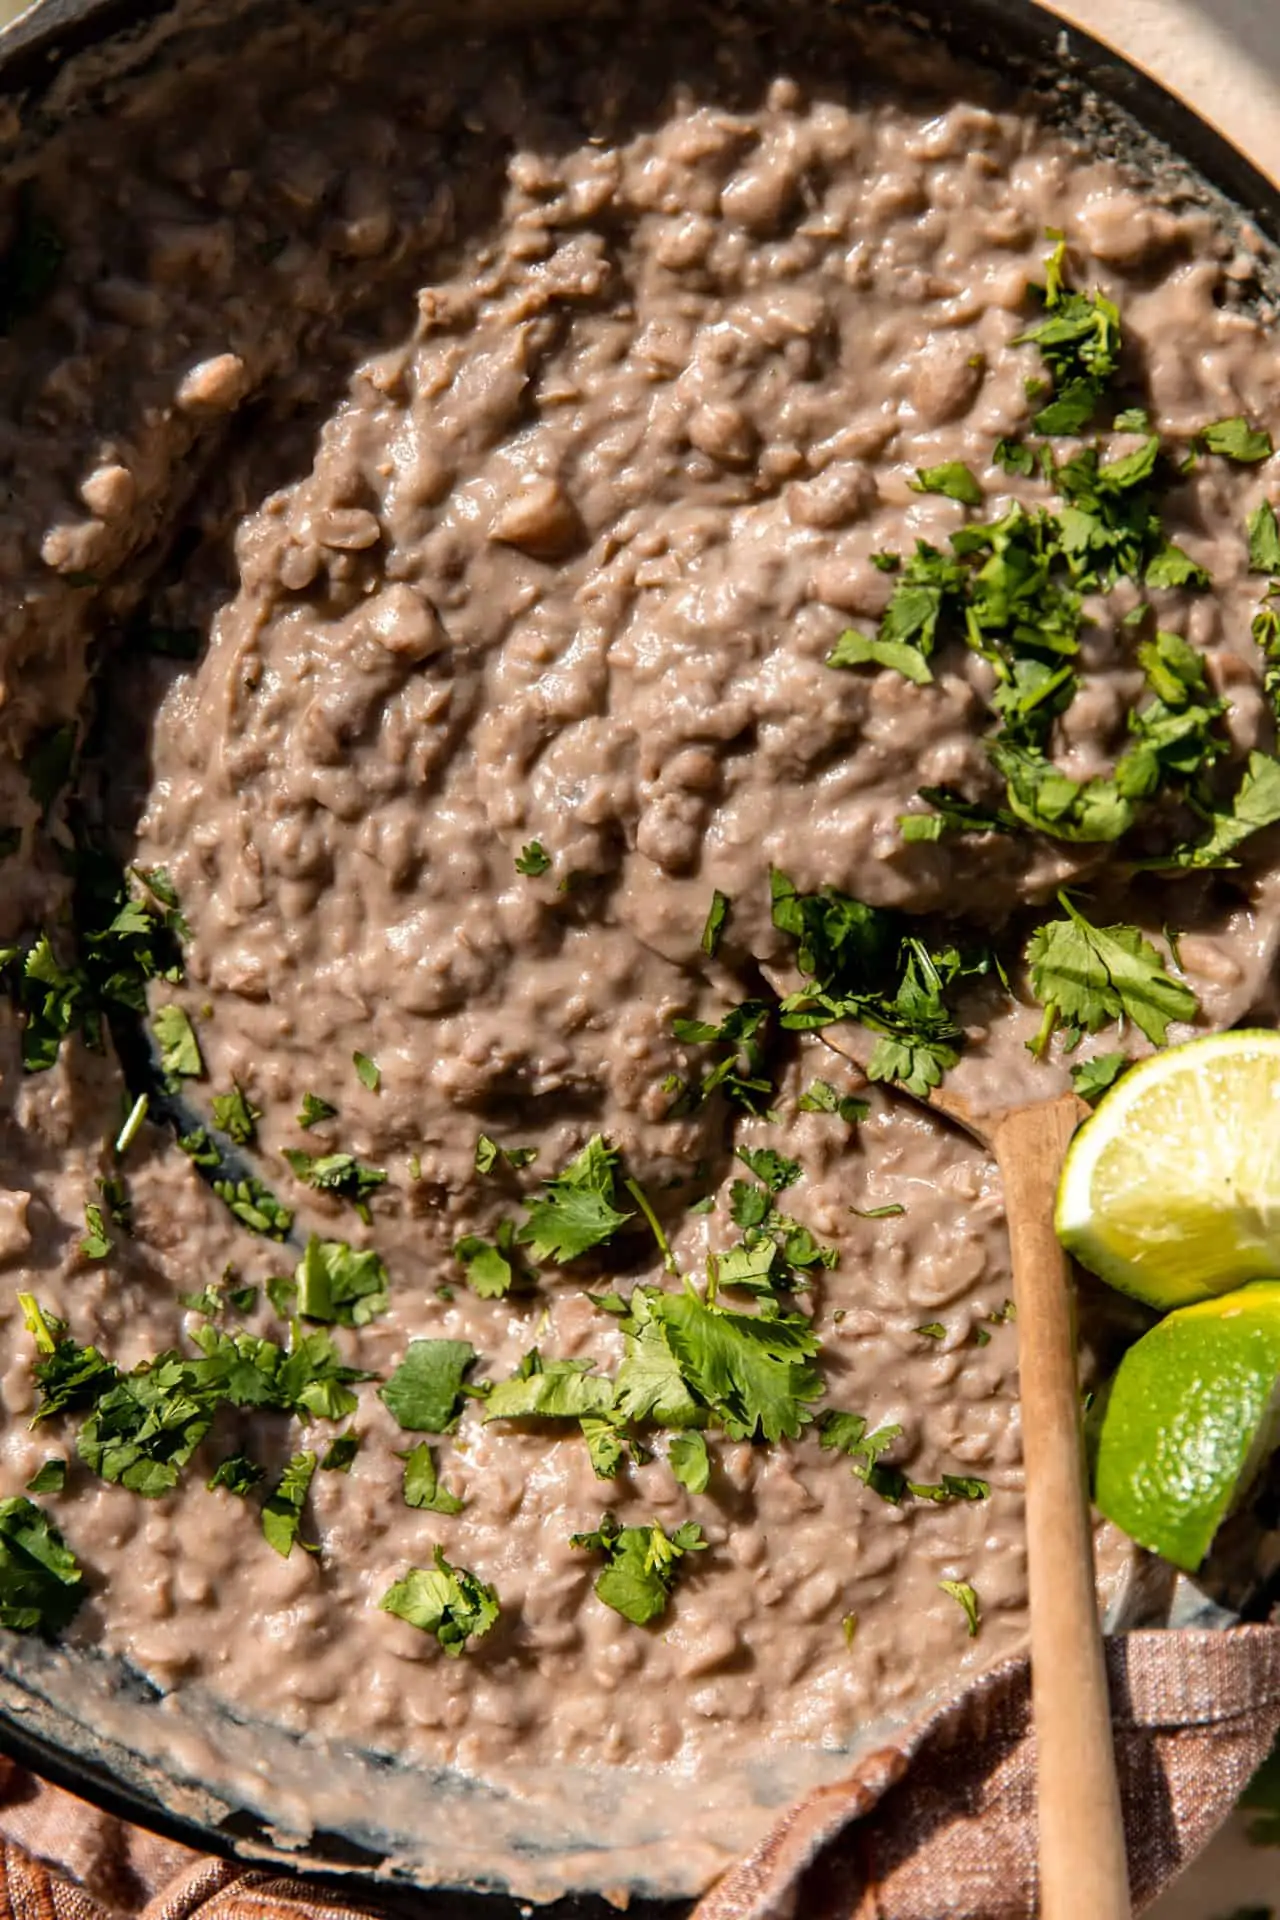
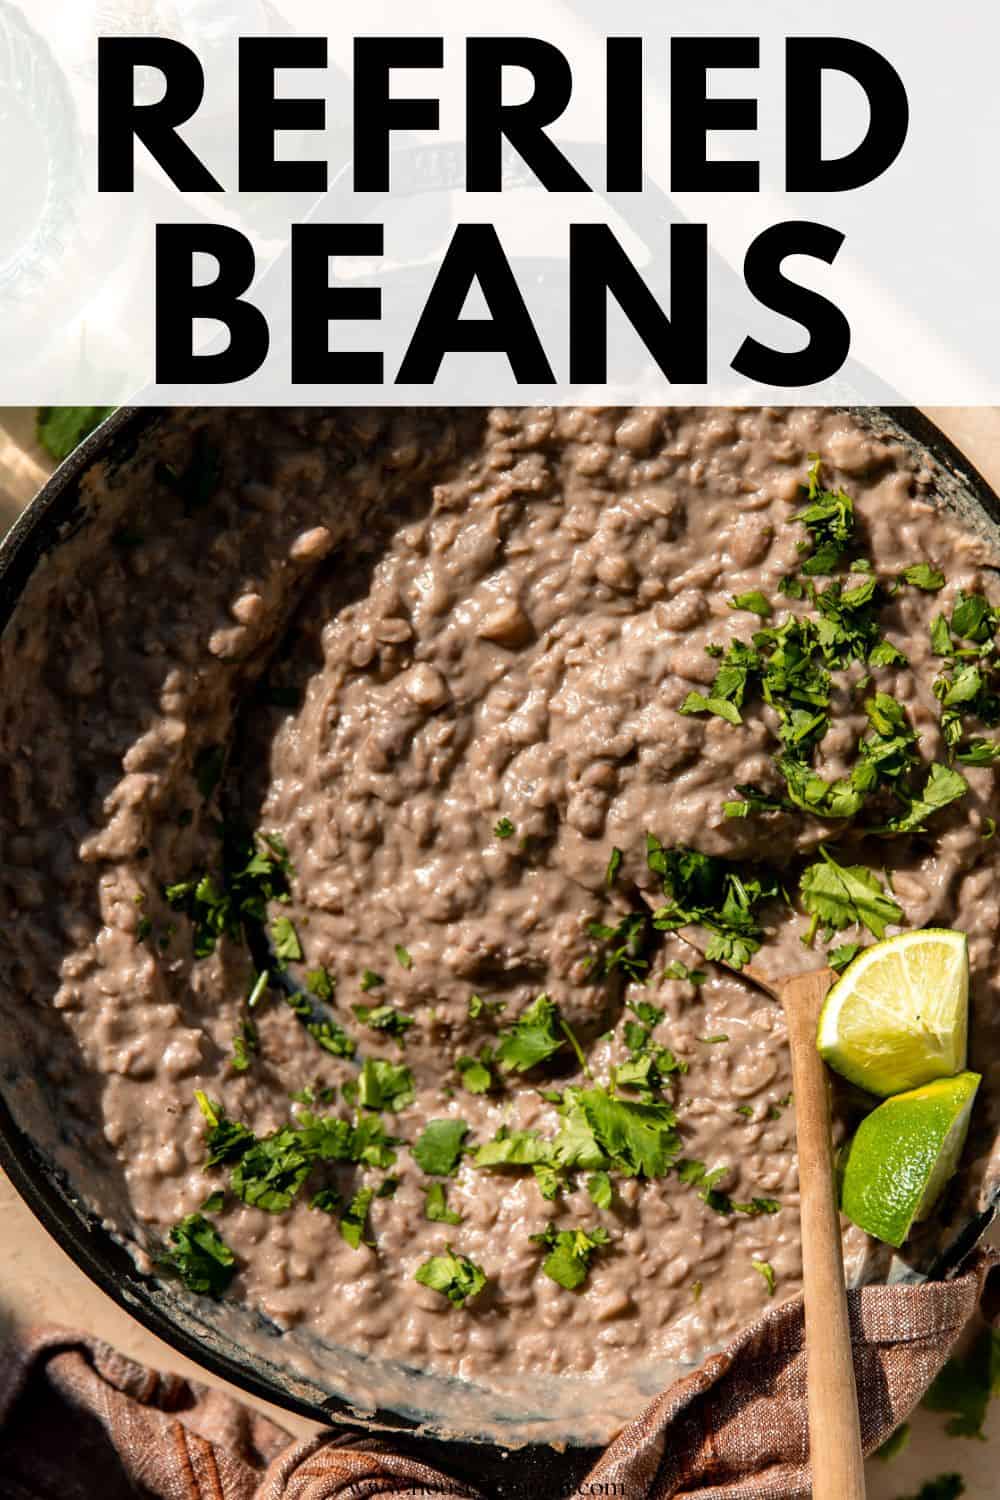
These simple Refried Beans are thick, creamy and powerfully flavorful with just a handful of ingredients. You will never want to eat the canned version again! This recipe has been passed through the Herrera family for generations and are guaranteed to become your new favorite recipe.
I love serving these refried beans alongside some homemade Mexican rice with our meals. Or using these in some Wet Burritos. Or even in some tacos with the best taco meat.
Why We Love these Refried Beans
- Simplicity: This is such a simple recipe, only a handful of ingredients are needed. Plus you can skip the frying step and still enjoy flavorful refried beans.
- Family Recipe: This is a recipe that has been made in the Herrera family for several generations. Perfected in it’s simplicity. One of the most common experiences is walking into Gramma’s home and seeing a large cast iron pan of refried beans simmering away on the stovetop.
- Customizable: thanks to how simple this recipe is, it’s easy to adjust and make your own. If you want a bit of heat add a dash of cayenne. Add more garlic, or more salt. Maybe you want a dash of cumin. But with this base recipe you can make it your own.
- Healthy Side dish: beans are full of fiber and are a great option for serving alongside all your favorite Tex Mex meals.
Ingredients & Substitutions
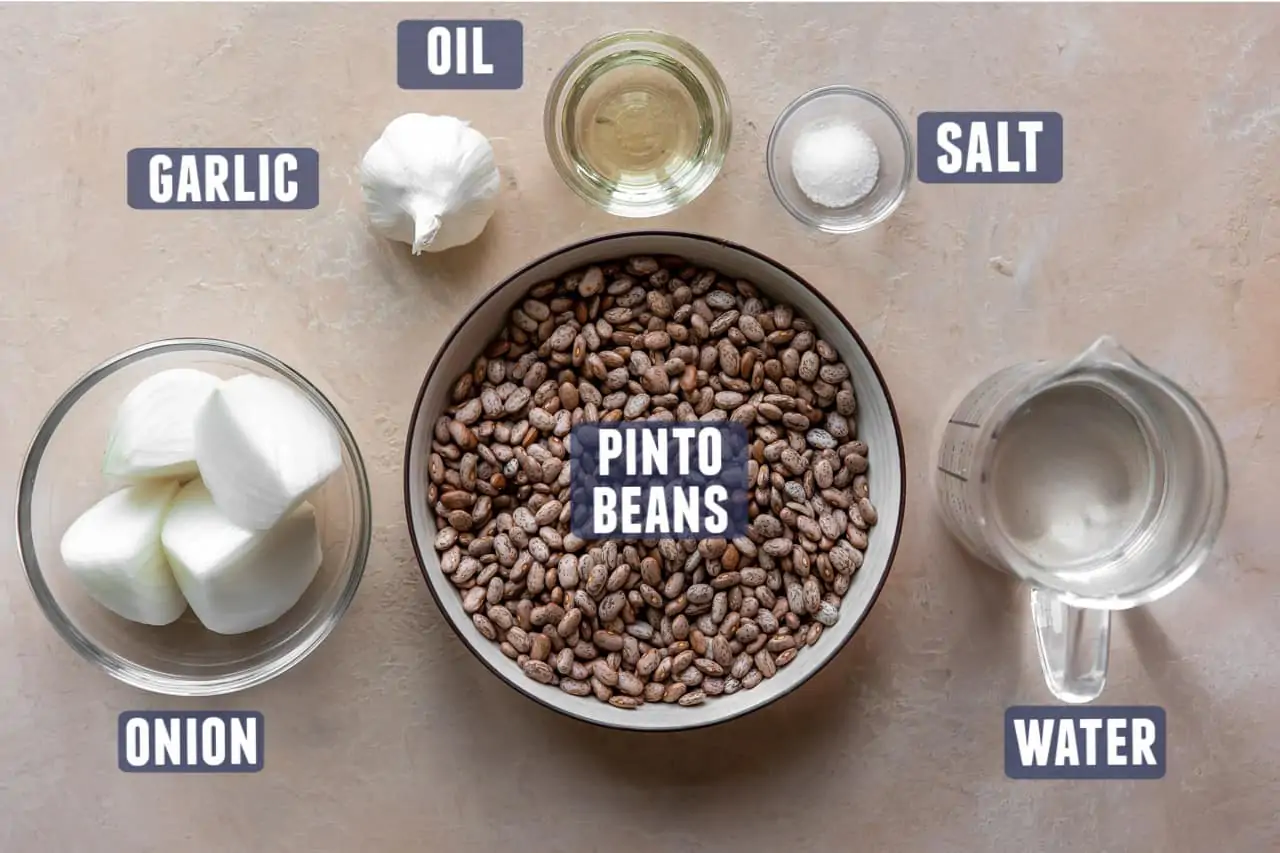
- Pinto Beans: this recipe calls for dried pintos and walks through how to soak and prepare them. You can skip that step and use canned if needed, just make sure to grab cans that have no Salt. Drain and rinse the canned beans, season and mash while frying.
- Oil: Use an oil of your choice for frying in the last step, use a mild tasting oil since it will give flavor to the beans. Some common choices include: lard, corn or canola oil, vegetable oil, or leftover bacon grease (which has a strong flavor, but can be a tasty and fun option.) Pick what works for you, just keep in mind that what you use will flavor the beans, so keep it mild. For this reason, olive oil is not recommended.
Find the complete recipe card below with measurements and full instructions.
How to Make Refried Beans
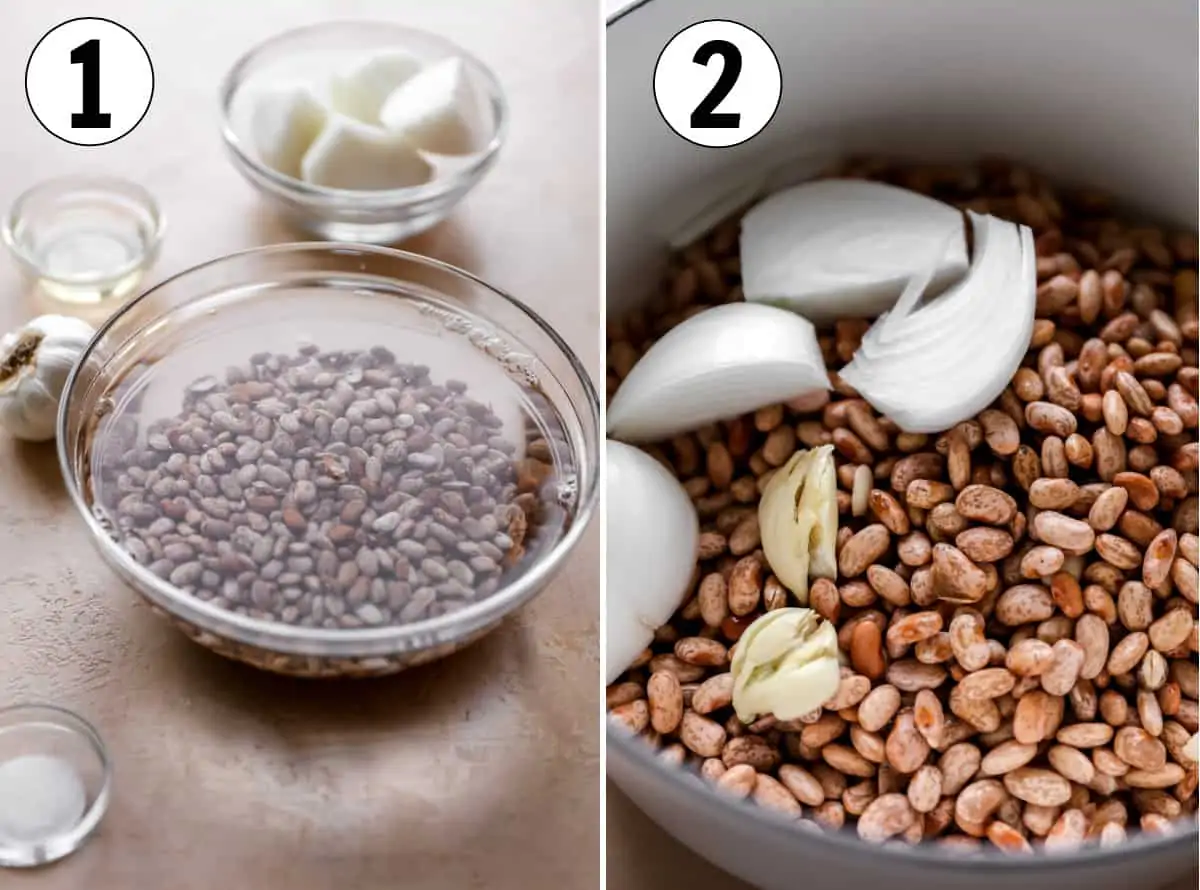
- Soak the pinto beans, it’s easiest to soak them overnight. If you did not soak them, you can still make this recipe by increasing the water and cooking time.
- Cook the pinto beans covered, then continue cooking uncovered for an hour until they are completely softened.
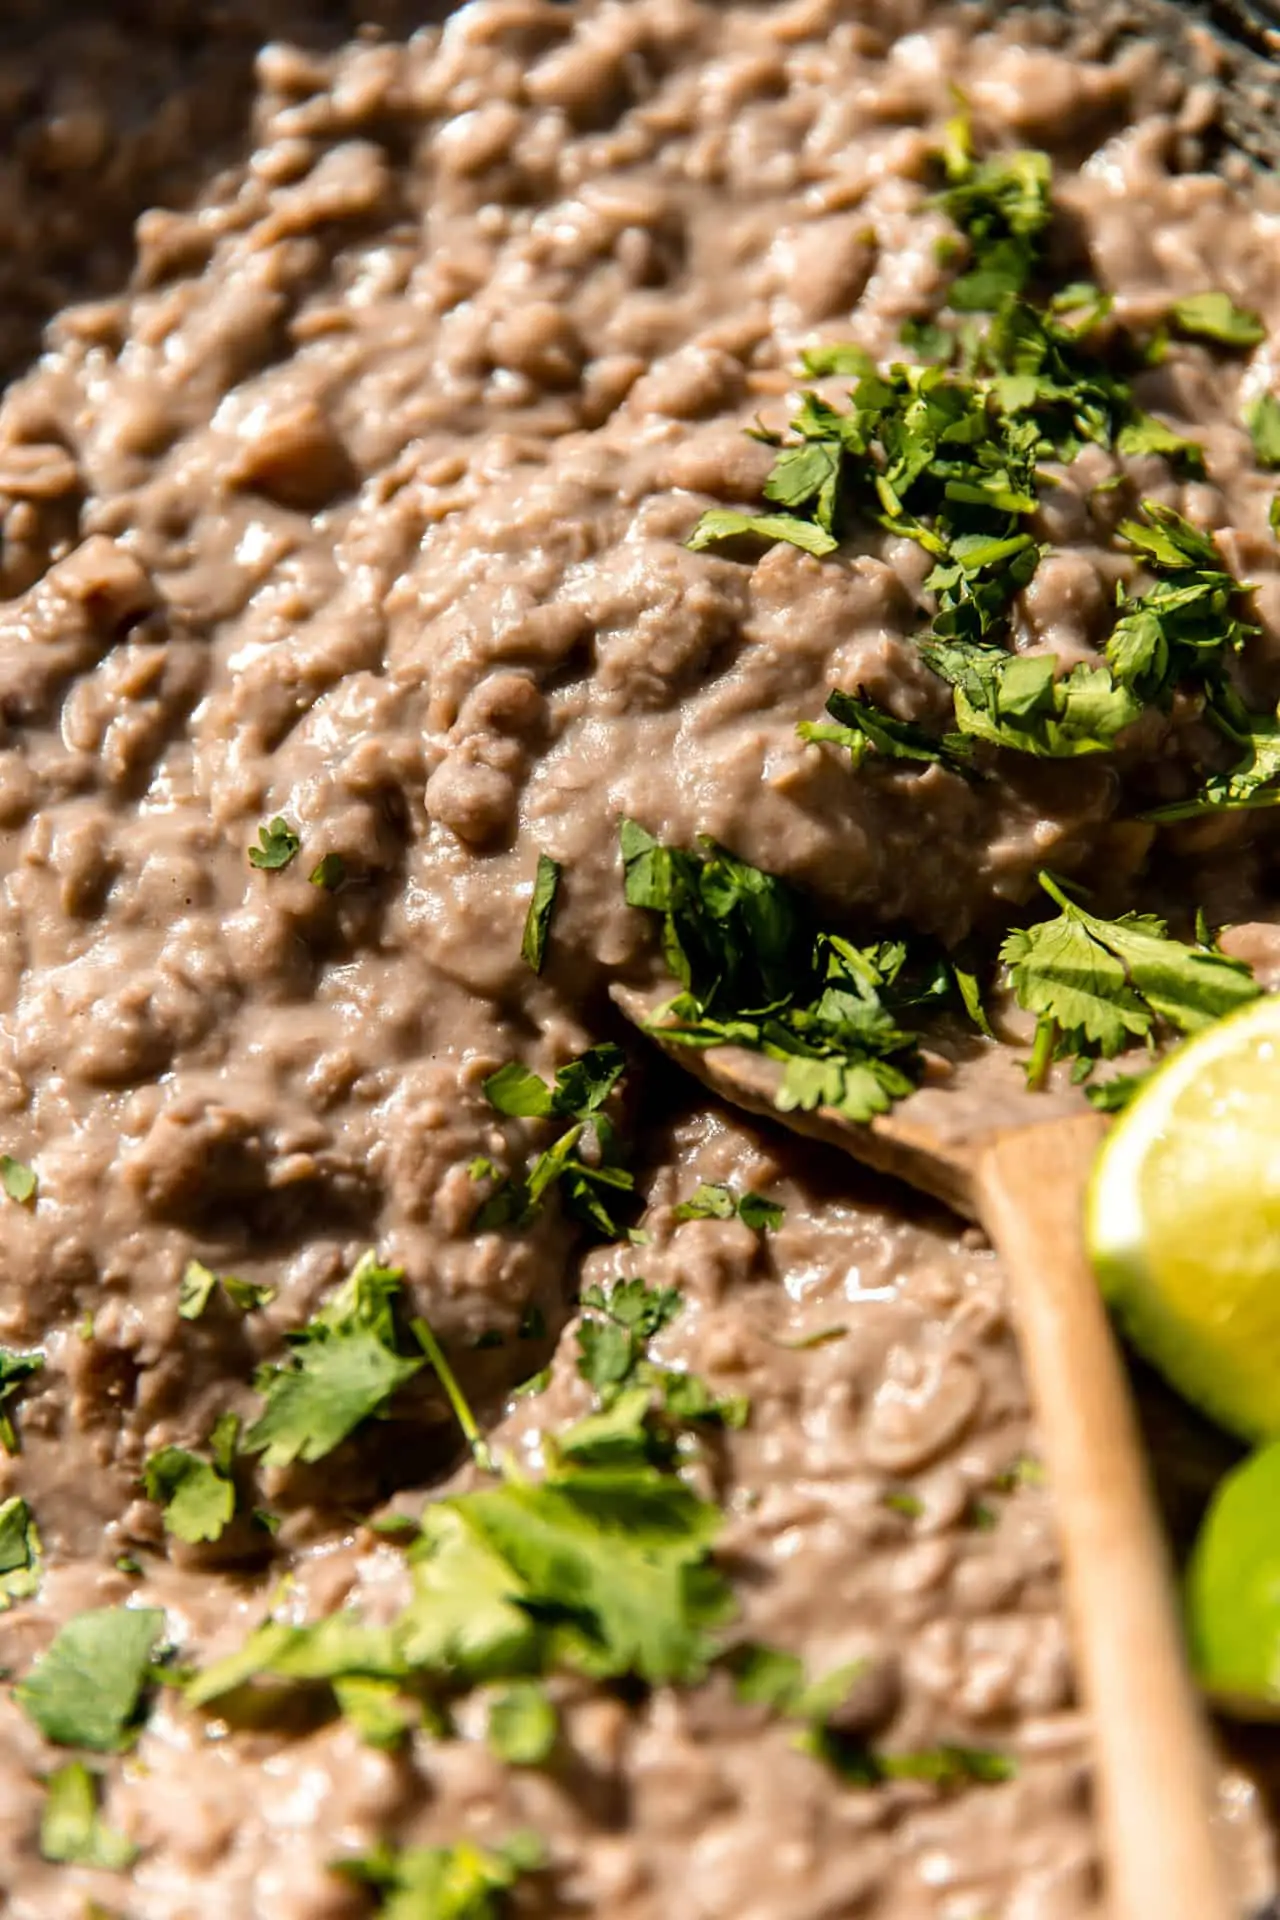
- Heat oil in a large skillet and fry them while mashing up. Spoon in the leftover broth as needed to reach desired consistency.
Storage
- Storing: Store refried beans in a sealed container in the refrigerator for 5-7 days. As they cool and sit the beans will thicken, you may need to add some broth during re-heating to get them back to the desired consistency.
- Freezing: Store beans in the freezer for 3 months. Thaw in the refrigerator overnight.
Expert Tips
- Soaking: Soaking can save some time when it comes to cooking though. So if you soak them overnight, then you don’t need to cook them as long. If you decide the day of that you want to make this recipe, still go for it. Cooking time will be increased.
- Hot Water: If you are cooking your beans over too high of heat, then you may find that your water is evaporating too quickly. At this point you can add more water, just make sure it’s hot water so that the cooking process isn’t stopped or slowed by adding cold water.
- To mash or not to mash: If you do mash them, use a potato masher and really it’s up to you how much you mash them. Do you want them lumpy? No lumps? Not mashed at all? It’s completely up to you. Or add them to a blender or processor to make them completely smooth.
- Bean Broth: As the beans cook, the water will become broth-like. This is what you will spoon into the beans while mashing to get the consistency you want. If you want a thicker consistency, then use less water. If you want a thinner consistency, then you will use more broth.
- Save the leftover broth and use it to stir into your leftovers. As they sit in the refrigerator and chill, they will thicken. Using the broth when you reheat will ensure that you don’t lose any flavor when thinning them back out.
More Mexican Recipes
If you make and love our recipes, it would help us if you would leave a comment and rating! And don’t forget to follow along with us on Instagram, Pinterest, Facebook, and YouTube.
Authentic Refried Beans
Ingredients
Instructions
- Prepare: Sort through the beans to ensure that they are good and no rocks are mixed in.
- Soak: Rinse with water in a stainer to clean. Or if soaking the beans, place in a medium size mixing bowl and cover completely with water. Let sit overnight. Strain the beans the next day after soaking.
- Cover: Add the beans smashed garlic and onion to a large pot or pan. Pour the water in. Beans should be fully submerged in water.
- Cook: Bring to a boil, stir in the salt, then turn the heat to low and continue to simmer covered. Allow to cook for about 30 minutes, remove lid, stir, and continue to cook an additional 30-60 minutes until the beans are softened and easily mashed.
- Fry: Once the beans are soft, heat lard or oil in a large cast iron skillet over medium heat. Once the oil is heated, carefully ladle the beans, garlic and some of the bean broth into the skillet. Allow the beans to "fry" in the oil while mashing. Add more bean broth as needed to get desired consistency to the beans.
Video
Notes
- Pinto Beans: this recipe calls for dried beans and walks through how to soak and prepare them. You can skip that step and use canned beans if needed, just make sure to grab cans that have No Salt.
- Soaking Beans: Soaking the beans can save some time when it comes to cooking though. So if you soak them overnight, then you don’t need to cook them as long. If starting with dried beans, increase cooking time to 2 -2.5 hours.
- Beans not softening: If the beans are old, they will take longer to cook and might not become soft enough to mash.
- Hot Water: Very important to this recipe. If you are cooking your beans hotter, then you may find that your water is evaporating too quickly. At this point you can add some more water, just make sure it’s hot water so that the cooking process isn’t stopped or slowed by adding cold water.
- Oil: this is used for frying the beans in the last step, use a mild tasting oil since it will give flavor to the beans. Some common choices include: lard, corn or canola oil, vegetable oil, or leftover bacon grease (which has a strong flavor, but can be a tasty and fun option.)
- To mash or not to mash: If you do mash them, use a potato masher and mash to desired consistency. You could also use a blender for a completely smooth texture.
- Consistency: save the bean broth from cooking the beans and spoon into the beans while mashing to get the consistency you want. If you want a thicker refried bean, then use less water. If you want thinner beans, then you will use more broth.
- Save the leftover bean broth and use it to stir into your leftover beans. As they sit in the refrigerator and chill, they will thicken. Using the broth when you reheat the beans will ensure that you don’t lose any flavor when thinning them back out.
Nutrition
Nutrition information is automatically calculated, so should only be used as an approximation.
The recipe for Homemade Refried Beans was originally published on January 29, 2016. Updated July, 16, 2021 and April 9, 2024.
Original instructions did not include any frying of the beans.
Photography done by the talented @KJandCompany.co



You do not salt ANY bean during the boiling/softening stage of cooking, this makes the skin hard and less permeable thus increasing the cook time and rendering skins of the beans not as soft as they could be.
Good recipe otherwise, nice and simple.
I beg to differ. There’s been several tests done and results posted online that disprove this old myth from the kitchen. Here’s an example: https://www.seriouseats.com/2016/09/salt-beans-cooking-soaking-water-good-or-bad.html.
“According to Cook’s Illustrated, it all has to do with the calcium and magnesium ions in bean skins. As the beans soak and cook, sodium ions in salted water will gradually replace some of those calcium and magnesium ions, which in turn allows for greater water penetration into bean cells. This is particularly true of the tough outer skins of beans.”
I am currently in the process of making these and I was curious if a person goes through the extra step of frying them, are they still able to be frozen afterwards? I.e. do they still taste the same or will they not keep the same way as the non-fried version? Thanks
*아담*Adam*
Reminder to keep checking the water level as the bens cook and stir well, otherwise there is a big danger of them burning to the bottom of the pot!
Also, cooked beans can be frozen and taste perfectly fine when thawed. My family loves them served with corn bread.
I have made beans this way for years and they always turn out great. I sometimes add a smoked ham hock for a smokey flavor. I just put the hock in with the water and beans and when the beans are almost done I remove the hocks and take out the meat and add it back into the pot of beans.
If I don’t have any hocks I have been know to use salt pork. I cook the salt pork in with the beans and then take the salt pork out and remove any fat that is left and chop up the meat and put it back in to the pot of beans.
I don’t know why most recipes add cumin and chili powder to the beans to me just not authentic. I must say I think that adding lard is never needed or healthy again my opinion.
What is the serving size?I see it says 86 calories for how much?Cant wait to try!!
I was a little skeptical of the recipe because of how few ingredients are used, but I decided to make them anyways and I’m so glad I did! They were delicious and tasted exactly like my favorite ones from a little hole-in-the-wall Mexican restaurant near us that closed a few years ago. I haven’t been able to find or make any that were as good as theirs until now. Thank you!!!
Great recipe funny thing is your recipe and mine are the same except that I use a Cuisinart pressure cooker I love you recipe I was taught by my neighbor when I was a little boy they came from someplace called Chihuahua Mexico I love the food thank you for posting the recipe sorry for the rude comments from people
I have been looking for an authentic recipe for a long time, and I’ve finally found it! These were a hit! I’ve tried several other recipes and they didn’t taste quite right, but these really hit the spot. Thank you for sharing! It’s become a new favorite in our household!
So good and simple. I have an almost two year old 30lb. bag of dry pintos that I had lost all enthusiasm for, and this recipe has given it new life. The best refritos I’ve ever had, and I made em. Thank you.
My husband and I are on a new healthy lifestyle of eating, and he has to have low sodium. I love that this recipe is easy to make and we love garlic! We are making these tomorrow, although he has already put them on to soak.