This post may contain affiliate links. Please read our disclosure policy.
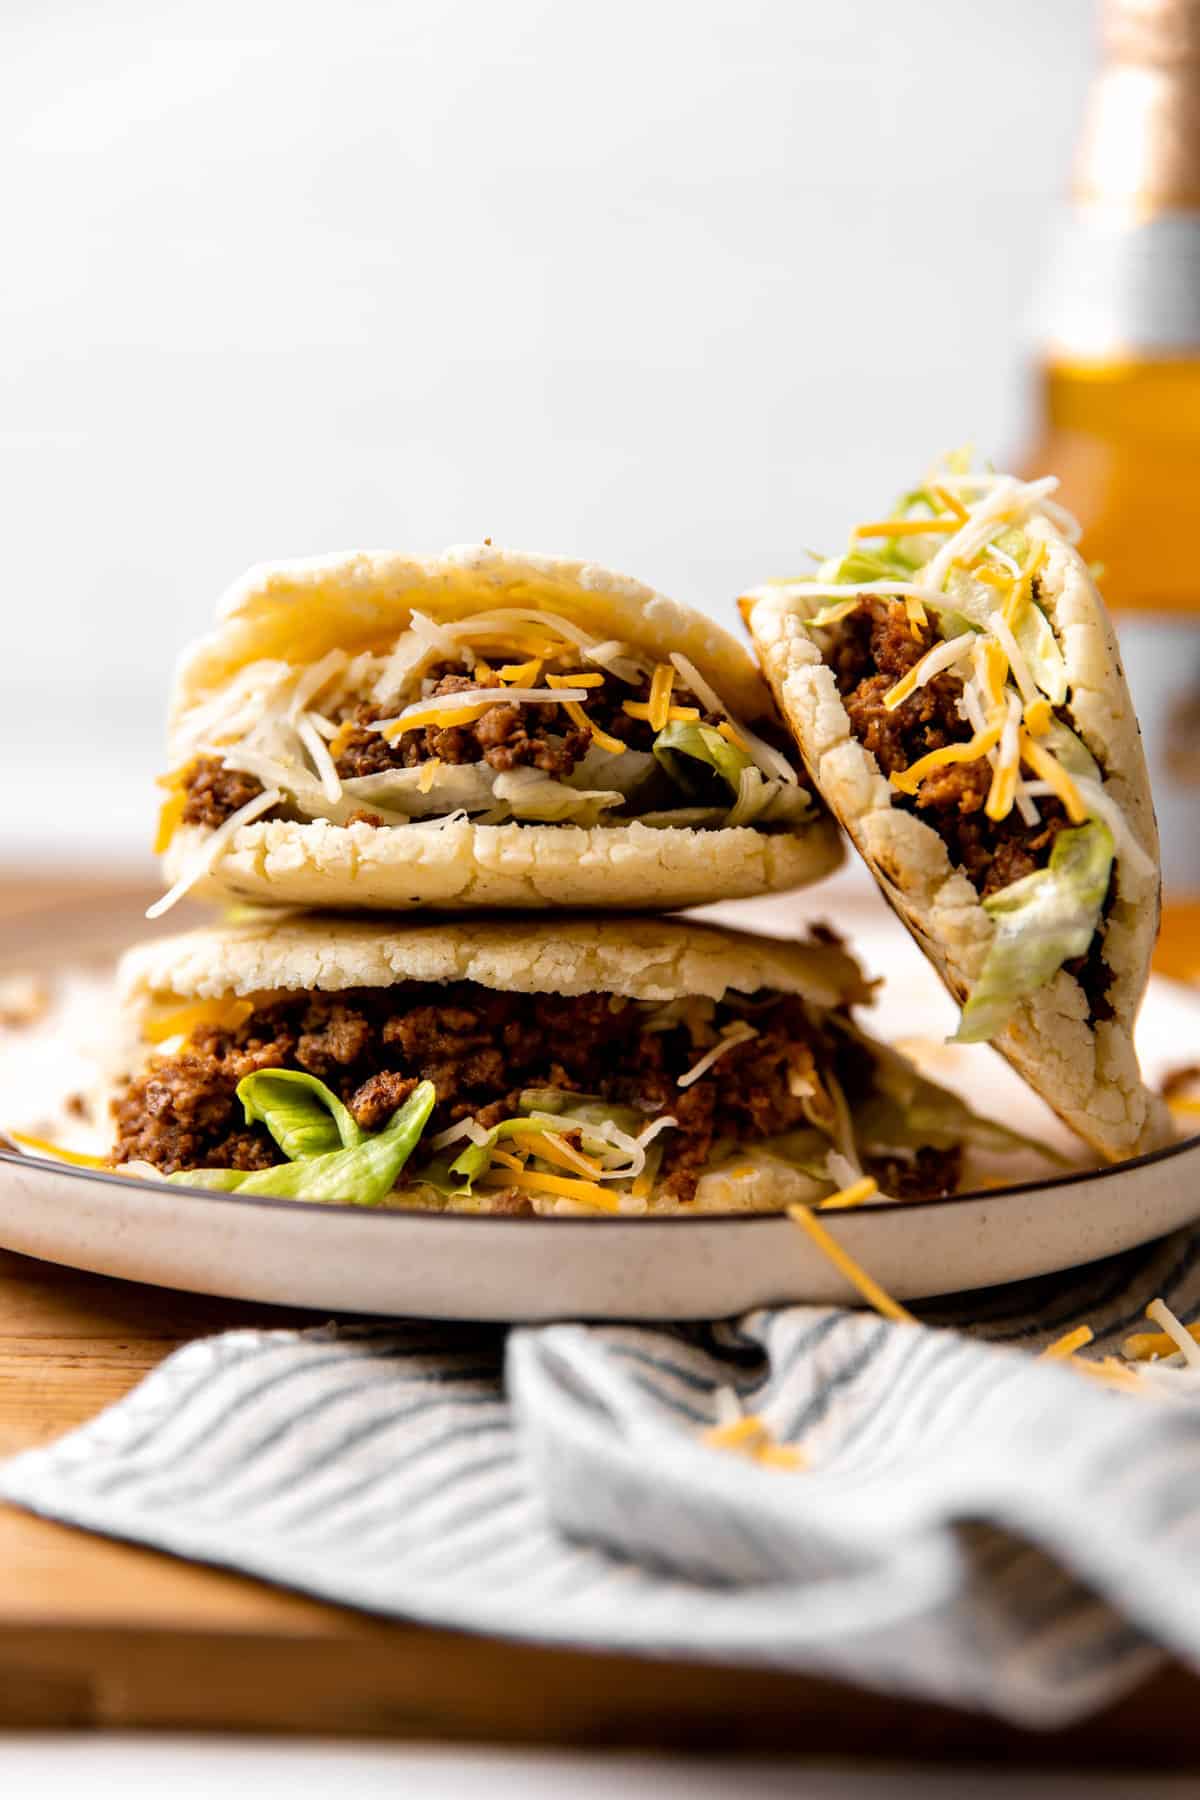
These homemade gorditas are thick corn cakes made from masa then pan cooked or fried until they puff up creating a little pocket that you slice open and stuff with beans, meats and cheeses. Learn how to easily make this authentic Mexican recipe at home!
What are Gorditas?
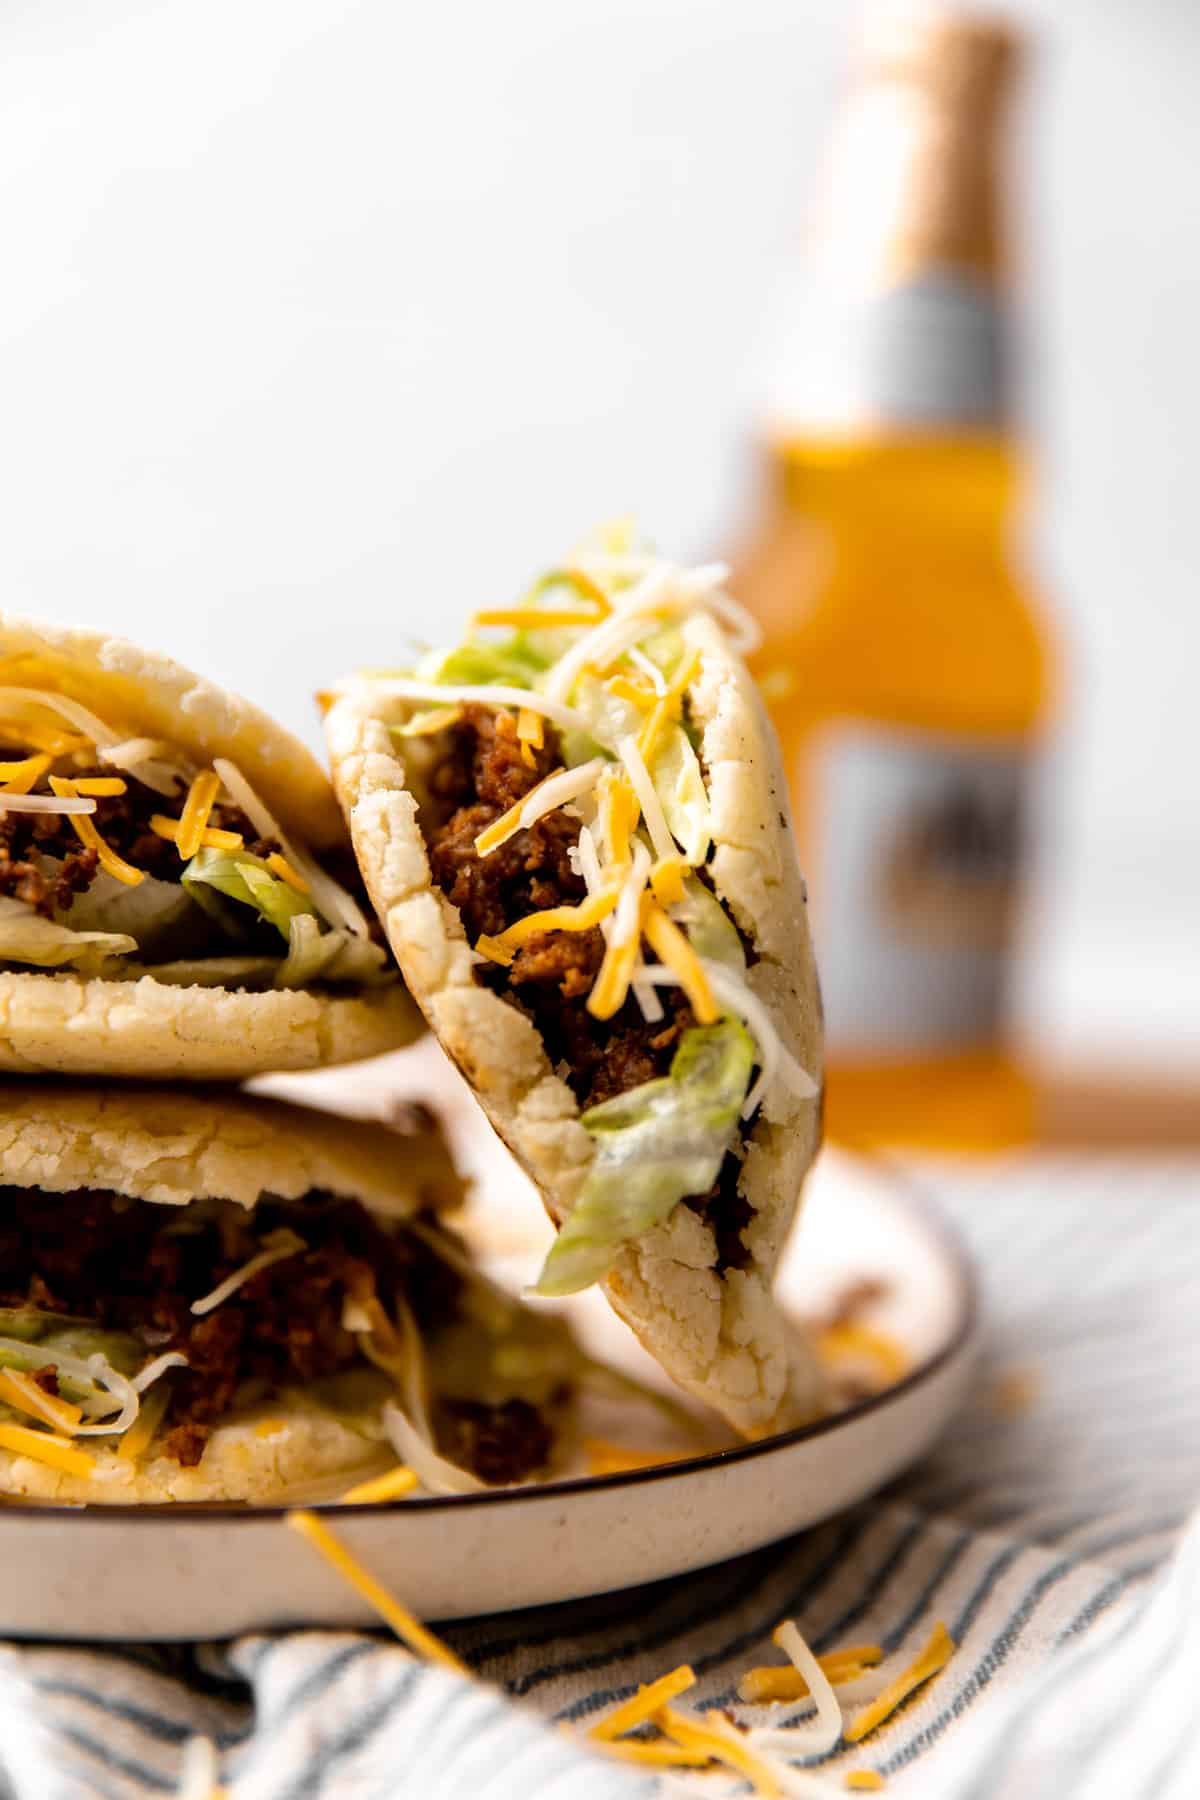
Gorditas, which means ”little fatty” in Spanish, refers to the Mexican food of corn cakes (or little fat corn tortillas) that have been pan cooked or fried, sliced open and filled. They are commonly filled with refried beans and cheese or meats, such as this shredded beef or shredded chicken recipe. For these images I have used my favorite ground beef taco meat.
Ingredients Needed
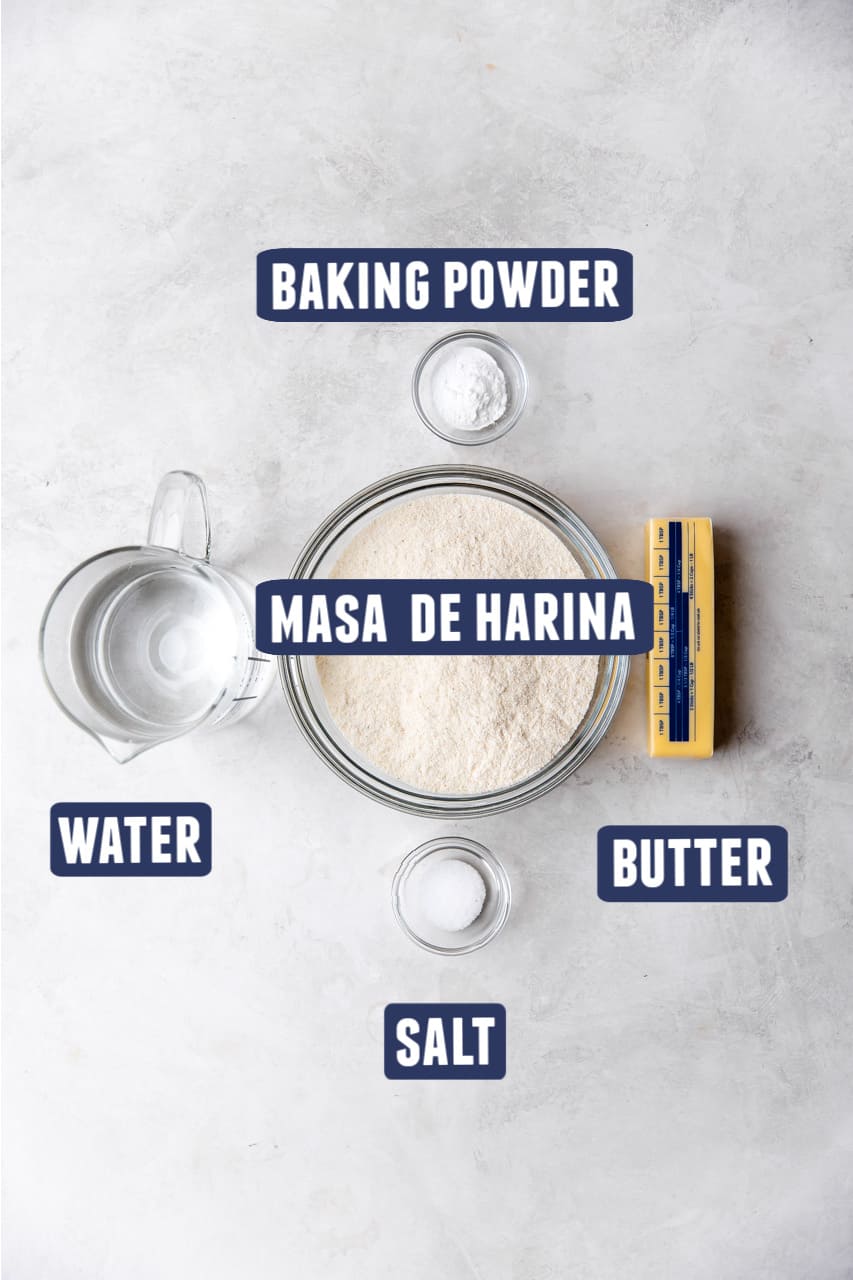
- Masa de Harina: one of the most popular brands is Maseca. This is a corn flour that has been nixtamalized, meaning the hull has been separated from the corn, then it has been dried and ground. You can use either a white or yellow corn flour.
- Lard: the traditional fat used in this recipe is lard, rendered pork fat. You could also use butter.
- Baking Powder: this helps give a light texture when combined with the corn flour.
How to Make
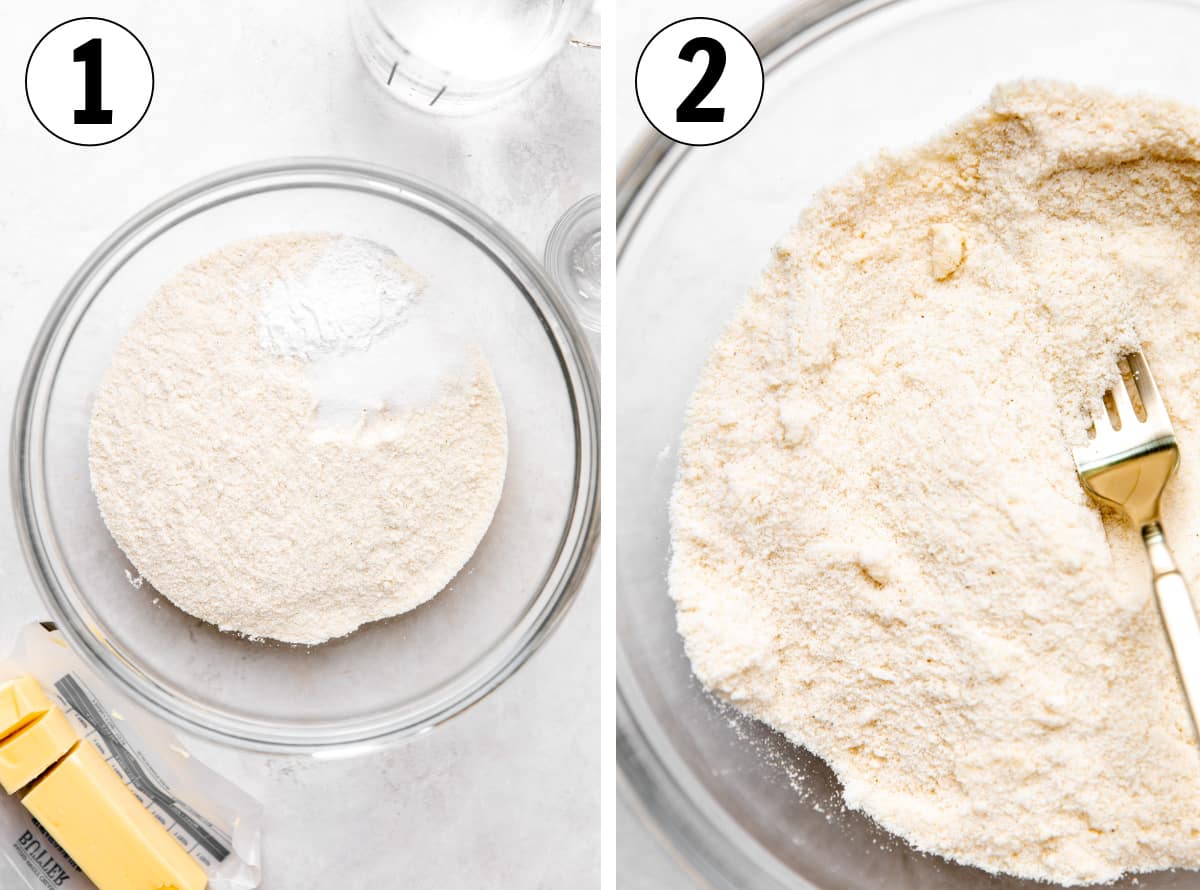
- Combine the dry ingredients in a bowl, stirring until well mixed.
- Cut the lard or butter into the dry ingredients until you have a coarse meal texture.
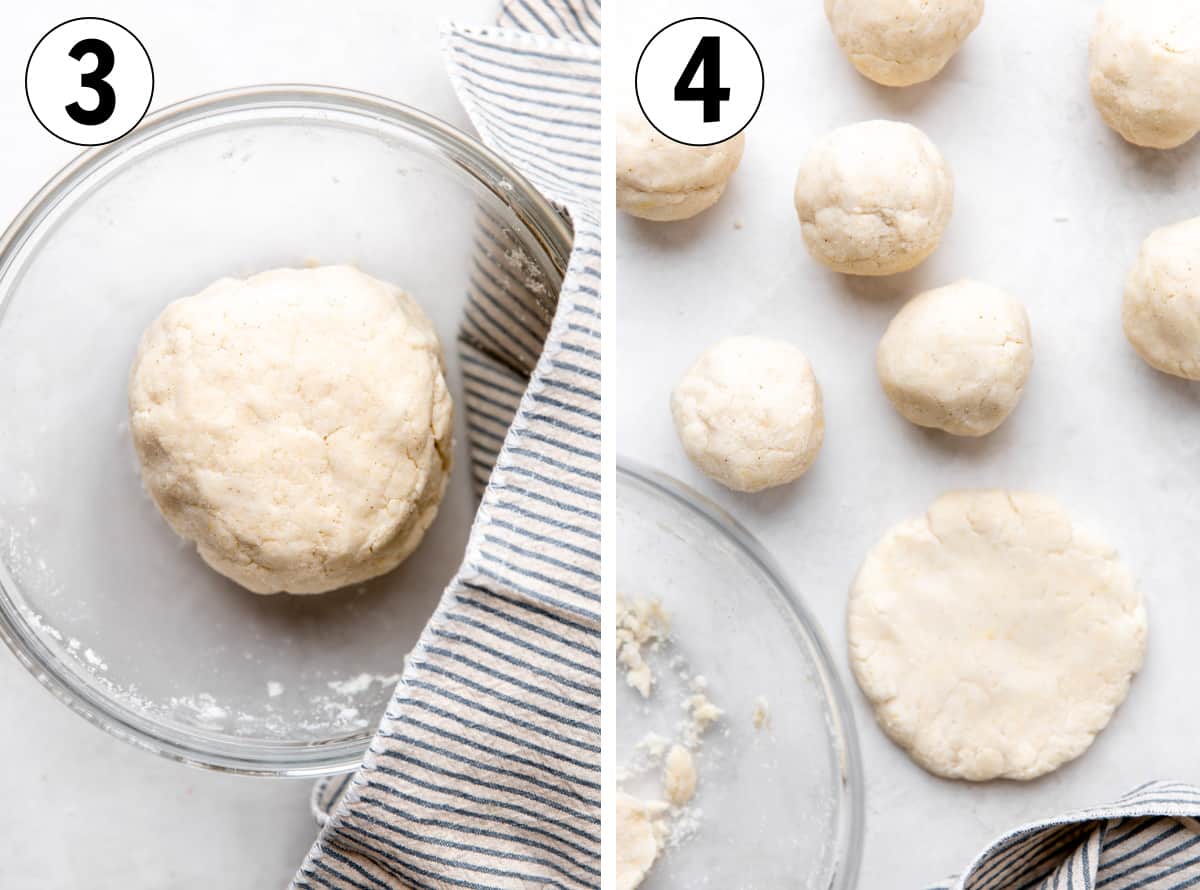
- Pour the warm water in while mixing until you have a smooth dough that forms into a ball and no longer sticks to your hands. Let the dough rest to allow ttime for the corn flour to fully hydrate.
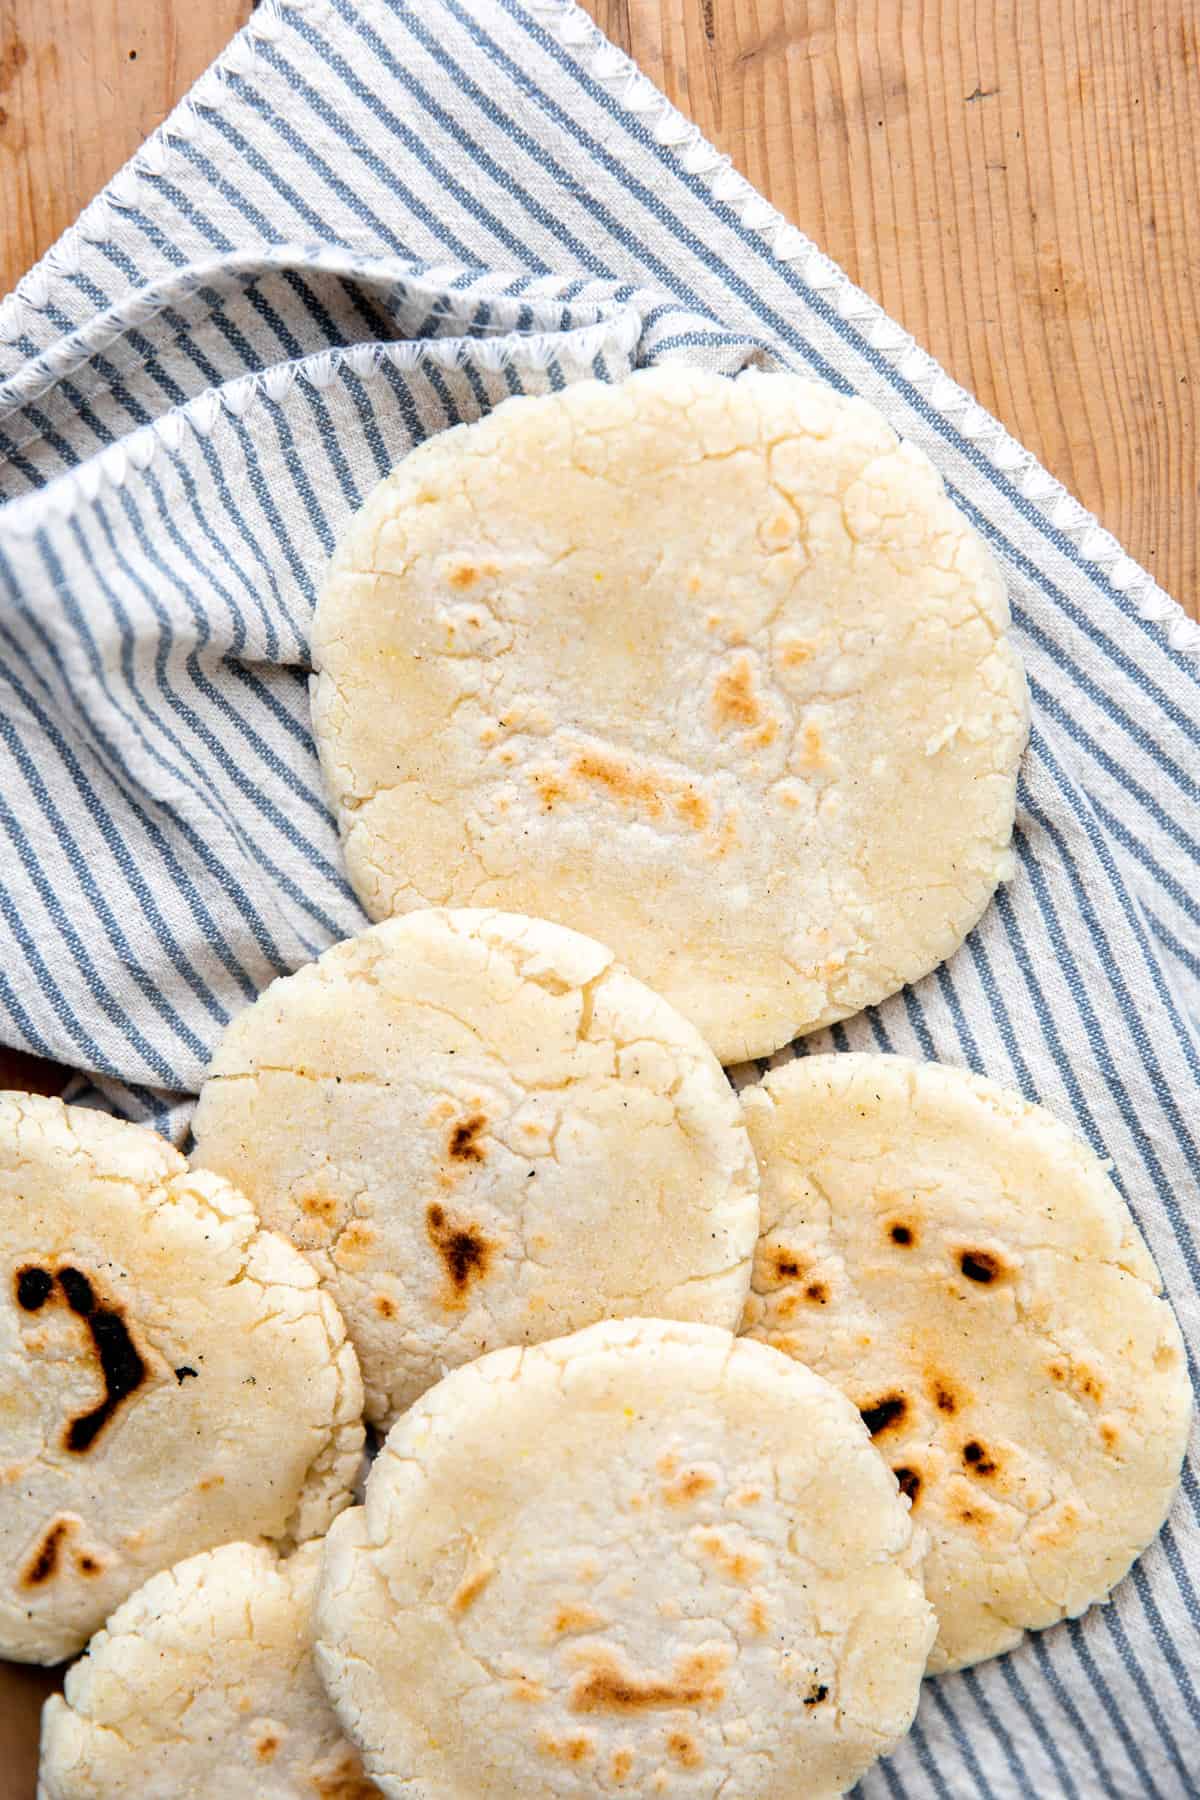
- Divide the dough into 8 equal portions and roll dough into a ball shape. Working with your hands gently press the dough out into disc shape approximately 1/3 of an inch thick. You can also use a tortilla press for this.
- Cook the masa dough on a comal or skillet over medium heat 3-4 minutes on each side, until brown spots form and the gordita puffs up with the air pocket in the center. Slice through one side forming the pocket while still warm, but able to be handled.
Tips & Tricks
- Tortilla press: you can easily form these with your hands by lightly pressing the masa as you spin it around. If you have a tortilla press, you can also use this. Be sure not to press too hard to make them too thin. You can also use a large ziploc bag cut in half to line the press to help easily press and remove.
- Beans: I love adding a spoonful of warm refried beans and a sprinkling of shredded cheese in the middle of my masa and forming the gordita around that. Then as you cook the gordita the cheese melts and you have a nice creamy filling already inside!
- Rest Time: I like to give the masa (prepared dough) time to rest after mixing so that the corn flour can fully hydrate, this helps texture wise.
Frequently Asked Questions
Gorditas can be pan cooked or fried. Different areas of Mexico may prepare their gorditas using different methods. You can use either method that you would prefer.
This can happen if the masa is too thick, try pressing them out a bit thinner. It could also be the temperature of your skillet, try increasing the heat slightly to see if you can get them to inflate.
The ingredients and the method for making both gorditas and corn tortillas are the same, gorditas are thicker, so when they puff up during cooking it creates an air pocket in the middle. This allows you to cut one side, opening up the center making a nice pocket to stuff with fillings. While corn tortillas are filled and then folded to create a taco.
Filling Options
- Ground Beef Taco Meat
- Shredded Mexican Beef
- Shredded Mexican Chicken
- Slow Cooker Carnitas
- Slow Cooker Barbacoa
Storage, Freezing and Reheating
- Storage: store in a sealed container at room temperature
- Freezing: store wrapped in plastic wrap in a freezer safe container or bag. To thaw, remove to the refrigerator overnight or set out at room temperature for 1 hour before serving.
- Reheating: place on a skillet or comal over medium heat, flip to ensure both sides are reheated.
How to Fry
If you are wanting to pan fry these gorditas you can simply add some avocado oil to a skillet and add the gorditas one at a time to fry, flip to ensure both sides are equally fried. They will puff up as they cook.
Remove and place on a paper towel to absorb the excess oil, then slice open while still warm, but able to be handled.
More Authentic Mexican Recipes
- Homemade Corn Tortillas
- Authentic Refried Beans
- Homemade Churros
- Pork Tamales
- Birria and Quesabirria Tacos
Watch How To Make
Mexican Gorditas
Ingredients
- 2 cups masa harina
- ¾ teaspoon salt
- 1 teaspoon baking powder
- 2 tablespoons lard, butter or oil
- 1½-2 cups warm water
Instructions
- In a medium size mixing bowl combine the masa harina, salt and baking powder. Stir to combine.
- Add the lard and stir together with a fork until coarse meal texture.
- Pour in one cup of water and stir together. Add more water slowly as needed until dough forms a smooth ball that no longer sticks to your hands. Add more water or masa as needed until desired consistency is reached.
- Cover the dough with a clean towel and set aside to rest for 30 minutes.
- Divide the dough into 8 equal portions, each portion weighing approximately 3 ounces. Roll this between your hands to form a smooth ball.
- Press the dough out between your hands until a flat circle shape is formed that is just a bit thicker than 1/4-1/3 of an inch.
- Heat a large skillet or comal over medium high heat. Cook the Gordita for 3-4 minutes until brown spots form, then carefully flip the gordita to cook the other side for an additional 3-4 minutes until brown spots are formed.
- Remove from the skillet and carefully, using a serrated knife, slice the gordita on one side through the center creating a pocket in the middle. Don’t cut completely through. (If you notice that there is a lot of dough in the middle, then you need to increase the heat of your skillet/cook time to ensure they are cooked through).
- Set aside and cover with foil or a clean towel, or use a tortilla warmer to keep warm and continue working through the dough until all Gordita’s are made.
- Stuff with desired filling and serve warm.
Video
Equipment
Nutrition
Nutrition information is automatically calculated, so should only be used as an approximation.
Photography by the talented KJandCompany.co
Made these last night and the entire family raved about them. It is now one of my favorite recipes and will be going in the dinner lineup. So yummy!!