This post may contain affiliate links. Please read our disclosure policy.
The perfect soft sugar cookie recipe. Plus How to Ice your cookies the EASY way! You definitely need to know this method, anyone can do it!! No complicated ingredients, no raw eggs, this icing is only three ingredients that you probably already have on hand!
Looking for cookies to make this Christmas season? Try our Mexican Wedding Cookies, Brown Butter Pretzel & Toffee Chocolate Chip Cookies, and our Mexican Hot Chocolate Cookies next.

Sugar Cookies: A Family Tradition

When I think about Christmas, I think about sugar cookies. Specifically, my mom’s sugar cookies—the ones we’d roll, cut, and smother with sprinkles on Christmas Eve morning. I can still see the flour-dusted counters, hear the gentle clatter of cookie cutters, and feel the joy of being handed a shaker of sprinkles with no rules attached. To a kid, that’s the best thing ever.
It’s a tradition I’ve carried on with my own kids. I want my kids to have those same sugar-dusted memories—the fun of pressing cutters into chilled dough, the chaos of mismatched sprinkles everywhere, and the delicious smell of cookies baking away in the oven.
So, after a bit of trial and error (and a lot of sprinkles), I’ve mastered these sugar cookies. They’re buttery, soft, and just the right amount of sweet. Perfect for decorating, memory-making, and a little sprinkle chaos of your own.

Why You Will Love This recipe
- Family Tradition-Worthy: Passed down through generations, this recipe is full of love and nostalgia, perfect for creating your own family memories.
- Easy to Decorate: The dough rolls out smoothly and bakes into a flawless canvas for icing, sprinkles, or whatever your creative heart desires.
- Kid-Friendly: From cutting out shapes to piling on sprinkles, this recipe is practically made for little hands to help.
- Chill Time = Less Stress: The dough needs time to chill, making it perfect for prepping ahead and fitting into busy holiday schedules.
Ingredients Needed
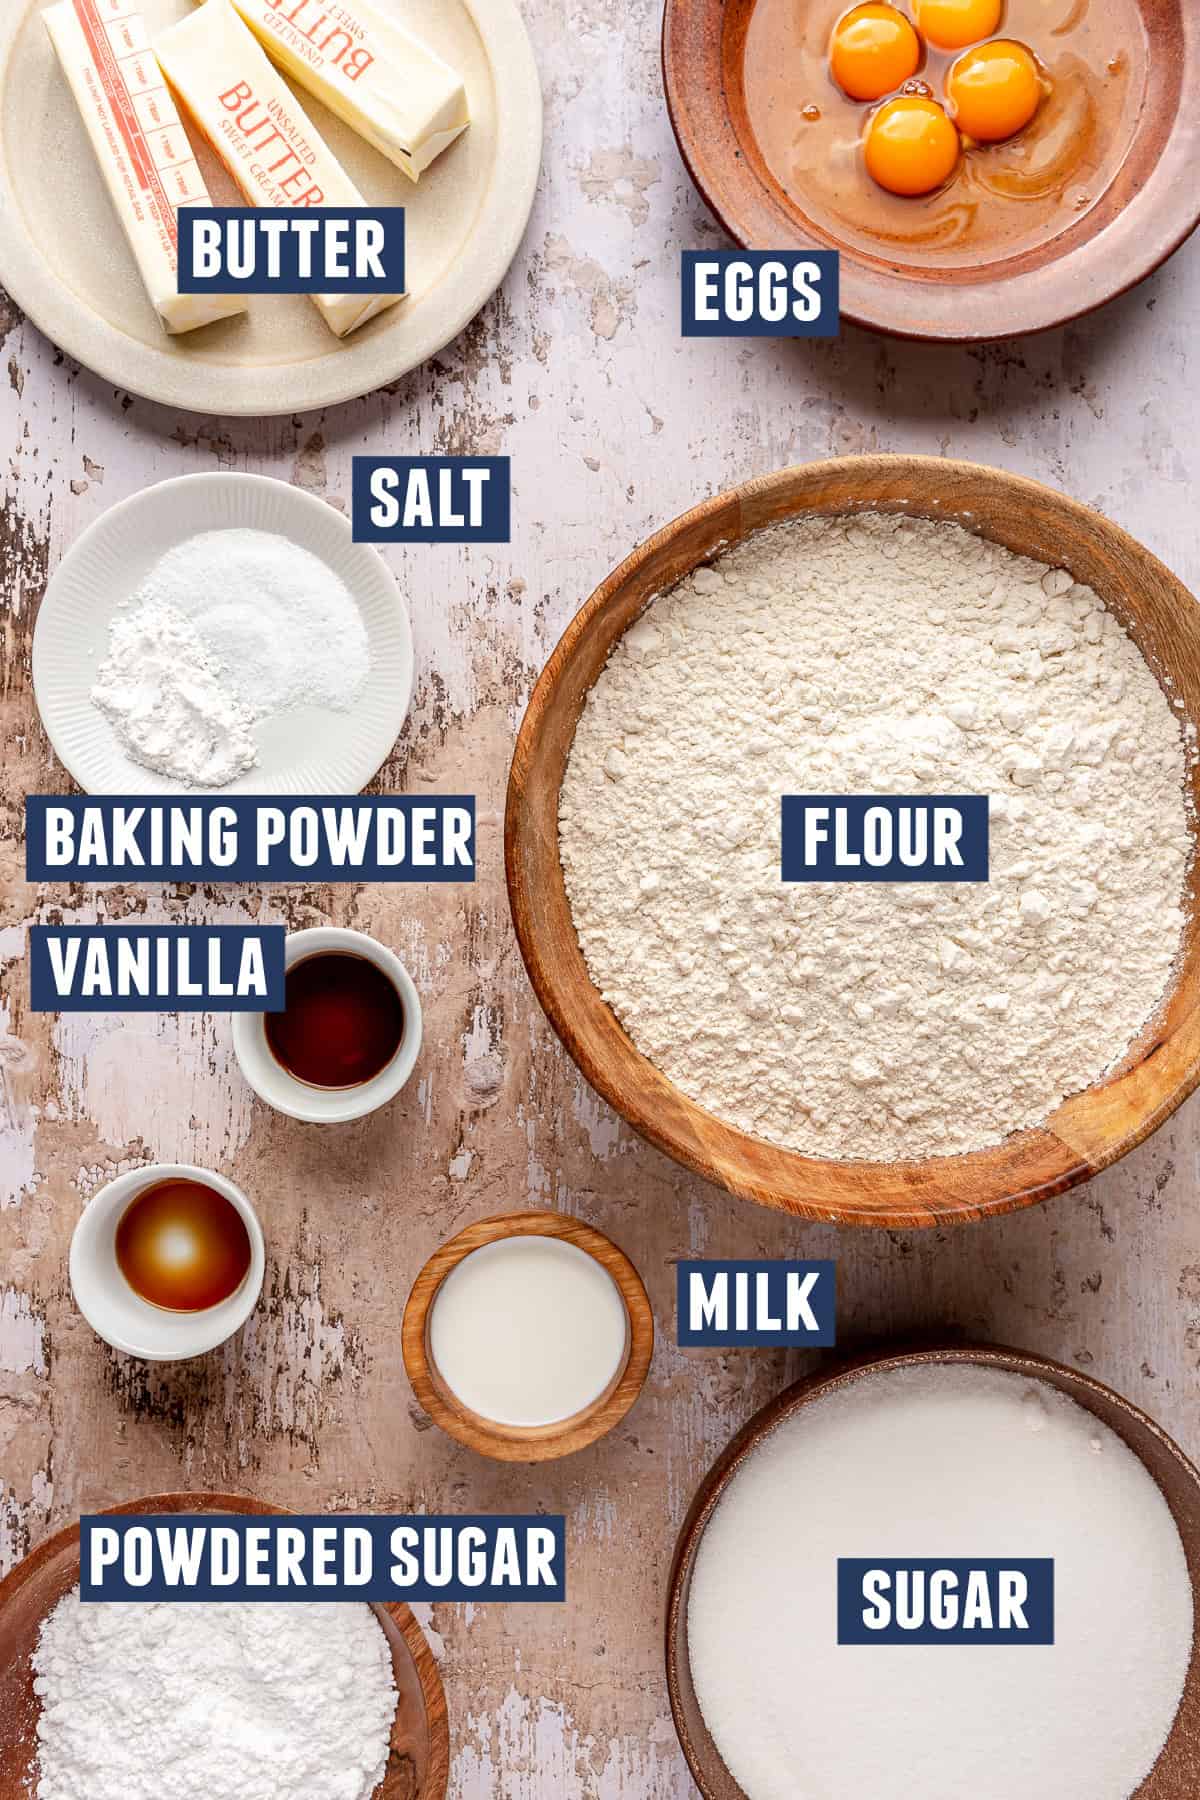
Image shows ingredients needed including: flour, sugar, eggs, butter, baking powder, salt, vanilla, milk, and powdered sugar.
- All-Purpose Flour: The foundation of these cookies, providing structure. For a gluten-free option, substitute with a 1:1 gluten-free baking flour blend.
- Unsalted Butter: Adds richness and flavor. If using salted butter, reduce the added salt in the recipe. For a dairy-free version, use plant-based butter sticks.
- Eggs: Essential for binding the dough and creating a tender texture. For an egg-free option, substitute 1 egg with a flax egg (1 tablespoon flaxseed meal + 2.5 tablespoons water, mixed and rested). Or I love using Bob’s RedMill Egg Replacer.
- Vanilla Extract: Gives the cookies their classic, warm flavor. Swap with almond extract for a nuttier taste, or use a combination of both for extra depth.
- Granulated Sugar: Sweetens the cookies while helping them maintain their structure. A fine cane sugar can be used as a 1:1 substitute.
- Milk: Used in the icing for the perfect consistency. Any milk works—dairy, almond, soy, or even water in a pinch.
- Powdered Sugar: Creates a silky-smooth icing for decorating. Make your own by blending granulated sugar in a food processor until fine if you’re out of powdered sugar.
My favorite natural dyed sprinkles to use are available on Amazon!
How to Make Iced Sugar Cookies
Find the complete recipe card below with measurements and full instructions.
- In large bowl whisk together the flour, baking powder, and salt, set this aside for now.
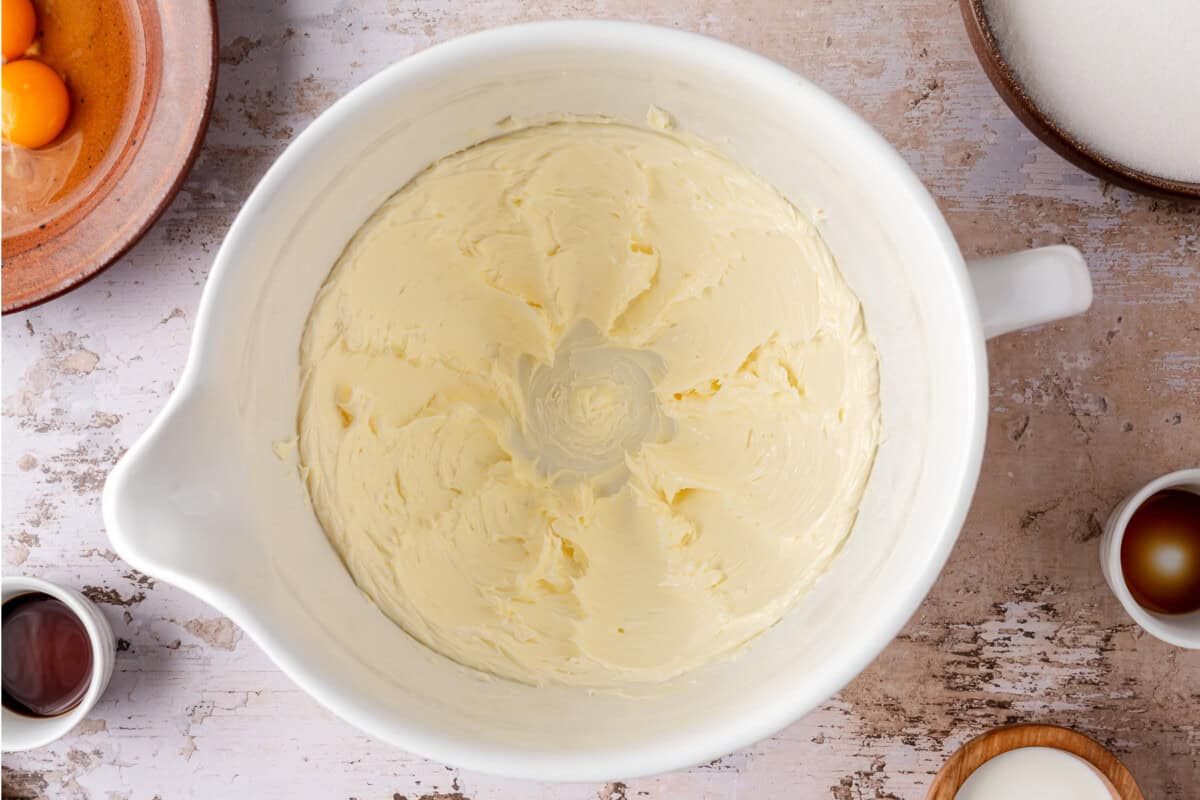
- In large mixing bowl with paddle attachment cream the butter, add the sugar, then cream together until light and fluffy.
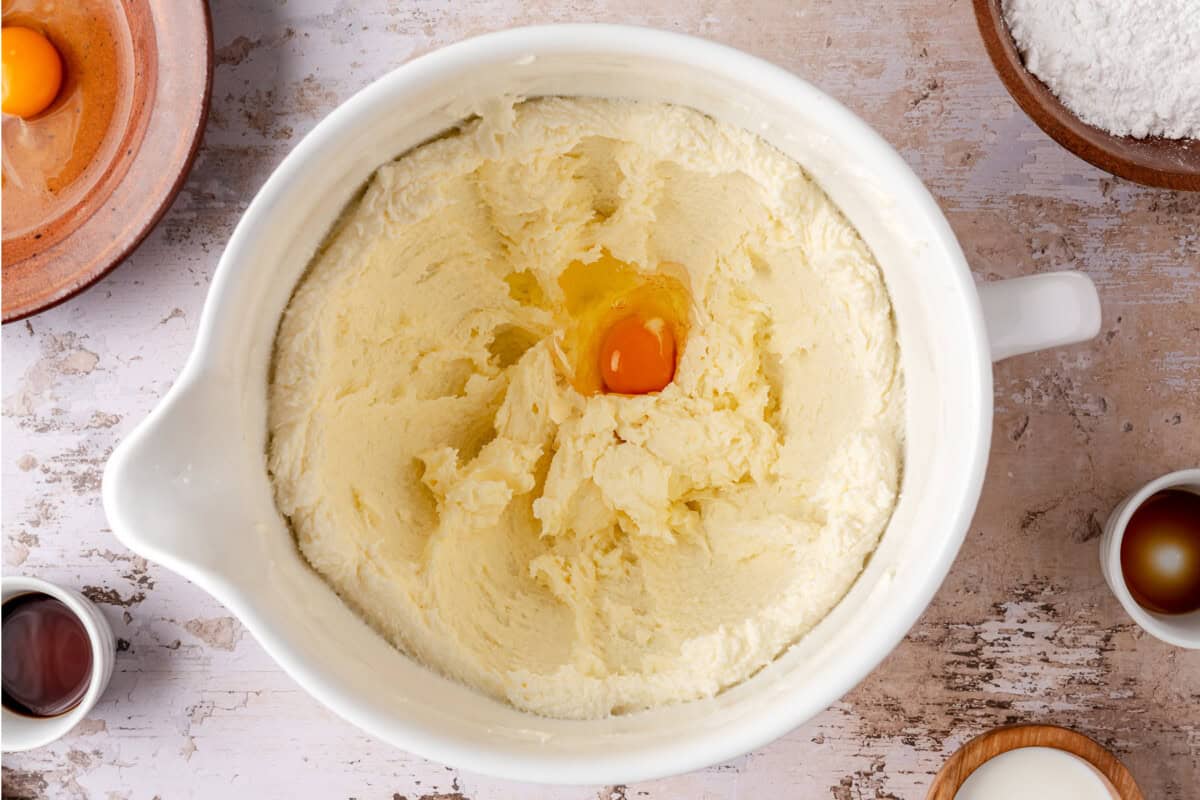
- Add in the eggs one at a time mixing in between. Mix in the vanilla extract.
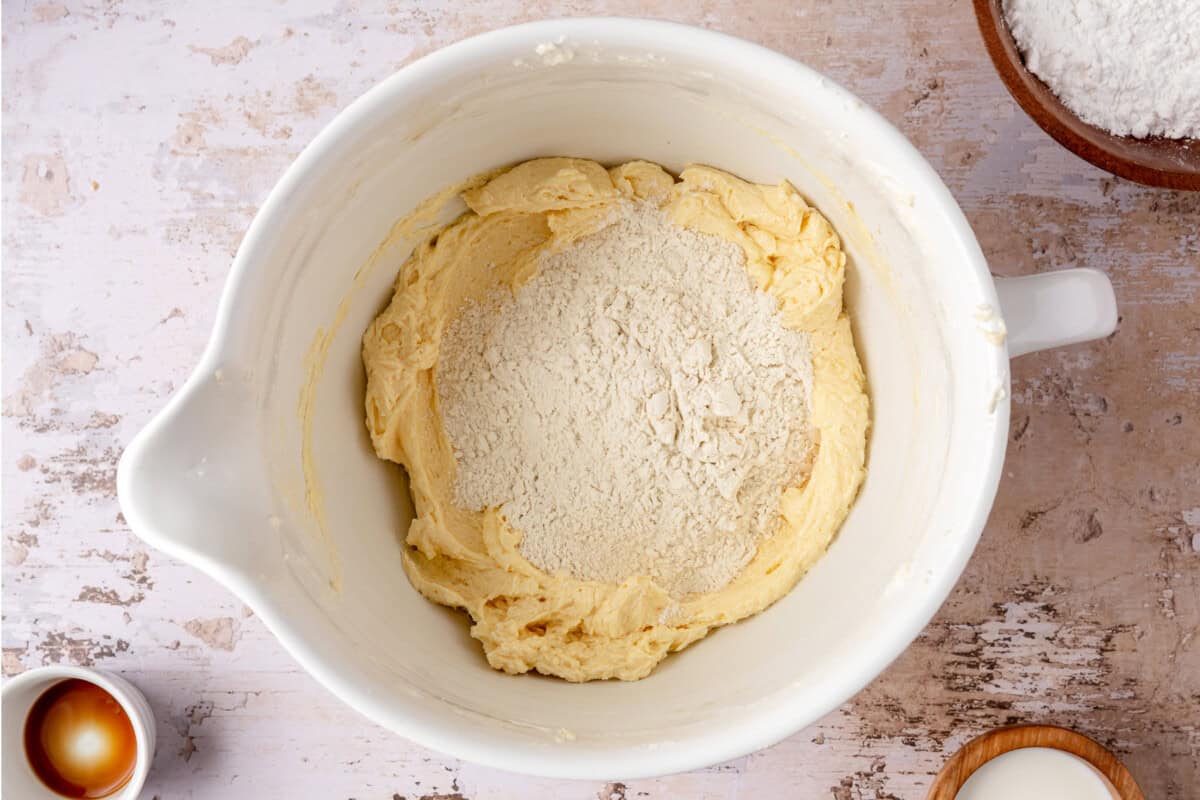
- Slowly add in the dry ingredients, mix on low until dough is mostly formed. Remove the dough from the bowl and place on floured counter or non stick surface. Work dough together with hands. Be sure not to over work the dough.
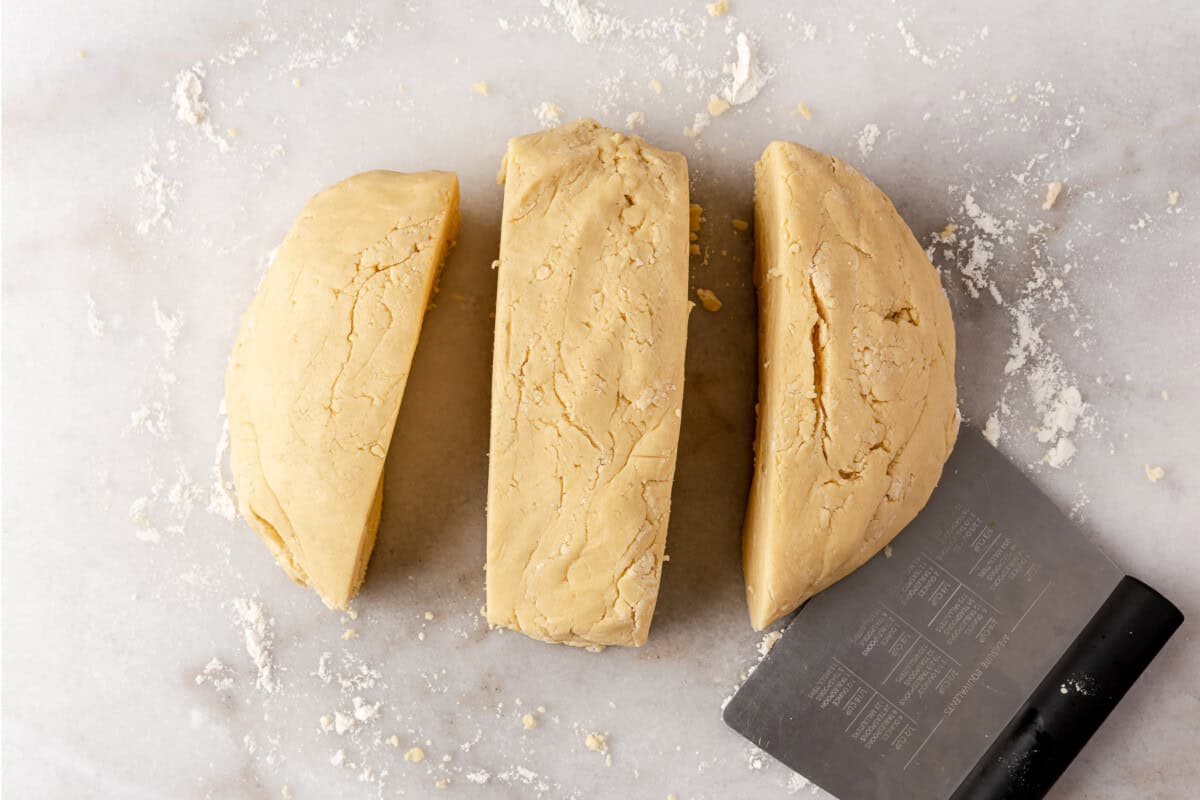
- Separate the dough into three equal amounts. Using a rolling pin covered in flour roll the dough out until it is 1/4 inches thick. Place the dough onto a sheet of parchment paper and onto a cookie sheet.
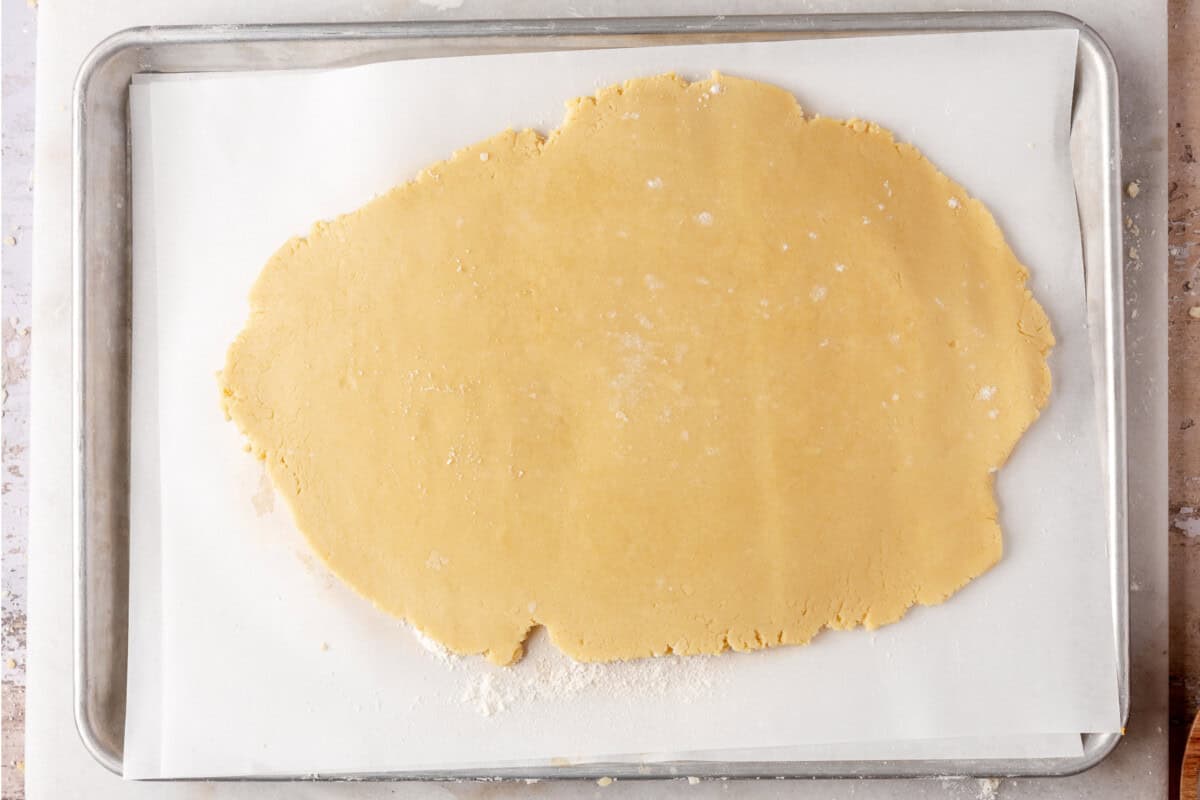
- Continue with the next amount of dough. Place the parchment sheet on top of the previous rolled out dough. Once all three sections of dough have been rolled and are on parchment paper, set the cookie sheet with all of the dough in the refrigerator to allow the dough to chill for at least 2 hours.
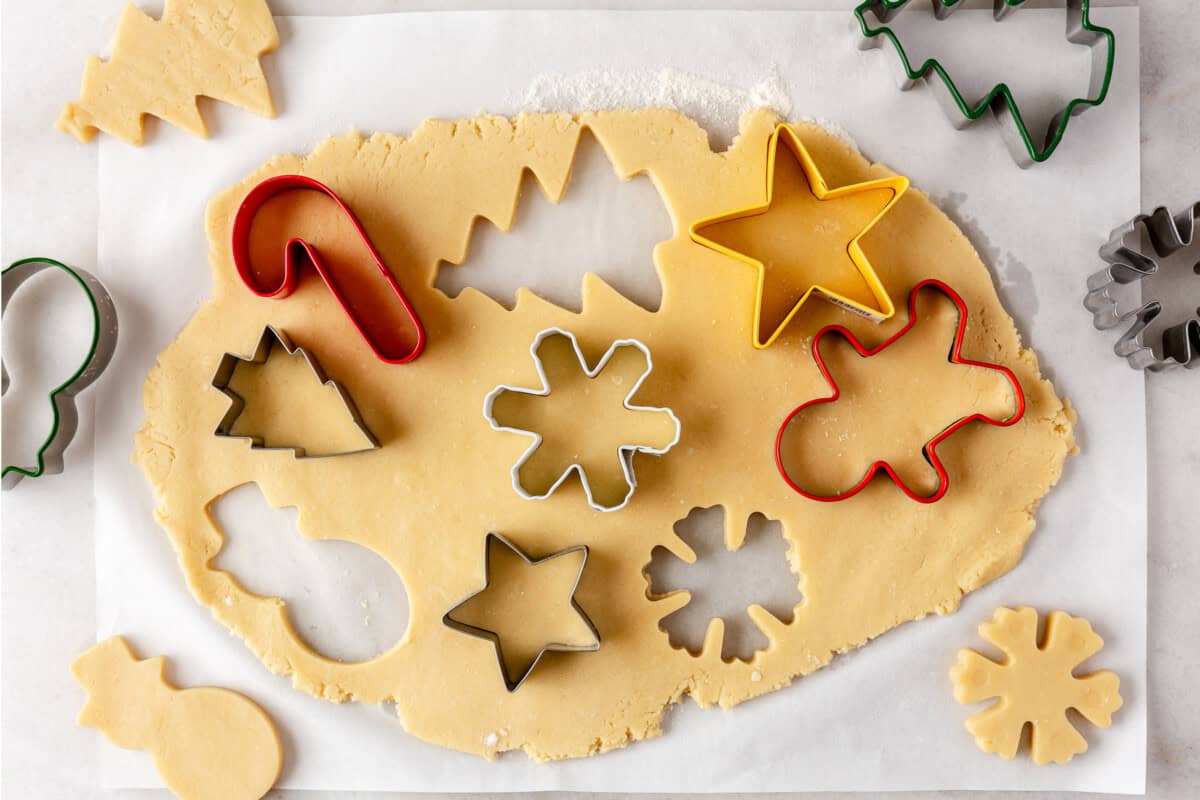
- Once the dough has chilled remove one section at a time, cut with cookie cutters and place onto a cookie sheet lined with parchment paper or a silicone baking sheet.
- Bake for 9 minutes at 350 degrees F. Remove from oven prior to any edges turning golden.
- Allow the sugar cookies to set for about 2-3 minutes then remove from the baking sheet to allow to cool on wire cooling rack.
Storage
- Room Temperature: Once baked and decorated, store the sugar cookies in an airtight container at room temperature for up to 5 days. Place parchment paper between layers to protect any icing or decorations from smudging.
- Refrigerator: If you prefer, you can refrigerate the cookies in an airtight container. They’ll stay fresh for about 7 days, though they may lose some of their softness.
- Freezer (Baked Cookies): These cookies freeze beautifully! Let them cool completely, then layer them between sheets of parchment paper in an airtight container or freezer bag. They’ll stay fresh for up to 3 months. Thaw at room temperature before enjoying.
- Freezer (Cookie Dough): To freeze the dough, shape it into a disc, wrap it tightly in plastic wrap, and place it in a freezer bag. It’ll keep for up to 3 months. When ready to bake, thaw the dough in the refrigerator overnight before rolling, cutting, and baking as usual.
- Pro Tip for Decorating Ahead: If you’re making these for a party or holiday, you can freeze the undecorated cookies and decorate them closer to the event. This way, the designs stay fresh and vibrant!

Tips & Tricks
- Don’t Overdo It– Giving the dough a workout by kneading it will make it strong and tough! And not in a good way! Keep the dough out of the gym to keep the cookies nice and soft. Do your best to knead and mix the dough as little as possible once the flour is added.
- Chill Yo Roll– chilling the dough works wonders and helps to ensure our sugar cookies will hold their shape. I found it easiest to roll it out before chilling. Warm dough=easier to roll. Cold dough= better cookies. So roll first, then chill.
- Thickness– Keep the dough about 1/4 inch thick. This makes for fluffy, soft, and happy cookies.
- Baking time is KEY– if the edges are turning golden brown then it’s already been too long! This was a shocking revelation for me, I always used to bake them til the edges were slightly golden. Removing them before the edges turn golden gives us softer, more tender cookies.
More Christmas Traditions
If you make and love our recipes, it would help us if you would leave a comment and rating! And don’t forget to follow along with us on Instagram, Pinterest, Facebook, and YouTube.
Easy Iced Sugar Cookies

Ingredients
Sugar Cookies
- 5½ cups all purpose flour
- 2 tsp baking powder
- 2 tsp salt
- 1½ cup unsalted butter softened to room temperature
- 2 cups granulated sugar
- 4 large eggs
- 1 tbsp vanilla extract
Icing
- 1 cup powdered sugar
- ½ tsp vanilla extract
- ¼ cup milk
- Food coloring-optional
Instructions
Sugar Cookies
- In large bowl whisk together the flour, baking powder, and salt.
- In large mixing bowl with paddle attachment cream the butter, add the sugar cream together until light and fluffy.
- Add in the eggs one at a time mixing in between. Mix in the vanilla extract.
- Slowly add in the dry ingredients, mix on low until dough is mostly formed. Remove the dough from the bowl and place on floured counter or non stick surface. Work dough together with hands. Be sure not to over work the dough.
- Separate the dough into three equal amounts. Using a rolling pin covered in flour roll the dough out until it is 1/4 inches thick. Place the dough onto a sheet of parchment paper and onto a cookie sheet.
- Continue with the next amount of dough. Place the parchment sheet on top of the previous rolled out dough. Once all three sections of dough have been rolled and are on parchment paper, set the cookie sheet with all of the dough in the refrigerator to allow the dough to chill for at least 2 hours.
- Preheat oven to 350°F.
- Once the dough has chilled remove one section at a time, cut with cookie cutters and place onto a cookie sheet lined with parchment paper or a silicone baking sheet.
- Bake for 9 minutes. Remove from oven prior to any edges turning golden.
- Allow the cookies to set for about 2-3 minutes then remove from the baking sheet to allow to cool on wire cooling rack.
Icing
- In small bowl stir together the powdered sugar, milk, and vanilla extract. Adjust amounts as needed to get the icing to desired consistency. Add the icing to a squeeze bottle or piping bag. Decorate cookies as desired.
- Allow the icing to dry for several hours before stacking cookies.
Notes
- Room Temperature: Once baked and decorated, store the sugar cookies in an airtight container at room temperature for up to 5 days. Place parchment paper between layers to protect any icing or decorations from smudging.
- Refrigerator: If you prefer, you can refrigerate the cookies in an airtight container. They’ll stay fresh for about 7 days, though they may lose some of their softness.
- Freezer (Baked Cookies): These cookies freeze beautifully! Let them cool completely, then layer them between sheets of parchment paper in an airtight container or freezer bag. They’ll stay fresh for up to 3 months. Thaw at room temperature before enjoying.
- Freezer (Cookie Dough): To freeze the dough, shape it into a disc, wrap it tightly in plastic wrap, and place it in a freezer bag. It’ll keep for up to 3 months. When ready to bake, thaw the dough in the refrigerator overnight before rolling, cutting, and baking as usual.
- Pro Tip for Decorating Ahead: If you’re making these for a party or holiday, you can freeze the undecorated cookies and decorate them closer to the event. This way, the designs stay fresh and vibrant!
Nutrition
Nutrition information is automatically calculated, so should only be used as an approximation.
More Cookie recipes
Recipe first published November 13, 2015. Updated December 9, 2024.
Photography by JessGaertnerCreative.com


My daughter asked me how long do I bake my cookies and I said I really don’t know. I have never timed them. When I bake my sugar cookies I look at them through the oven door. While they are baking they will be shiny, but as soon as they turn dull and opaque, I take them out and leave them on the cookie sheet for a minute. Do not bake them any longer. When the edges turn golden it is too late. This has been my infallible
cookie timer for many many years.
Loved these I made a bit too many though, but you can never have too many cookies, right? also would like to make this a tradition. Thanks for the wonderful recipe!?
Yes it does make a large batch of cookies! So happy you like them though 🙂
can i make the batter the night before and leave it in the fridge over night or is it too long
The cookie dough? You could make it ahead and have it rolled out on a baking sheet, but I would recommend covering with plastic wrap or foil to prevent it from drying out overnight.
Cookies came out great. I usually use a Fannie Farmer cookbook recipe but this is almost the same but doubled. And I have always used the same kind of icing. Perfect! My sons are grown and out of state and what do they want mom to send? Christmas cookies like we used to decorate when they were kids.
So glad you liked the recipe Shari! I decorate cookies with my kids every year. I hope they ask for them when they move out also 🙂