This post may contain affiliate links. Please read our disclosure policy.

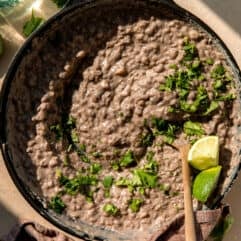


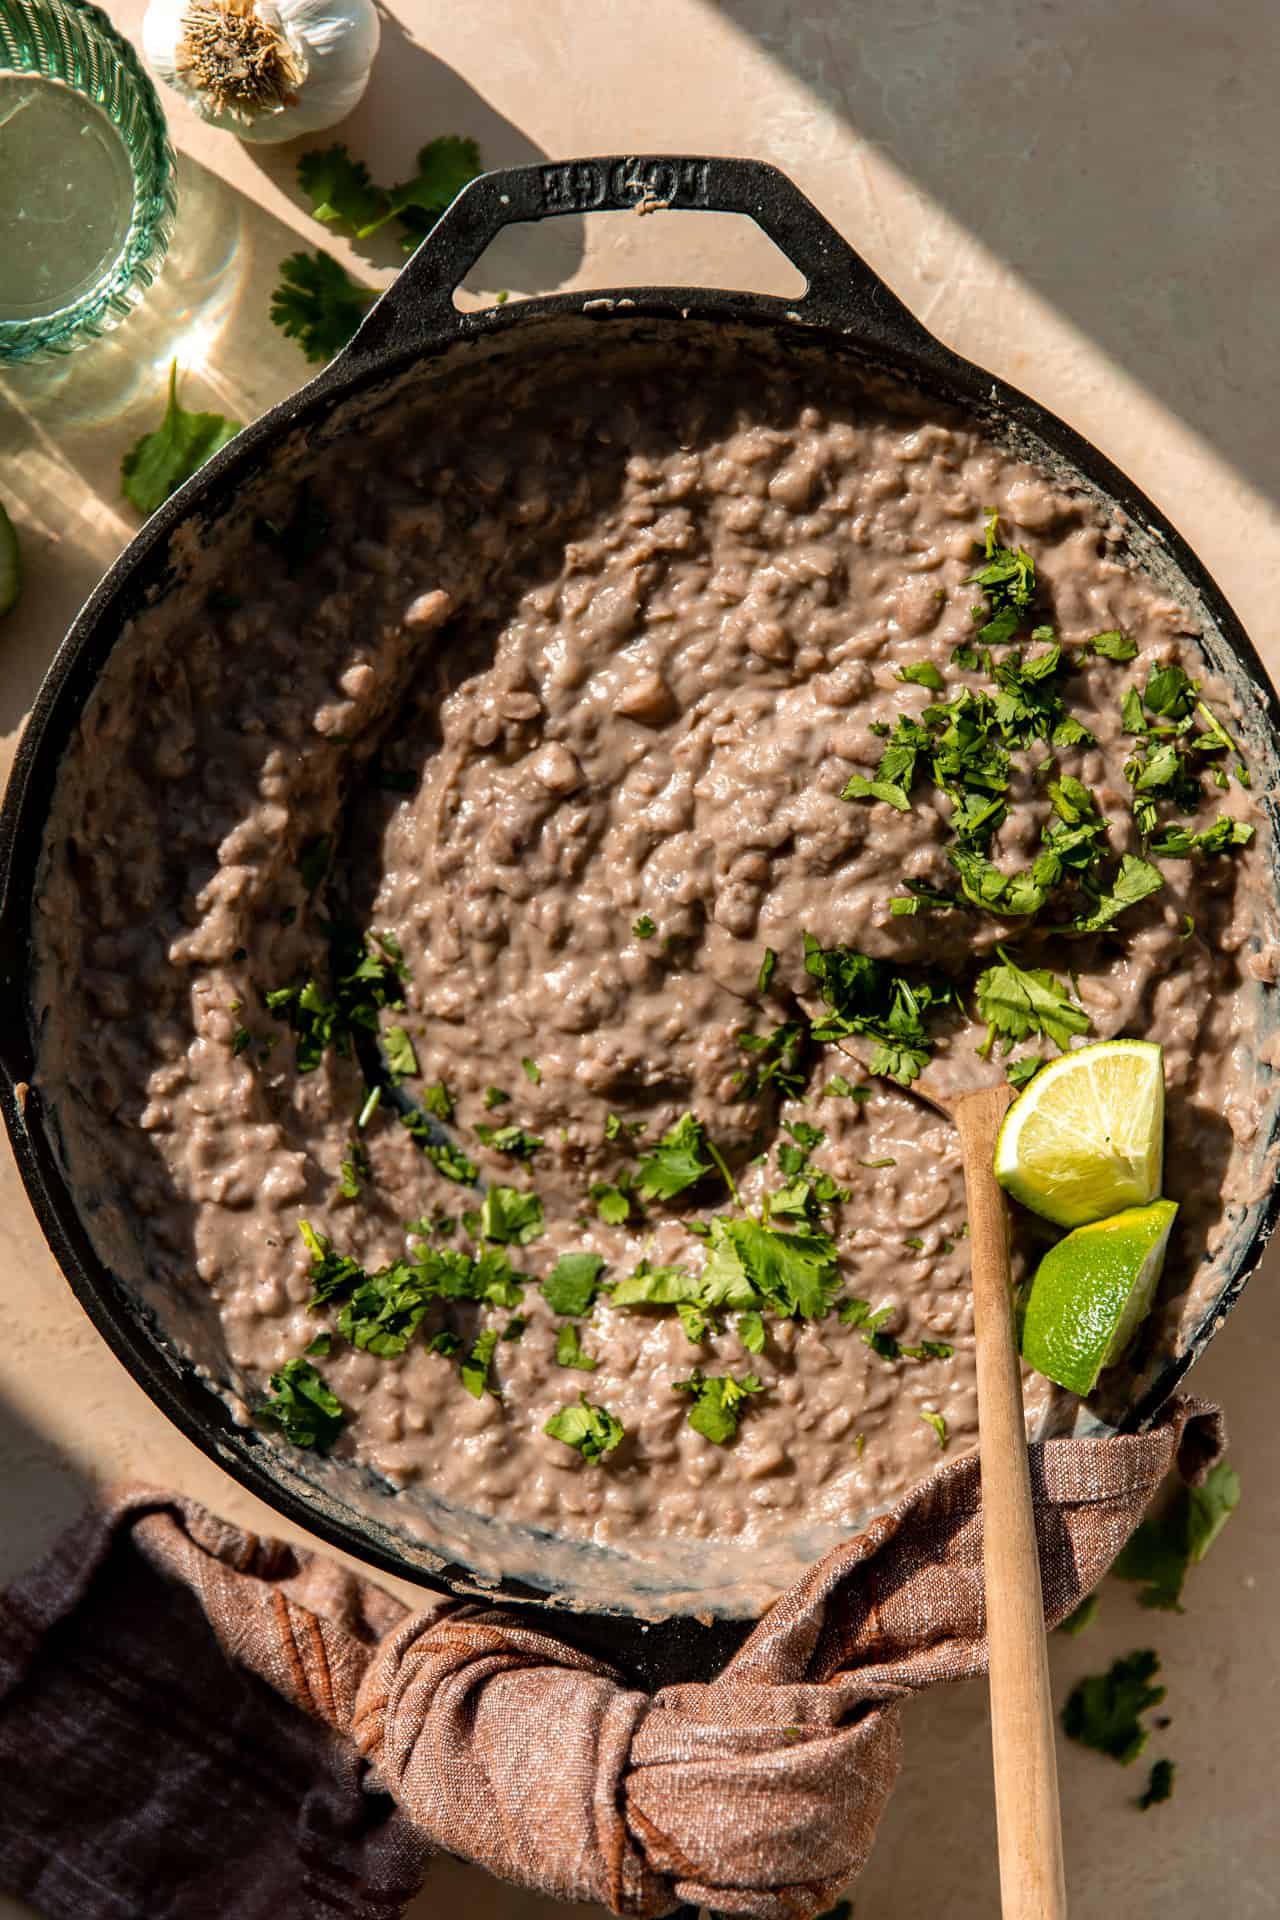
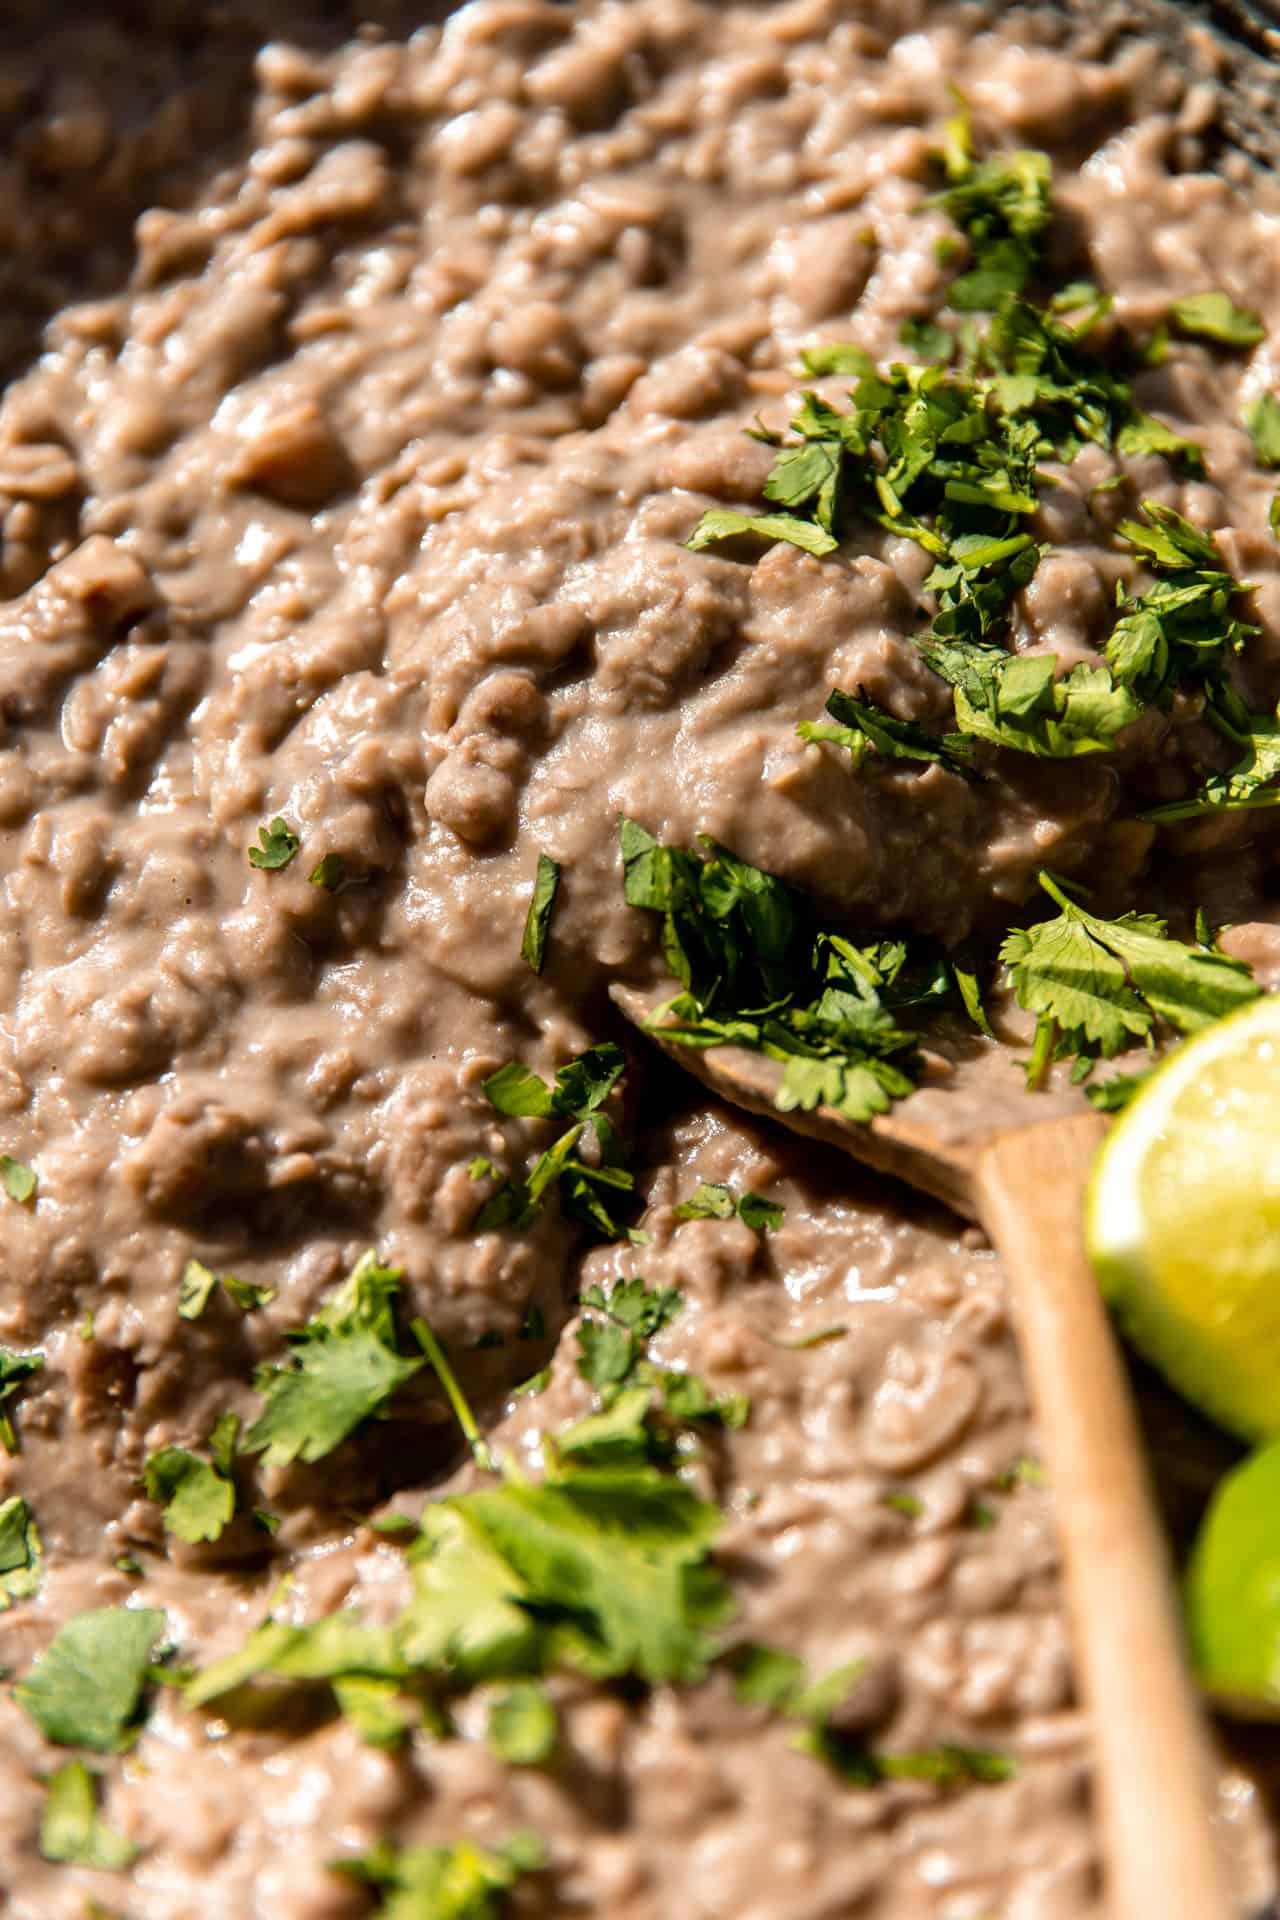
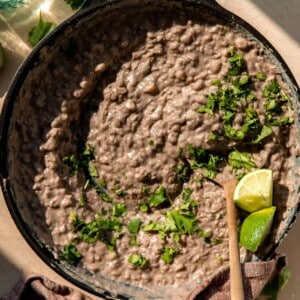
These simple Refried Beans are thick, creamy and powerfully flavorful with just a handful of ingredients. You will never want to eat the canned version again! This recipe has been passed through the Herrera family for generations and are guaranteed to become your new favorite recipe.
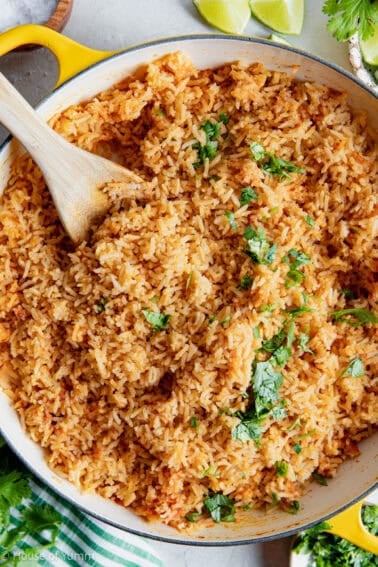
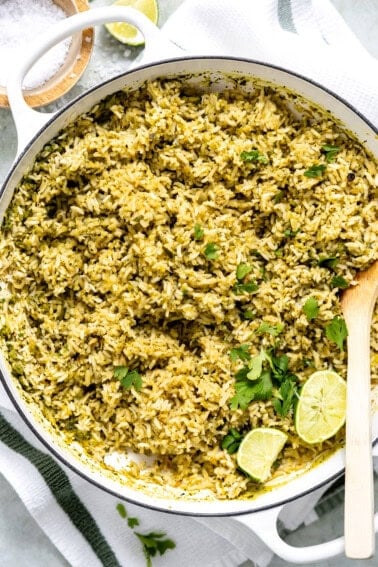
I love serving these refried beans alongside some homemade Mexican rice with our meals. Or using these in some Wet Burritos. Or even in some tacos with the best taco meat.
Herrera Family History

This is a recipe that has been made in the Herrera family for several generations. Perfected in it’s simplicity. One of the most common experiences is walking into Gramma’s home and seeing a large cast iron pan of refried beans simmering away on the stovetop.
There’s so many reasons to love this recipe:
- Customizable: thanks to how simple this recipe is, it’s easy to adjust and make your own. If you want a bit of heat add a dash of cayenne. Add more garlic, or more salt. Maybe you want a dash of cumin. But with this base recipe you can make it your own.
- Healthy Side dish: beans are full of fiber and are a great option for serving alongside all your favorite Tex Mex meals.
- Simplicity: This is such a simple recipe, only a handful of ingredients are needed. Plus you can skip the frying step and still enjoy flavorful refried beans.

Ingredients Needed
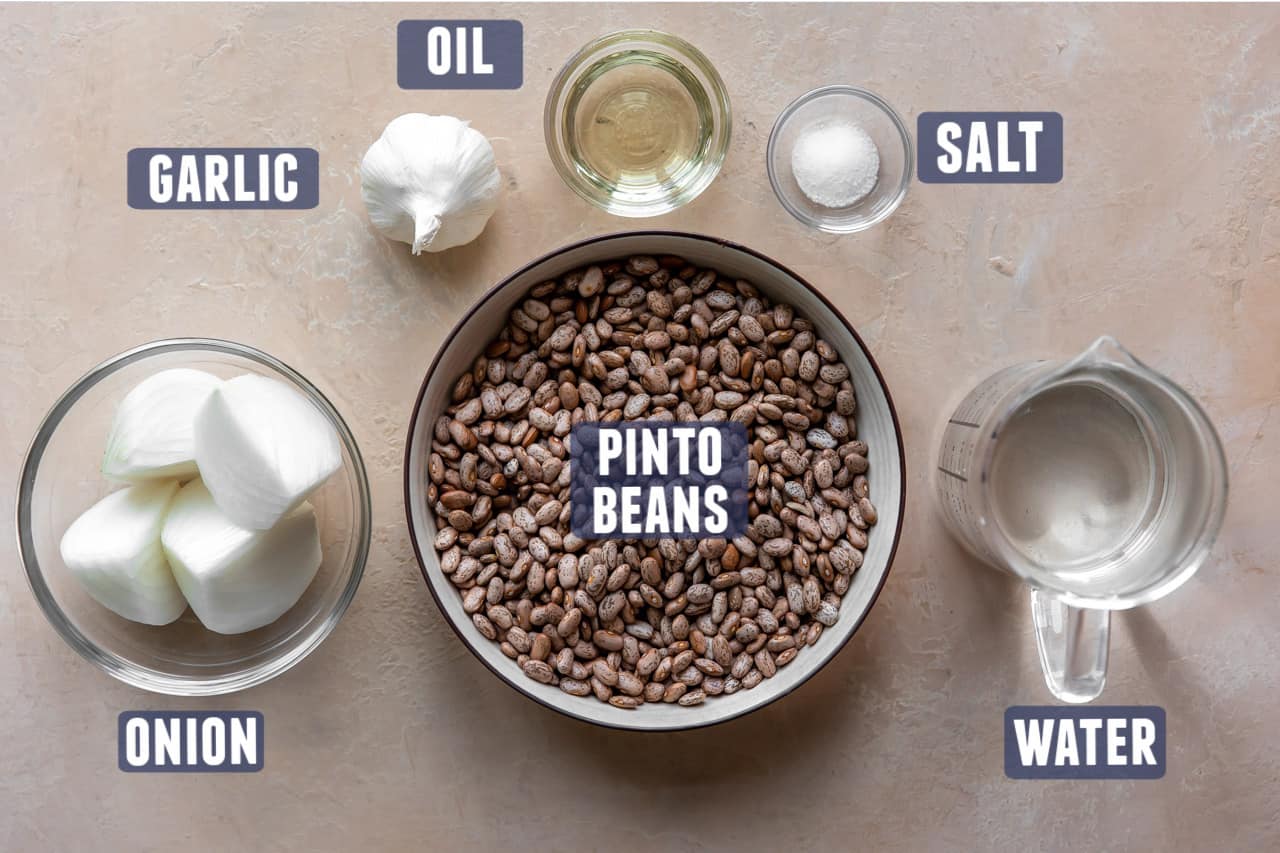
- Pinto Beans: this recipe calls for dried pintos and walks through how to soak and prepare them. You can skip that step and use canned if needed, just make sure to grab cans that have no Salt. Drain and rinse the canned beans, season and mash while frying.
- Oil: Use an oil of your choice for frying in the last step, use a mild tasting oil since it will give flavor to the beans. Some common choices include: lard, corn or canola oil, vegetable oil, or leftover bacon grease (which has a strong flavor, but can be a tasty and fun option.) Pick what works for you, just keep in mind that what you use will flavor the beans, so keep it mild. For this reason, olive oil is not recommended.
How to Make Refried Beans
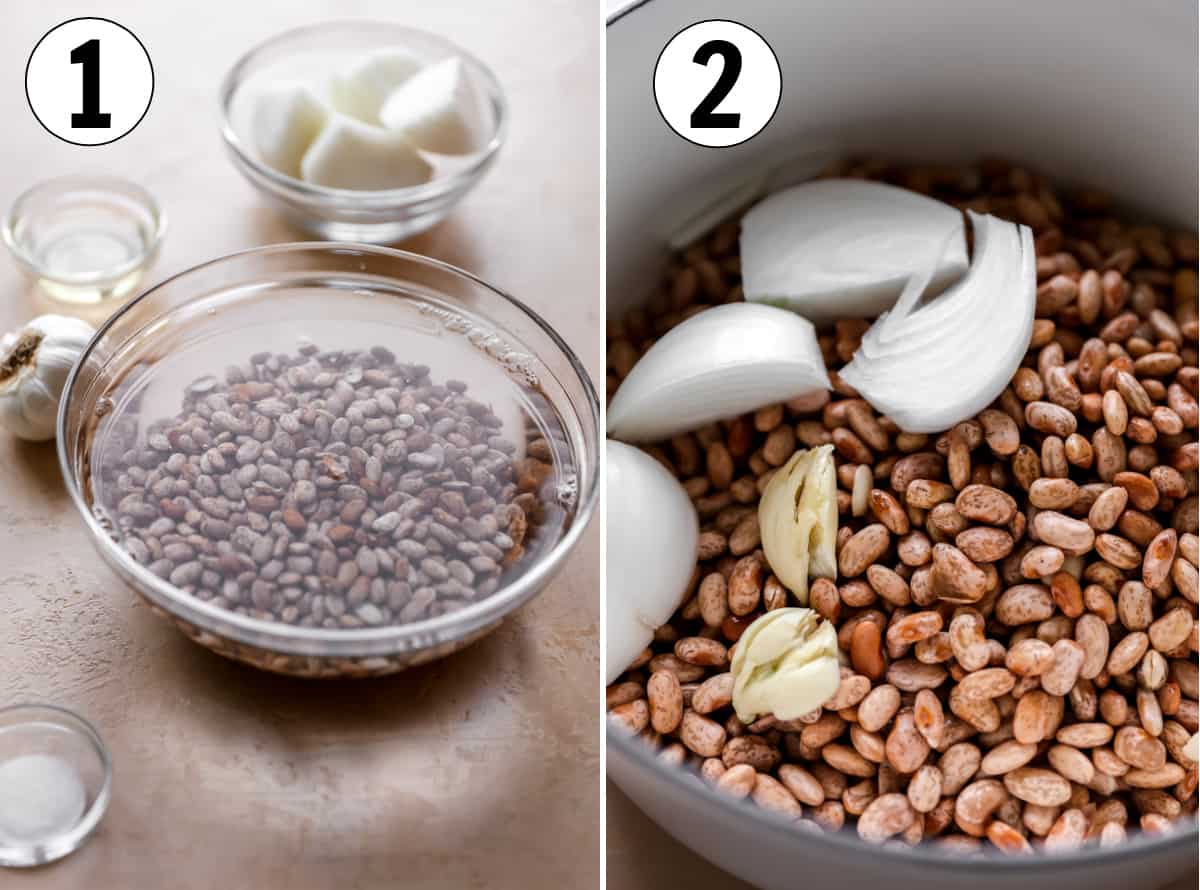
- Soak the pinto beans, it’s easiest to soak them overnight. If you did not soak them, you can still make this recipe by increasing the water and cooking time.
- Cook the pinto beans covered, then continue cooking uncovered for an hour until they are completely softened.
- Heat oil in a large skillet and fry them while mashing up. Spoon in the leftover broth as needed to reach desired consistency.
Storage
- Storing: Store refried beans in a sealed container in the refrigerator for 5-7 days. As they cool and sit the beans will thicken, you may need to add some broth during re-heating to get them back to the desired consistency.
- Freezing: Store beans in the freezer for 3 months. Thaw in the refrigerator overnight.
Watch How To Make
If you make and love our recipes, it would help us if you would leave a comment and rating! And don’t forget to follow along with us on Instagram, Pinterest, Facebook, and YouTube.
Authentic Refried Beans
Ingredients
Instructions
- Prepare: Sort through the beans to ensure that they are good and no rocks are mixed in.
- Soak: Rinse with water in a stainer to clean. Or if soaking the beans, place in a medium size mixing bowl and cover completely with water. Let sit overnight. Strain the beans the next day after soaking.
- Cover: Add the beans smashed garlic and onion to a large pot or pan. Pour the water in. Beans should be fully submerged in water.
- Cook: Bring to a boil, stir in the salt, then turn the heat to low and continue to simmer covered. Allow to cook for about 30 minutes, remove lid, stir, and continue to cook an additional 30-60 minutes until the beans are softened and easily mashed.
- Fry: Once the beans are soft, heat lard or oil in a large cast iron skillet over medium heat. Once the oil is heated, carefully ladle the beans, garlic and some of the bean broth into the skillet. Allow the beans to "fry" in the oil while mashing. Add more bean broth as needed to get desired consistency to the beans.
Video
Notes
- Pinto Beans: this recipe calls for dried beans and walks through how to soak and prepare them. You can skip that step and use canned beans if needed, just make sure to grab cans that have No Salt.
- Soaking Beans: Soaking the beans can save some time when it comes to cooking though. So if you soak them overnight, then you don’t need to cook them as long. If starting with dried beans, increase cooking time to 2 -2.5 hours.
- Beans not softening: If the beans are old, they will take longer to cook and might not become soft enough to mash.
- Hot Water: Very important to this recipe. If you are cooking your beans hotter, then you may find that your water is evaporating too quickly. At this point you can add some more water, just make sure it’s hot water so that the cooking process isn’t stopped or slowed by adding cold water.
- Oil: this is used for frying the beans in the last step, use a mild tasting oil since it will give flavor to the beans. Some common choices include: lard, corn or canola oil, vegetable oil, or leftover bacon grease (which has a strong flavor, but can be a tasty and fun option.)
- To mash or not to mash: If you do mash them, use a potato masher and mash to desired consistency. You could also use a blender for a completely smooth texture.
- Consistency: save the bean broth from cooking the beans and spoon into the beans while mashing to get the consistency you want. If you want a thicker refried bean, then use less water. If you want thinner beans, then you will use more broth.
- Save the leftover bean broth and use it to stir into your leftover beans. As they sit in the refrigerator and chill, they will thicken. Using the broth when you reheat the beans will ensure that you don’t lose any flavor when thinning them back out.
Nutrition
Nutrition information is automatically calculated, so should only be used as an approximation.
Expert Tips
- Soaking: Soaking can save some time when it comes to cooking though. So if you soak them overnight, then you don’t need to cook them as long. If you decide the day of that you want to make this recipe, still go for it. Cooking time will be increased.
- Hot Water: If you are cooking your beans over too high of heat, then you may find that your water is evaporating too quickly. At this point you can add more water, just make sure it’s hot water so that the cooking process isn’t stopped or slowed by adding cold water.
- To mash or not to mash: If you do mash them, use a potato masher and really it’s up to you how much you mash them. Do you want them lumpy? No lumps? Not mashed at all? It’s completely up to you. Or add them to a blender or processor to make them completely smooth.
- Bean Broth: As the beans cook, the water will become broth-like. This is what you will spoon into the beans while mashing to get the consistency you want. If you want a thicker consistency, then use less water. If you want a thinner consistency, then you will use more broth.
- Save the leftover broth and use it to stir into your leftovers. As they sit in the refrigerator and chill, they will thicken. Using the broth when you reheat will ensure that you don’t lose any flavor when thinning them back out.
The recipe for Homemade Refried Beans was originally published on January 29, 2016. Updated July, 16, 2021 and April 9, 2024.
Original instructions did not include any frying of the beans.
Photography done by the talented @KJandCompany.co
One of the best tips I was taught in regards to cooking beans was not to add salt to your water until the beans cooked about 3/4 of the way through because it darkens the color of the beans. Also, when simmering on the stove leave the lid a bit off so steam can evaporate and make sure your fire is med-low, this will help them not to boil too hard and keeps them from splattering all over the side of your pot.
In regards to refrying the beans most Mexicans I know (my family) we use either manteca (lard) or bacon grease saved from weekend breakfasts. Though not vegetarian friendly or necessarily healthy, it does add that distinct flavor. Of course this is all personal preference, but I can tell you I’ve gotten soooo many compliments on my refried beans. You just add the grease to a deep skillet and let it get hot, then with a slotted spoon transfer the beans, reserving the liquid, and “fry” for a few minutes. Then add as much reserved liquid to get your desired consistency and begin smashing. Stir between smashing, as needed, to prevent sticking to the skillet. Once you’ve got the consistency you like, sprinkle cheese on top and let it melt. I use cheddar or pepper jack or a combo of both. Either way these are delish!
Thanks so much for that information Monique! It’s so fun to learn how other families make recipes. This is just how our side of the Herrera family has made them for many generations 🙂 I love the tip about the salt darkening the beans. I haven’t heard of that! And frying the beans in bacon grease?! Oh my!! I will have to give that a try!
My Grandma and my mom always soaked them and now I’ve learned that you should because of lectins in the beans. Also they cook faster and have less air if you know what I mean. I’m here looking for an authentic recipe that calls for only the basics since my hubby is from Mexico and he freaked when the 1st time I made them I put cumin like many tell you to use. I actually threw them out and made them with lard ,salt, and garlic he was happy. I even got a 9 since he said it would be a 10 with chorizo or bacon.? I also do all the things Monique said except I’ll have to try that with the salt.
Can you use canned beans instead of dry?
Hi Jennifer! The recipe is for cooking the beans, the canned beans will already be cooked and softened. You could always just mash canned whole pinto beans, but they wouldn’t have the same flavor since they weren’t cooked with the garlic to season them.
Just made these beans today. Refried beans are in my top 5 favorite foods, I always try to make Mexican food at home but can never recreate the refried beans–which are the best part! I am beyond surprised at the simplicity of the recipe and the fact that you don’t have to soak the beans is a real life savor for me. I ended up using a whisk to stir and mix the beans near the last 30 minutes on the stove, this crushed them just enough for my liking. They taste better than restaurant style refried beans and I am super grateful that I can now make my favorite Mexican dish at home.
Yay!! I’m glad you enjoyed Marissa! Thanks so much for sharing 🙂
LOVE that this is a family recipe with a story behind it – those are always the best!
I agree 🙂 Thanks Melanie
Who knew that it was so easy to make your own refried beans?! Love this!
So easy!! Thanks Des!
Your homemade refried beans recipe is such a healthy way to enjoy my old Mexican favorite. I stopped eating them in restaurants but I will certainly try this healthy yummy recipe!
Thanks so much Deborah! Definitely much healthier and cleaner with only those two ingredients 🙂
Okay, so am I a major ding dong for never even thinking that you could make refried beans yourself?! Don’t answer 🙂 These look so good, and of course everything tastes better when “Gramma” makes it! I’m glad you have some fab family recipes to enjoy!
Thanks so much Patricia! And yes! Gramma does everything better right? It’s always comforting to re-create family recipes 🙂
Your recipe sounds so good! I need to try it since I have never made homemade refried beans!
Thanks so much Anna! They are so easy I hope you give them a try 🙂
OH these beans look so much better then ones in a can! Look super easy to make too. Will try for sure.
Thanks so much Becky! They taste so much better too 🙂
I have never made homemade beans before. I really think I need to, because my husband and son would go crazy for these!
They’re so easy to make I hope you give them a try!
I am making these for new years party…. wish me luck
Hope they turned out! Happy New Year!
Those are not refried beans, the concept is there, but the end product is inconsistent, I don t mash the beans, I just stir them with a whisk, till smooth, once all the water is gone, and the beans look like a ball of dough, move all the beans to one side of the pot, add in bacon fat or lard, turn heat to high, until you actually see the beans frying, whisk till nice and smooth again. Hince the term refried beans.
The beans can be fried after cooking and mashing if you want. It is not a requirement when making refried beans though. The name is misleading and comes from a poor translation of the Spanish name frijoles refritos.
I agree with you Matt. I had a very good friend from Leon, Mexico that taught me to make them and mash them and then finishing them in LARD in a hot skillet is exactly how she did it. (Leon is down by Monterey). Terri shared her family recipes for many traditional dishes. I do know that Mexico has many regional dishes and they vary a lot. Being from around the Sa Antonio area myself I know the TexMex cuisine is different from other areas too.
Why are you looking up recipes for refried beans if you already know so much about them?
The whole point of this recipe is to adjust to your own taste, if you read it carefully. I made it last night in pressure cooker, and it was done in one hour, from fist soak water, to rinse and cooking in second water. I saved some cooking water and as I mashed I was adding it little by little. Another alternation of this basic recipe was olive oil, which I was adding while mashing, and also, I sprinkled some dry cilantro on top, transforming flakes into green powder. Thin slices of jalopeno peppers were beautiful addition to my presentatio, not to mention the taste.
Thanks so much! I’m so glad you enjoyed the recipe! Thanks for the additional info on making them in the instant pot also.
Touche!
Thanks for the chuckle, Bean King. At any rate, once the beans are at the mashing stage, lard is a must-add. I like to thin my beans with milk. I live in Mexico and I know things.