This post may contain affiliate links. Please read our disclosure policy.
This all-butter pie crust is everything you want in a homemade crust—flaky, golden, and so rich with buttery goodness it almost melts in your mouth. Made with just a handful of simple ingredients, it’s versatile enough to pair with any filling, whether you’re going classic apple, decadent chocolate, or savory quiche. And best of all, it’s easy enough for beginners but still has that professional bakery finish. You’ll be proud to serve it up with any pie, any time!
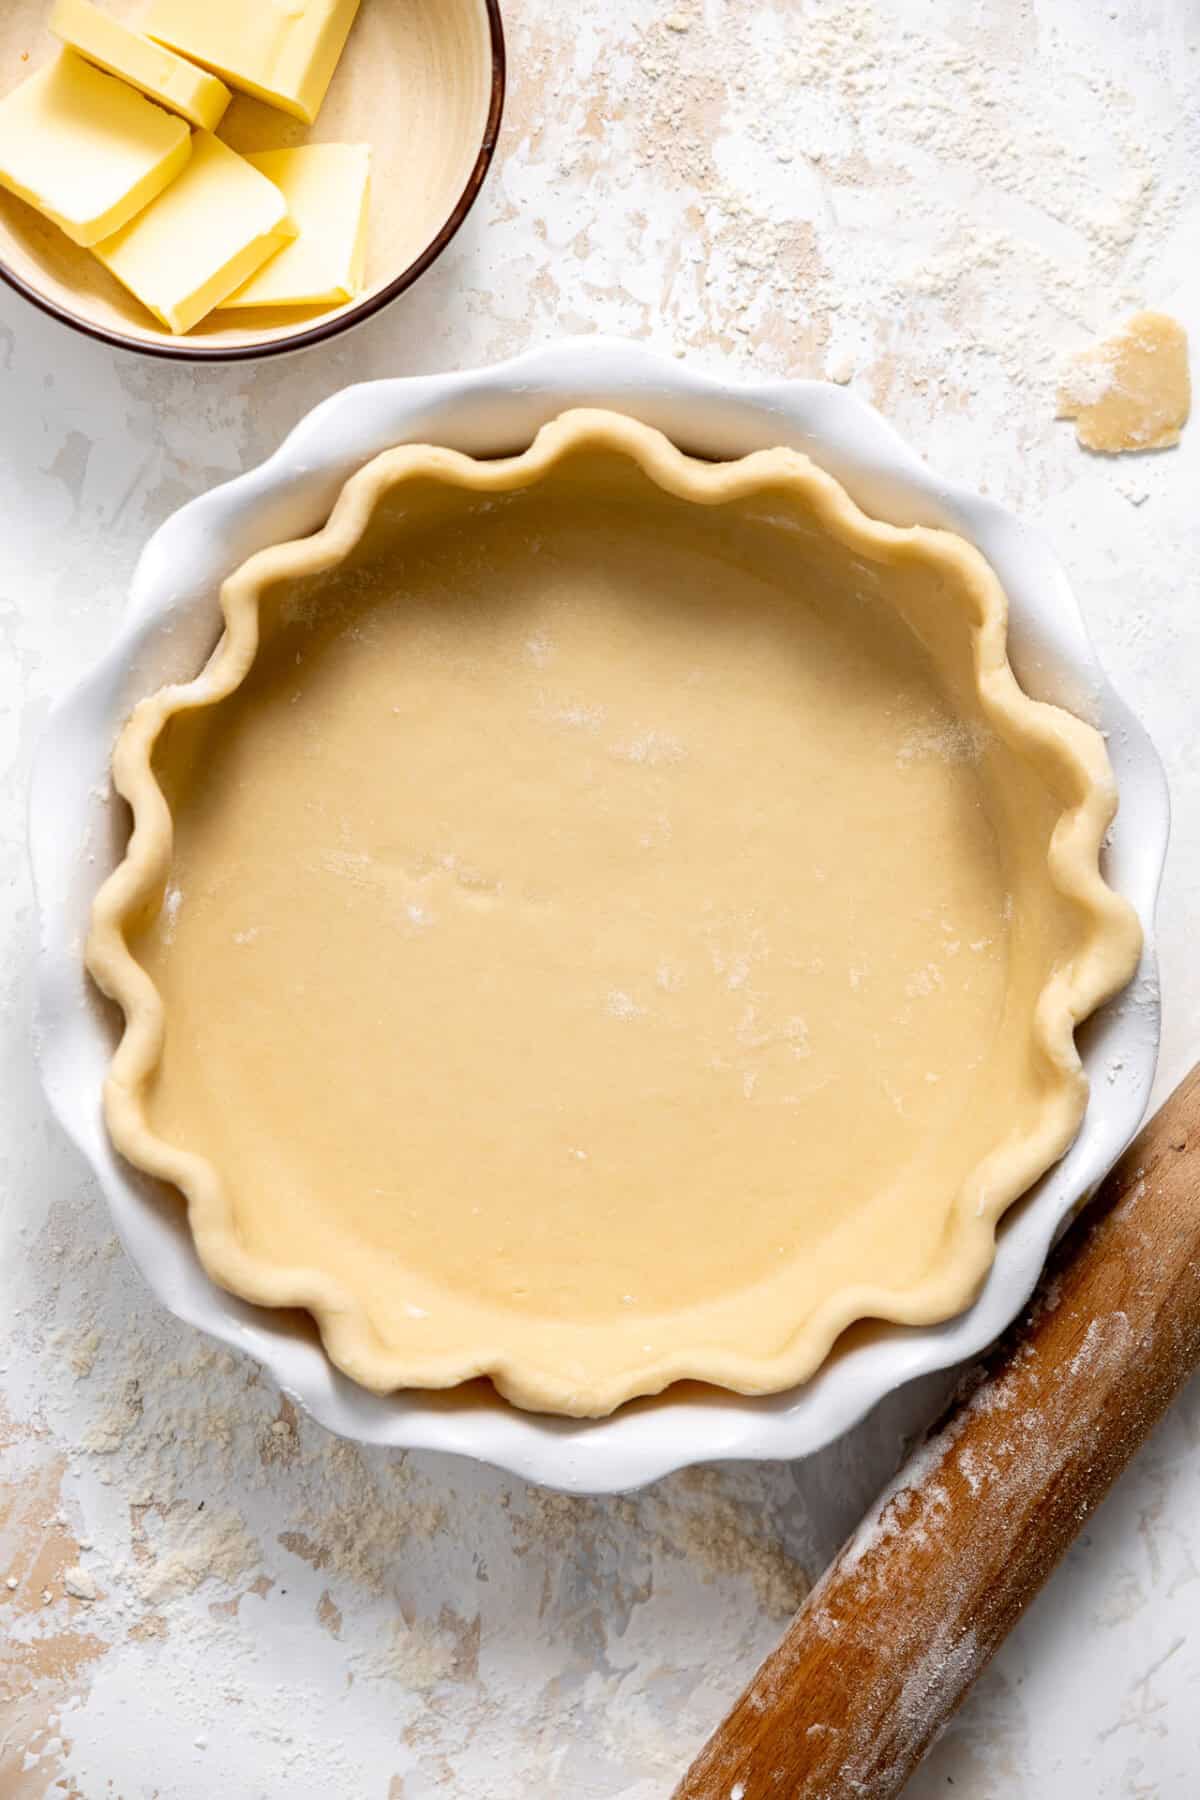
Pie Crust That Never Fails

This pie crust is the one I grew up on—the same recipe my mom used for every family gathering and holiday. It’s stayed perfectly unchanged because it’s just that good. Sure, I’ve picked up a few modern tricks for mixing the dough (thanks to my mom again!), but the buttery flavor and flaky texture? Pure nostalgia.
I used to find pie crusts intimidating, but once my mom showed me her method, it finally clicked. Now I’m so excited to share this classic recipe with you, so you can create the perfect crust for all your favorite pies!

Table of Contents
Why You Will Love This Recipe
- Flaky Texture: The all-butter base makes it perfectly flaky every time.
- Incredible Flavor: Rich, buttery goodness in every bite.
- Simple Ingredients: Just the essentials, no fuss.
- Beginner-Friendly: Easy enough for first-timers with a few helpful tips.
- Versatile: Perfect for sweet or savory pies, quiches, and more!
- Family-Approved Classic: A tried-and-true recipe passed down through generations.
This is a fantastic, fast, and delicious pastry crust recipe!
Ingredients Needed
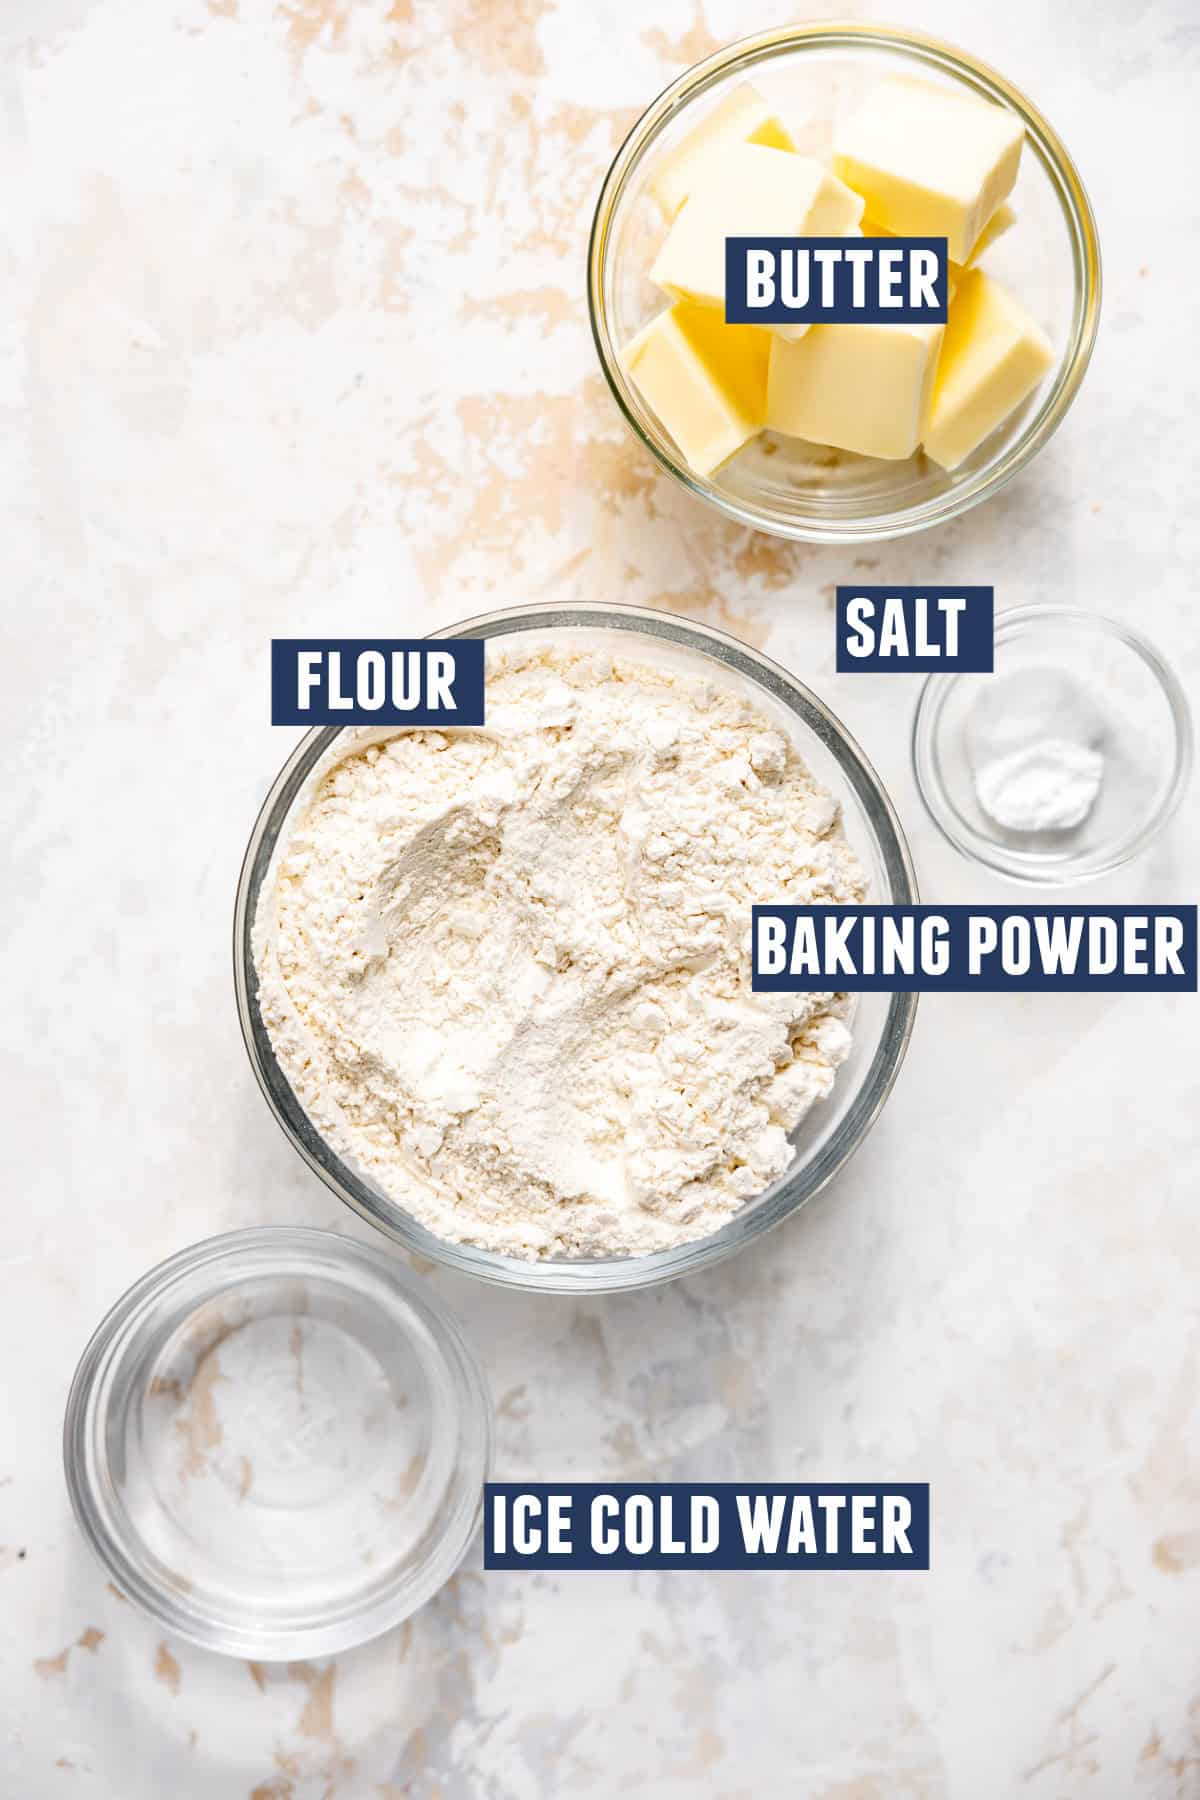
- Flour: This recipe uses all purpose flour. You can swap it for a gluten free 1:1 if needed.
- Baking powder: A small amount is used to improve the texture, this helps it become tender and flaky.
- Salt: for flavoring. A fine sea salt is great for this pie crust.
- Water: I love using ice water to help keep the temperature of the butter cold in the crust before baking.
How to Make Flaky Butter Pie Crust:
Find the complete recipe card below with measurements and full instructions.
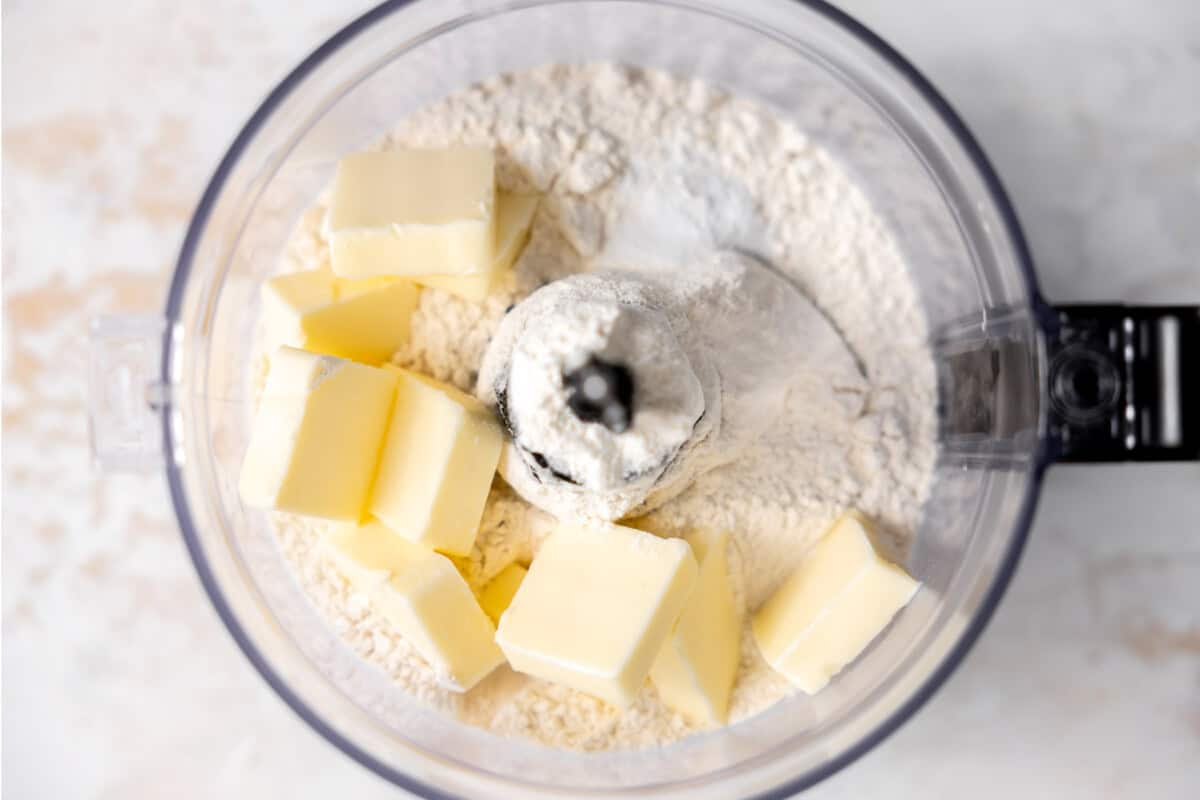
- Combine the flour, salt and baking powder in a food processor. Give it one to two pulses to mix the dry ingredients.
- Add in cold butter that has been cut into small squares. Pulse the food processor until the butter is incorporated into the flour. It will look as though it’s just flour in the processor.
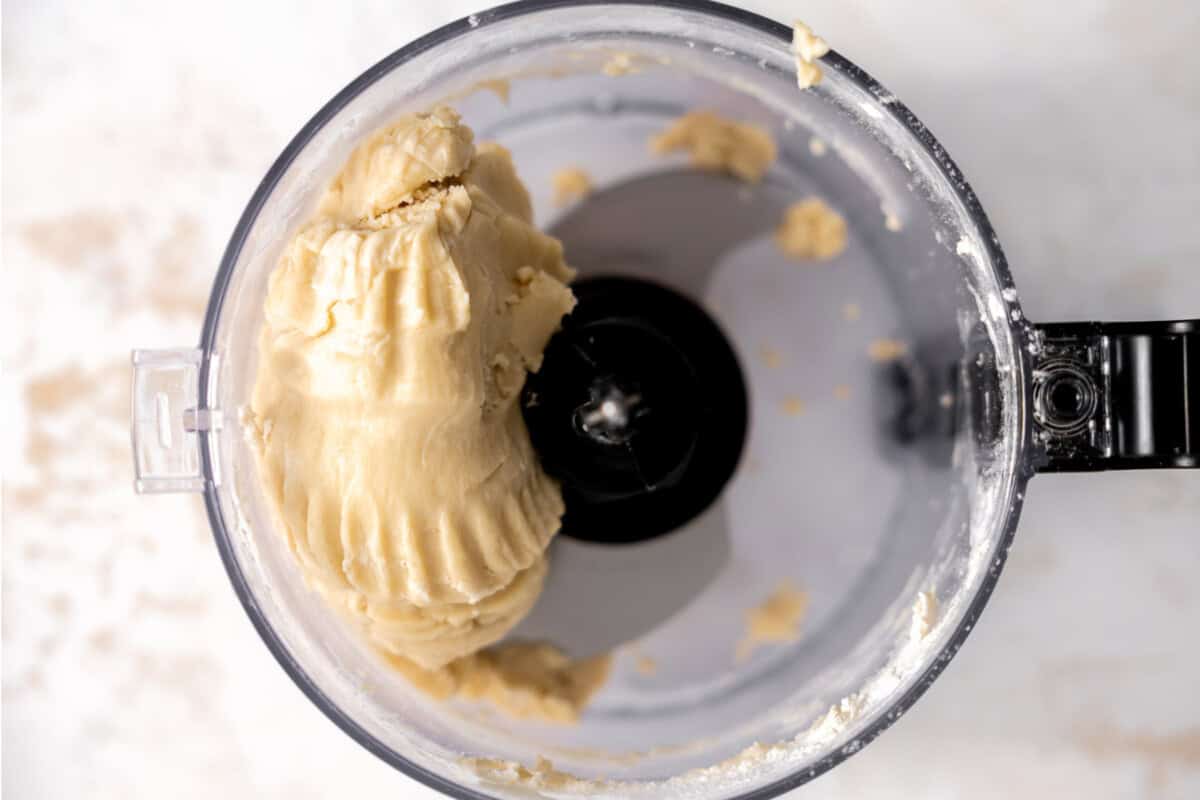
- Gradually add the ice water, starting with 2 tablespoons and pulsing until combined. Then, add more water one tablespoon at a time, mixing fully after each addition. Once the dough comes together and forms a ball in the food processor, stop—your pie crust dough is ready
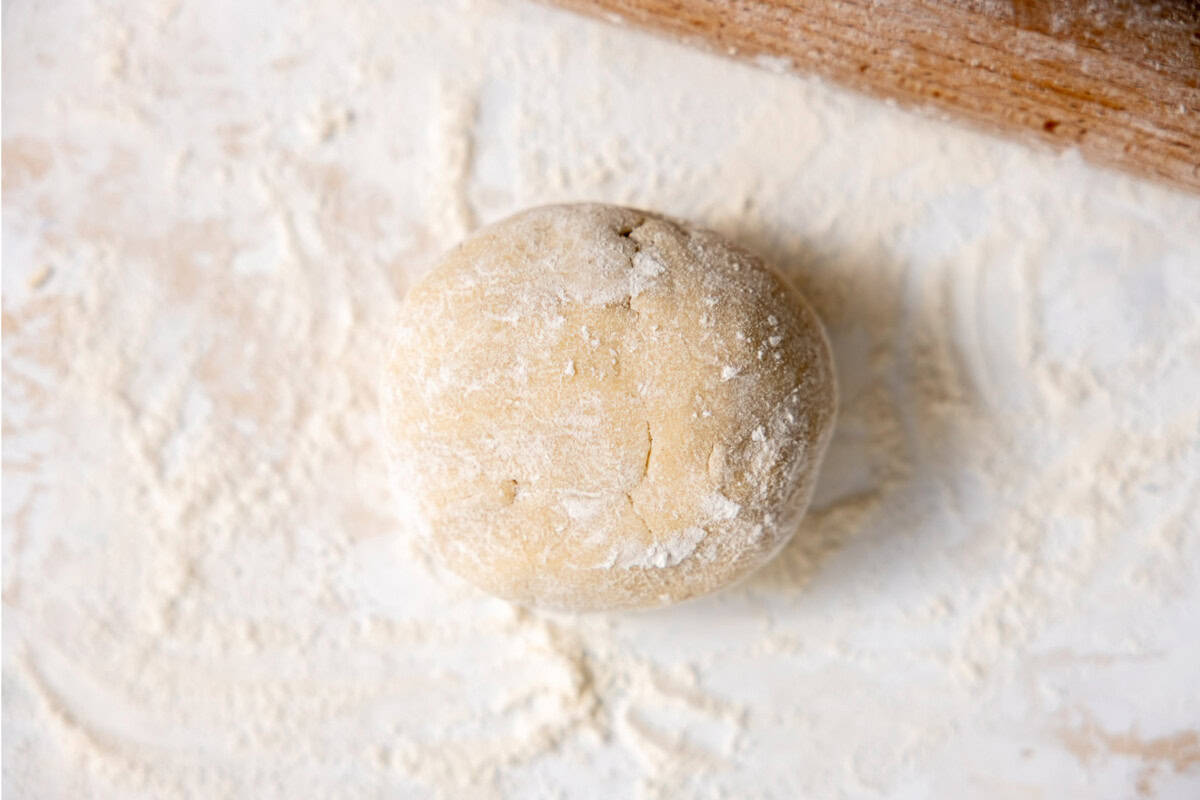
- Lightly sprinkle a clean countertop with flour. Dust your hands with flour and rub it over the rolling pin. Place the pie dough on the floured surface, then roll it out to about 1/4-inch thick.
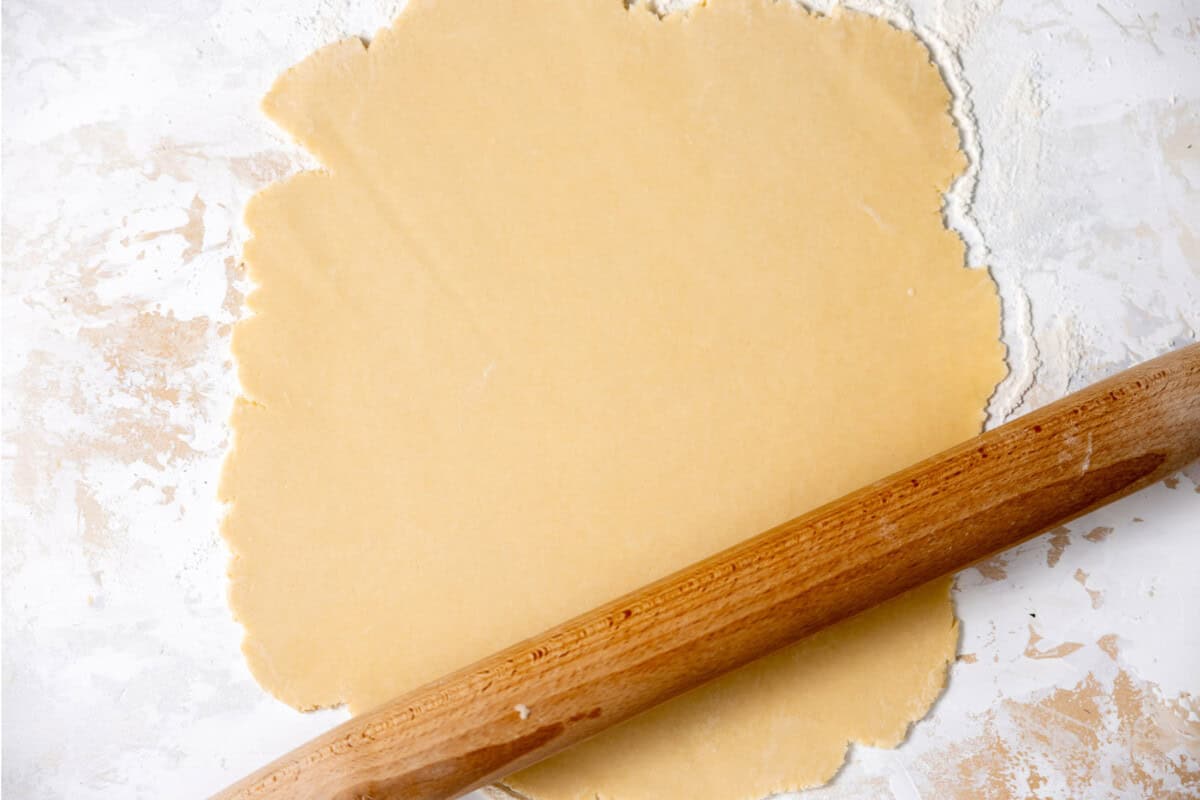
- Gently roll the pie crust around the rolling pin and lay the crust in a pie dish.
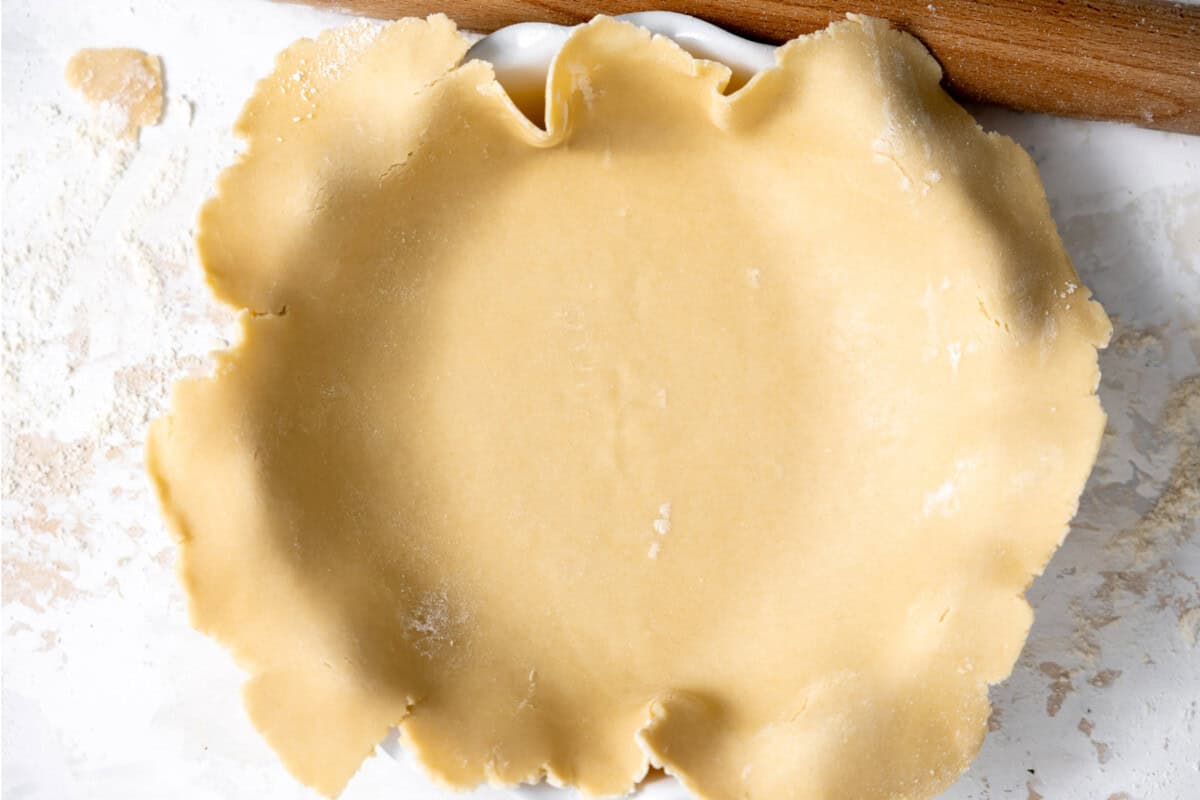
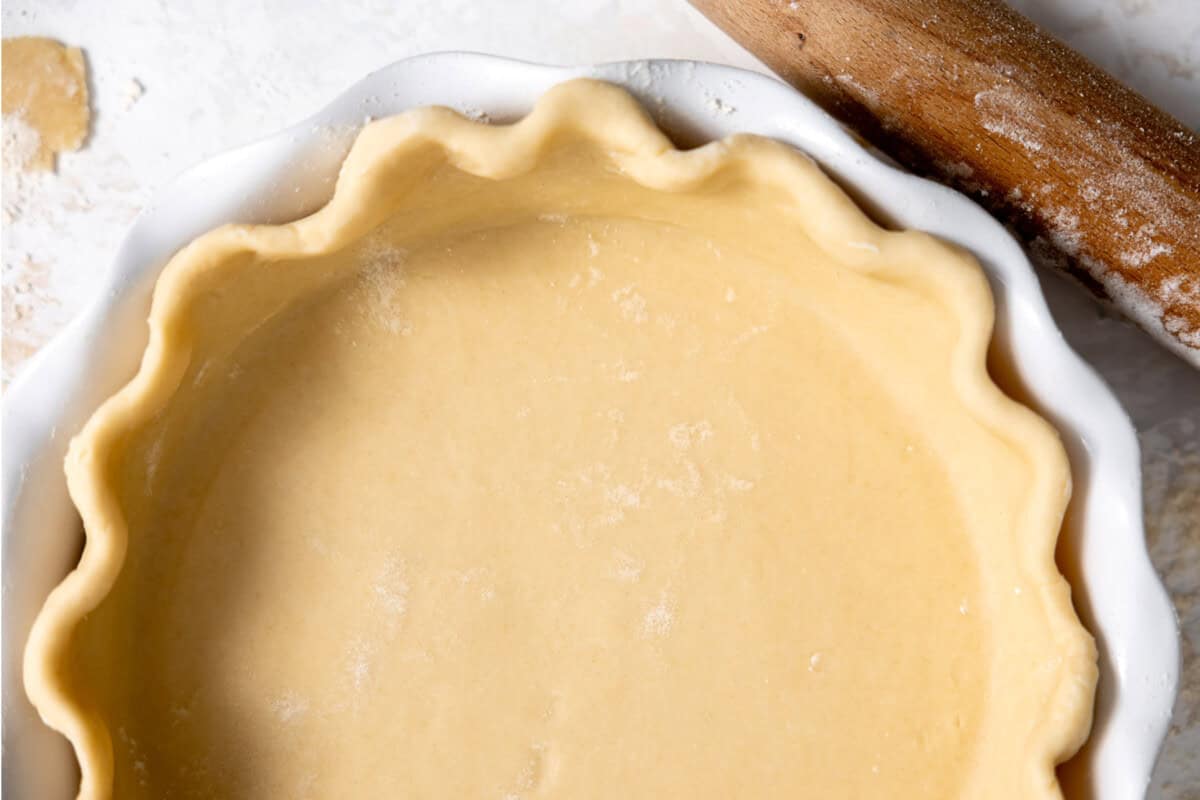
- Cut off the excess pie crust dough and flute the edges. Here’s some instructions on fluting, and making other decorative edges.
Make Ahead
Make Ahead Instructions: this pie crust can be made ahead of time, formed into a disk shape and wrapped in plastic. Place this in a freezer bag and store in the freezer for up to 3 months. You could roll the pie crust and place in a pie dish and freeze this way also, it just takes up more space in the freezer.
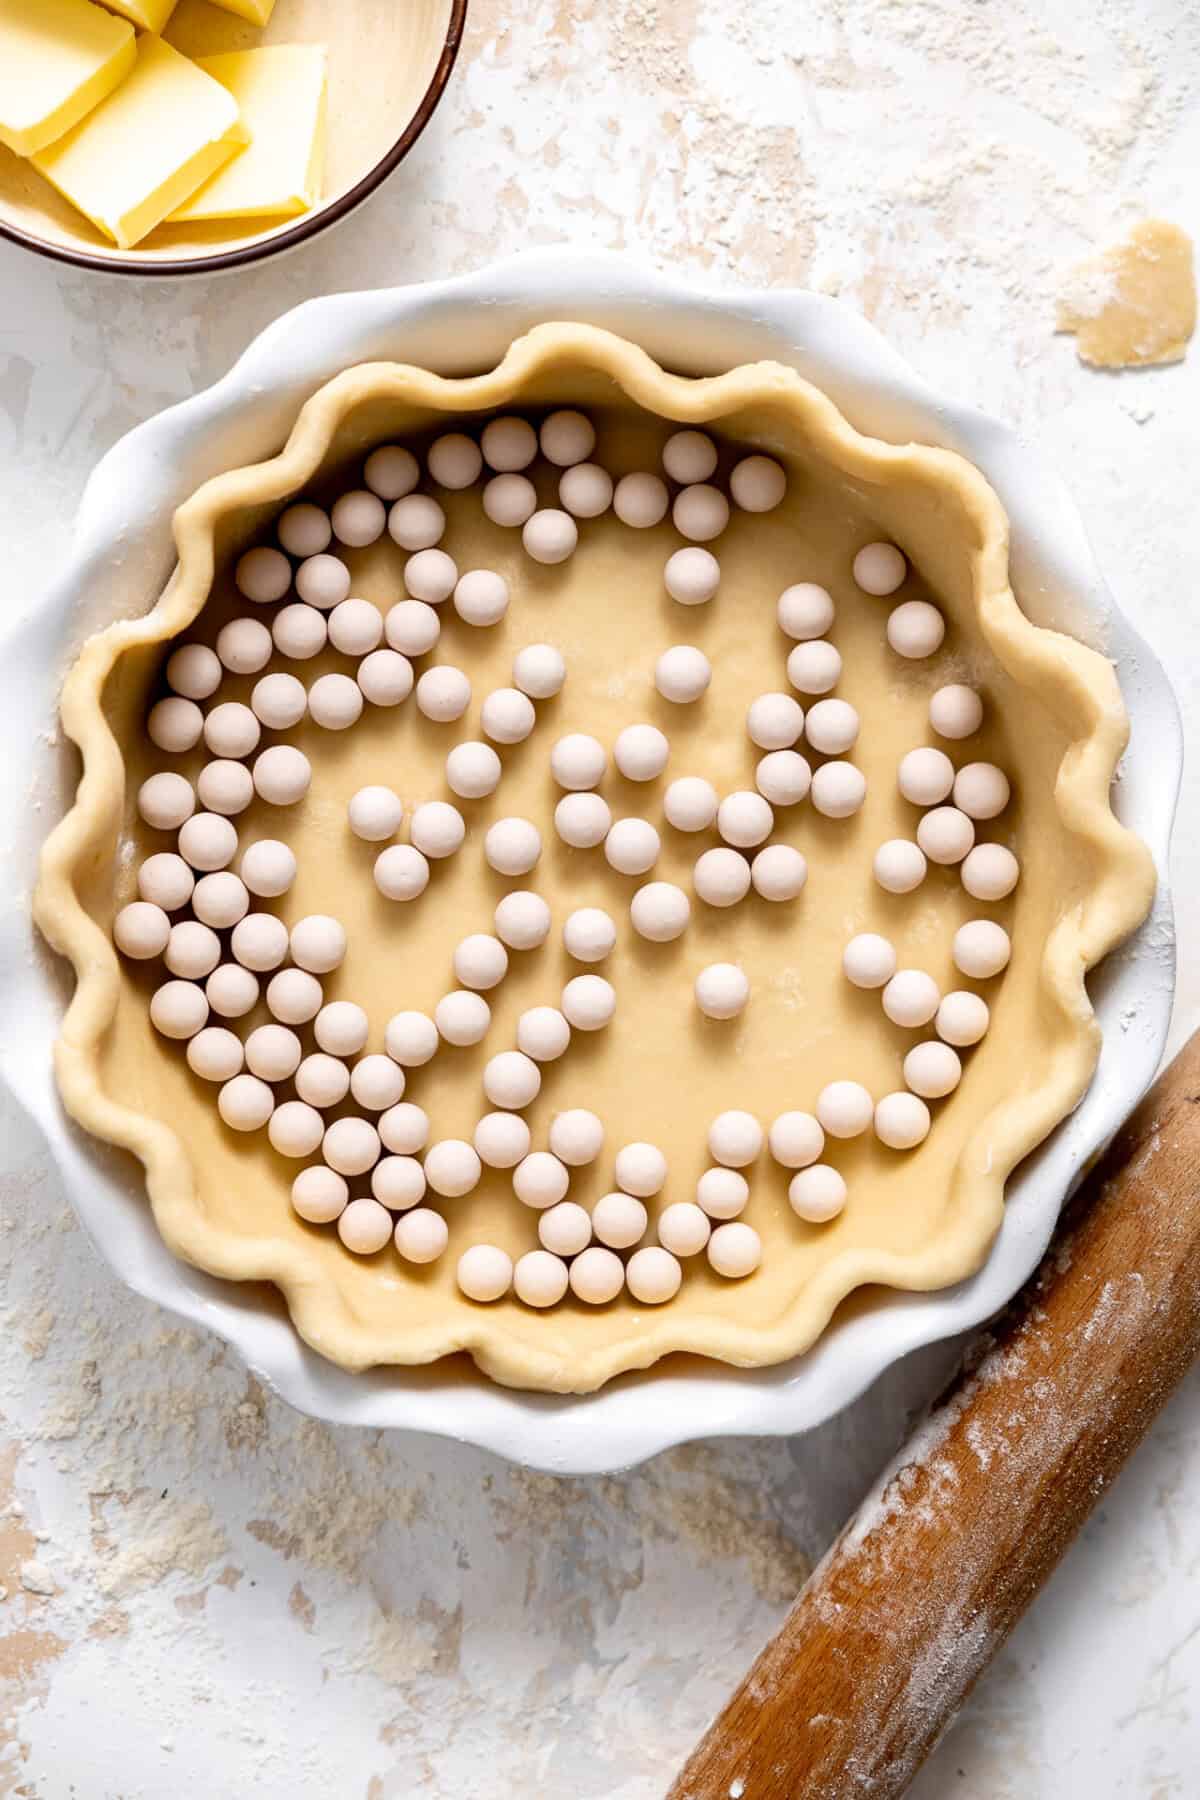
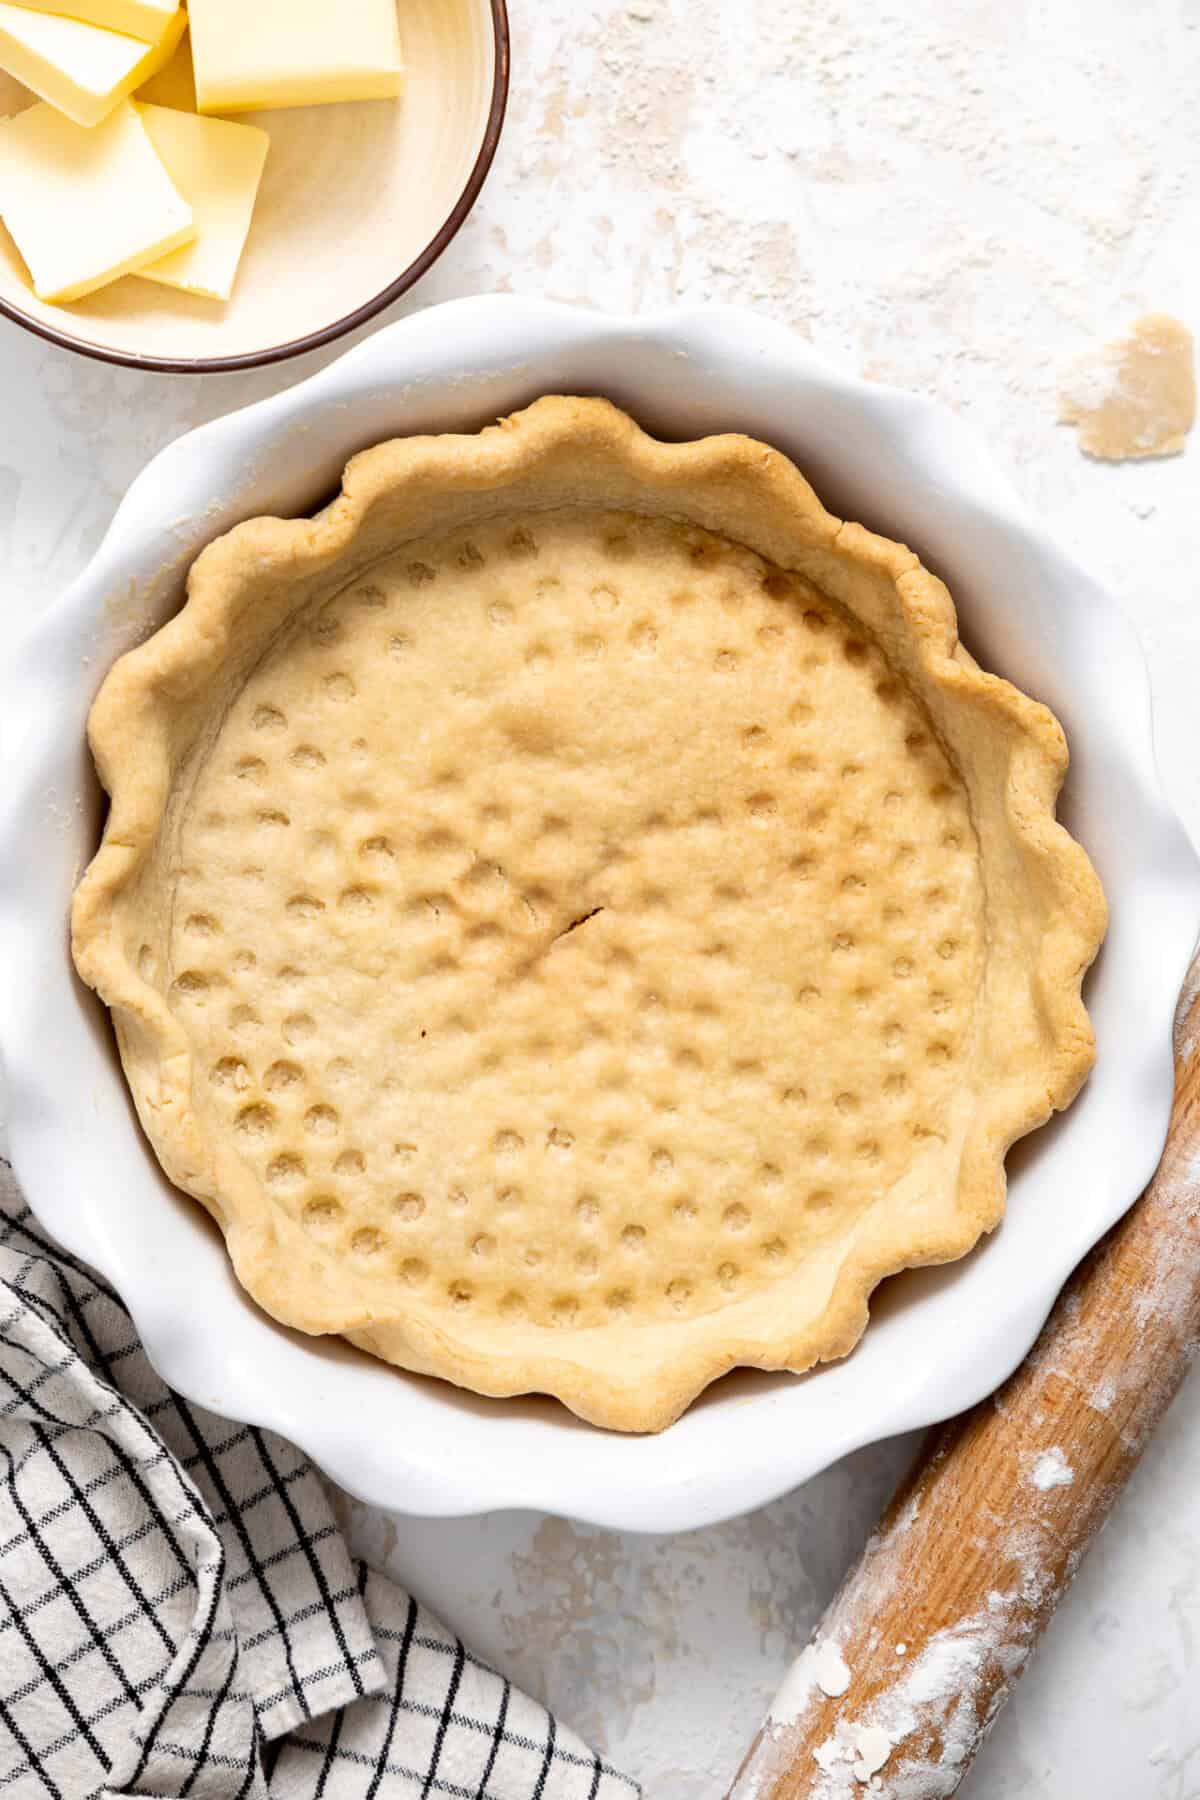
How to Blind Bake a Pie Crust
For recipes needing a pre-baked crust, like quiche, follow these steps:
Bake: Bake for 20 minutes. Then, remove the parchment and weights, and bake for another 10 minutes.
Preheat the oven to 350°F.
Prepare the crust: Line it with parchment paper and fill with pie weights or dried beans (save these beans for future baking only).
Tip: I skip poking holes in the crust to avoid mess with runny fillings, especially for quiches. Using weights keeps the crust in shape without holes.
Recipes that use Pie Crust
Easy Butter Pie Crust
Ingredients
- 1 ¼ cup all purpose flour
- 1/4 tsp salt
- 1/8 tsp baking powder
- 8 tbsp unsalted butter cold
- 2-4 tbsp ice water
Instructions
- In a food processor add the flour, baking powder, and salt. Pulse just to mix.
- Slice the cold butter into tablespoon size slices, add to the food processor. Pulse until combined together.
- Add in two tablespoons of cold ice water, pulse and check consistency. Add water slowly and pulsing the food processor until the dough clumps together. (check pictures above to see what it looks like).
- Sprinkle a small amount of flour on a clean, flat work surface. Remove the dough from the processor and place on the counter. Gently shape the dough into a circular disk
- Using a rolling pin lightly sprinkled in flour roll out the dough into a large circle shape, about 1/4 inch thick.
- Carefully lift the pie crust and place in a glass 9 inch pie dish. Cut off the excess crust and crimp or flute the edge of the crust using your fingers.
- Either blind bake or fill with pie filling and bake according to recipe.
Video
Equipment
Notes
Nutrition
Nutrition information is automatically calculated, so should only be used as an approximation.
Pin this now to save it for later
Pin It NowPie Crust FAQs
Why Use Cold Ingredients?
Keeping ingredients cold, especially the butter, ensures a flaky crust. When cold butter melts in the oven, it creates steam, forming layers. Warm ingredients can make the crust tough and crunchy instead of flaky.
Should I Use Vodka in Pie Crust?
Vodka is a trick from Cook’s Illustrated, suggesting that 40% of the crust’s moisture come from cold vodka for added flakiness. While my recipe doesn’t need this, if you’re curious, replace half the cold water with cold vodka.
Is Chilling the Pie Crust Necessary?
I bake this crust right after making it. If you’re not baking immediately, chilling is fine, but it’s not essential if you’re ready to bake!
What if my pie crust is getting too dark before the pie is done?
If your crust is browning too quickly—common with pies that bake a long time, like pecan—use a pie shield. This handy tool covers the edges, leaving the center open so the pie can finish baking without burning the crust. In a pinch, you can also use strips of foil along the crust edges, but a pie shield is much easier to work with.
Pie Recipes
Photography by KJandCompany.co


I made this today… it came together perfectly and rolled out great… after baking a pumpkin pie.. I felt like the crust tasted dry… I was sad because it was so easy I was excited!! I make butter crusts that turn out buttery and flaky… but don’t come together so easy… any suggestions?
Hi Kathy! I am so sorry it wasn’t as you were expecting. Are you saying it tasted dry? Or it was dry texturally? Just that the buttery flavor wasn’t as prominent as you had hoped? I would love to help you out, but I need a little more information!
Hey! Thank you for the reply.. after taking a bite it tasted dry like I need a drink of water after to wash it down… and it didn’t seem flaky… I did try it again but stopped before it formed a ball and it was better… but I also think my butter may have become too warm… I cldnt see chunks in the dough… thank you for any advice!! The easier this process is… the more pie I’ll make🥰 husband will b happy!!
Hi Kathy! It sounds like the dough may have been overworked, or as you said the butter was too warm. Add the butter directly from the fridge, just give it a chop before adding to the processor. You can also chop the butter and place it in the freezer briefly before adding to the processor. Once the dough has come together stop using the processor and place onto a surface to finish up the job. We just want to use the processor to cut the butter into the flour in a quick and easy way.
Before I make this, everytime I make an all butter crust when baking the butter comes oozing out of the dough and I’m left with a dark brown rigid pie crust. So what prevents this? I cube the butter and put in freezer for 20 minutes. Chill the rolled out dough in pie plate. And it stil happens. Please help.
Hmm..I have never experienced this. All I can think is maybe your butter is too cold being in the freezer first, and it’s not mixing properly with the flour. Try using just cold butter from the fridge. And oftentimes I don’t even chill the pie crust again before baking if I’m adding my filling right away.
Thais is a fantastic, fast, and delicious pastry crust recipe!
This was super easy to make, rolled out perfectly, and tastes delicious!
Would you double this recipe to make a top crust for a pie?