This post may contain affiliate links. Please read our disclosure policy.

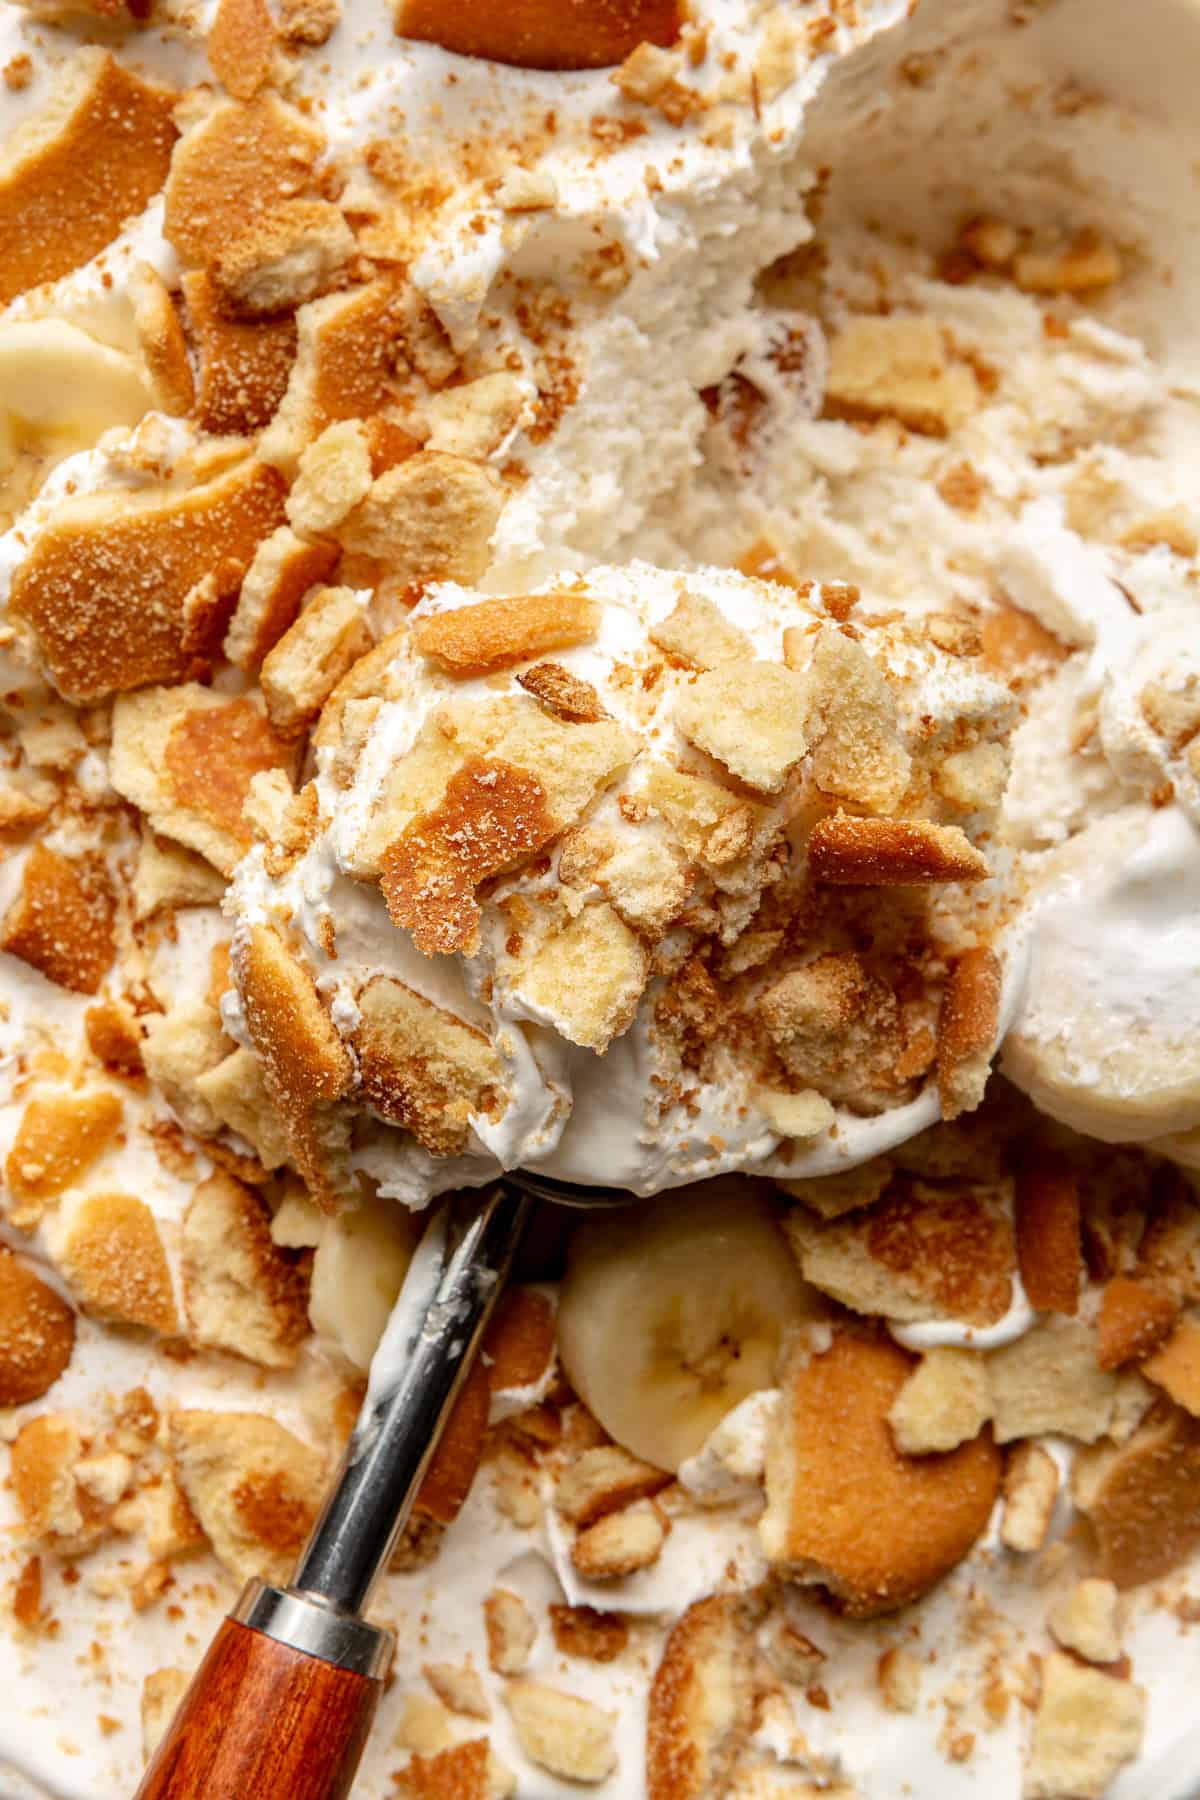
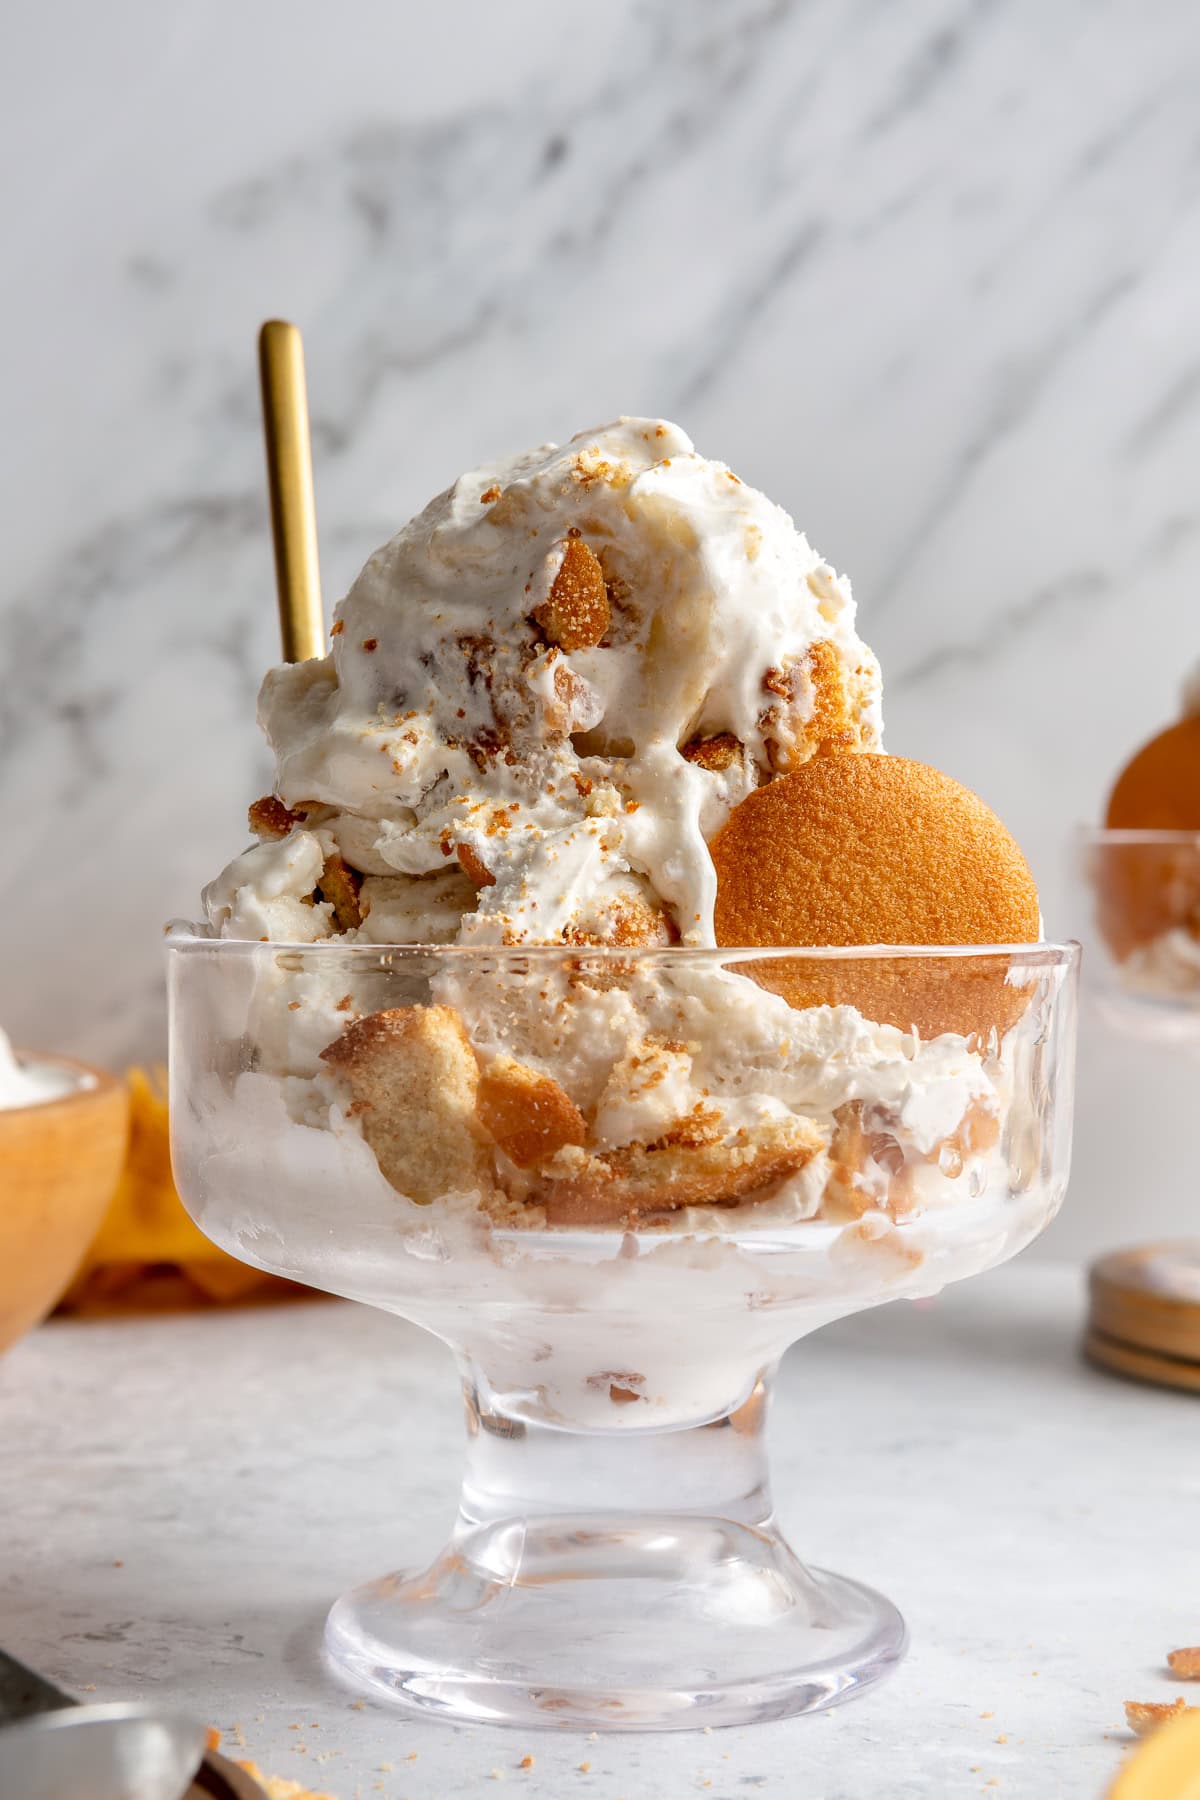
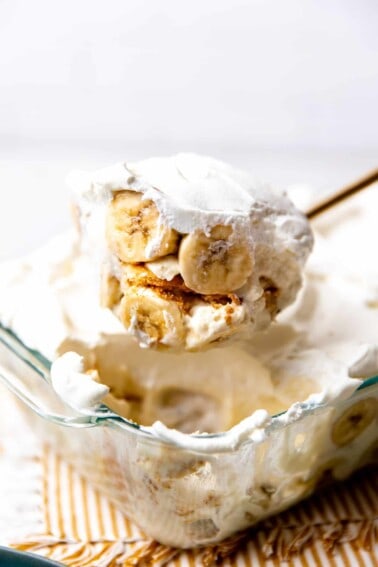
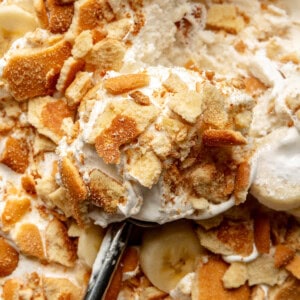
This easy to make Banana Pudding Ice Cream is egg free and made with REAL banana! Layered with whipped cream and vanilla wafers this ice cream is a fun twist on a classic treat perfect for summer!
Banana Pudding is a classic Southern dessert. This homemade Banana Pudding Ice Cream is a fun twist on that family favorite!
While it’s not the same as the Blue Bell version, I have to admit this recipe is even better! And that comes from using real banana to get the flavoring. No fake flavorings are going on in this fun ice cream.
Not to mention this homemade ice cream is easy to make and comes together with simple ingredients.
Ingredients & Substitutions
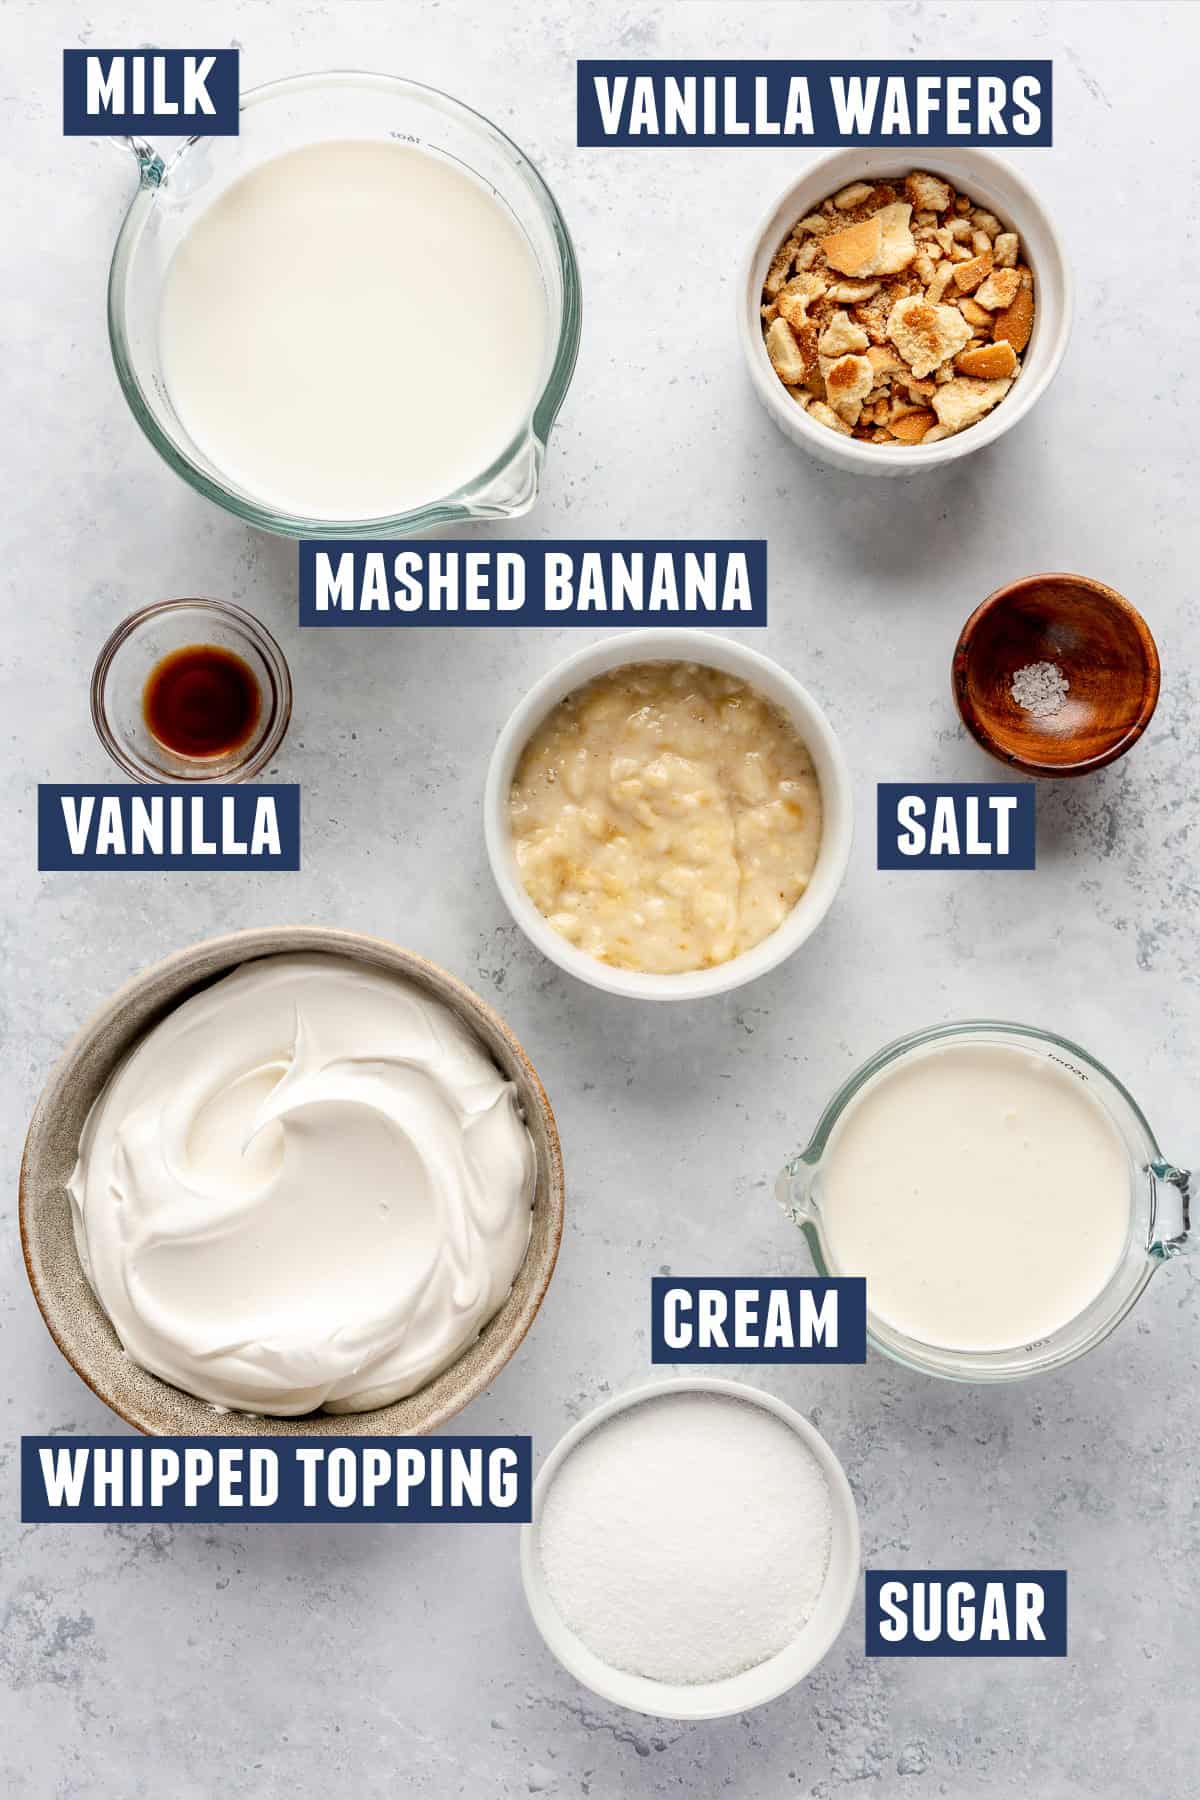
- Bananas: Use ripe bananas for a sweeter, more powerful banana flavoring.
- Vanilla Wafers: Nila wafers are a popular option, use a gluten free version if needed. Here’s a recipe for Homemade Vanilla Wafers if you want to keep everything homemade.
- Frozen Whipped Topping: Using a frozen whipped topping ensures that we keep a light and fluffy texture in our ice cream, it’s used to make layers and isn’t mixed into the ice cream itself. Truwhip is a great option that is store-bought but made with real ingredients and can be found in most markets.
Find the complete recipe card below with measurements and full instructions.
How to Make Banana Pudding Ice Cream
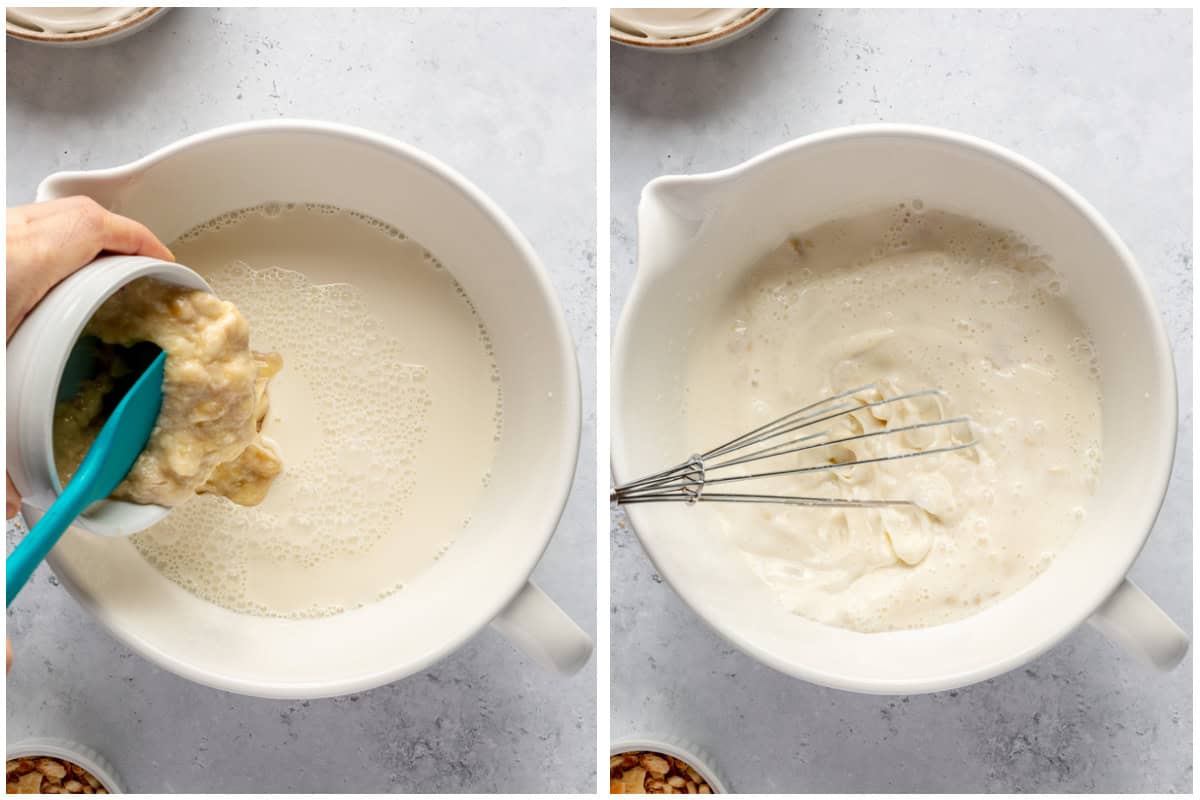
- In a large bowl combine the milk, cream, sugar, salt, and vanilla extract.
- Stir to combine. Add in the mashed bananas. Stir until mixed.
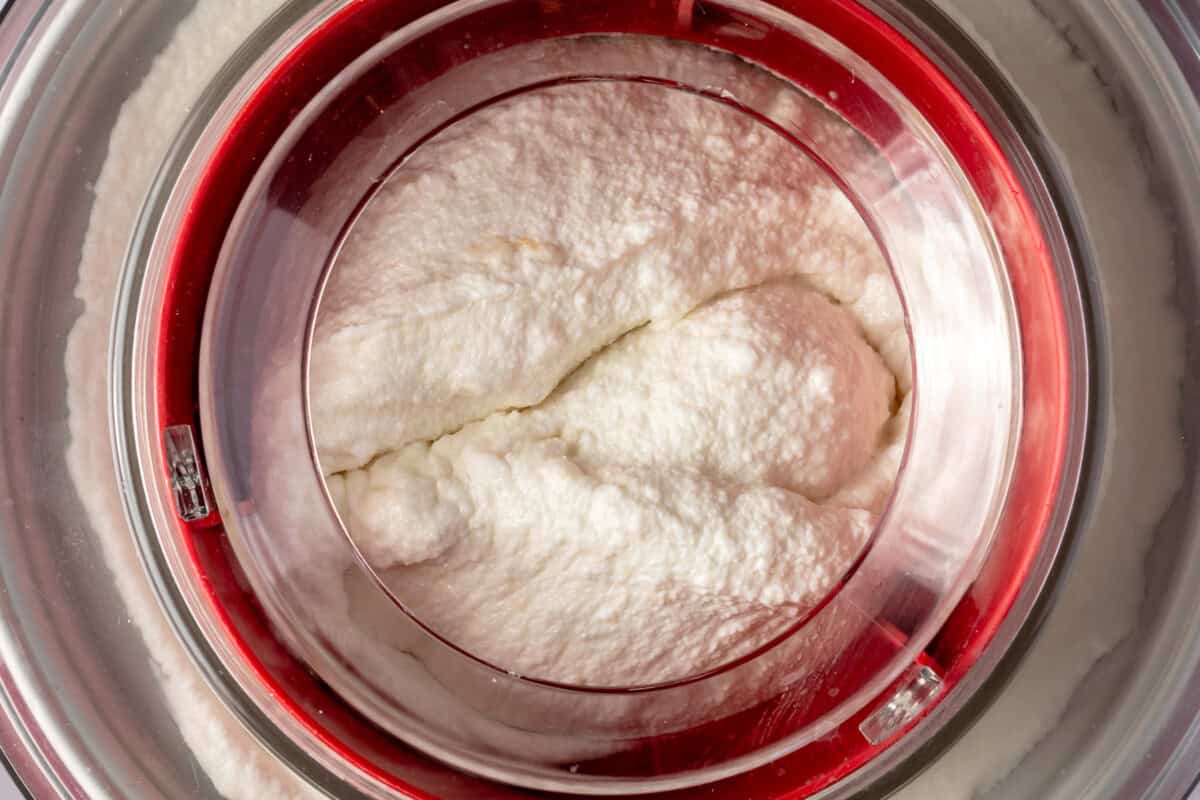
- Pour the chilled cream mixture into frozen bowl of an ice cream maker. Churn according to the directions of your ice cream maker, about 20 minutes or until mixture is soft serve texture.
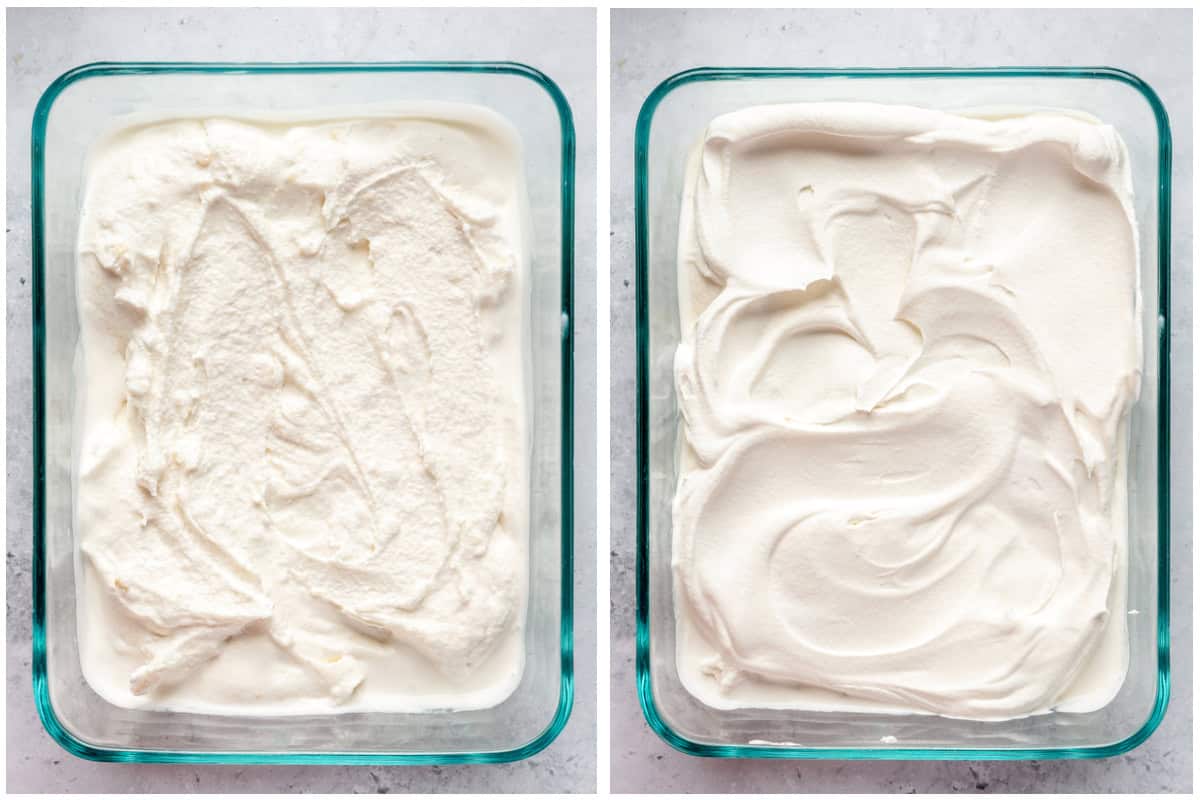
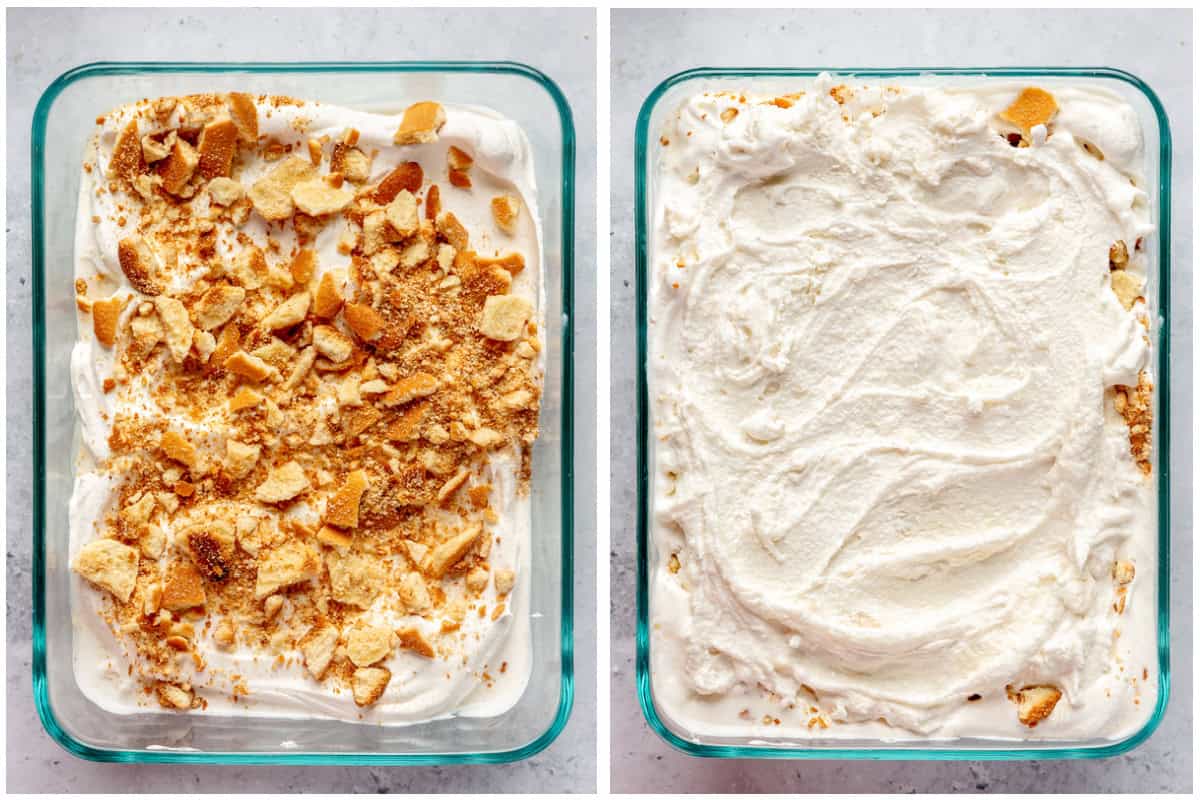
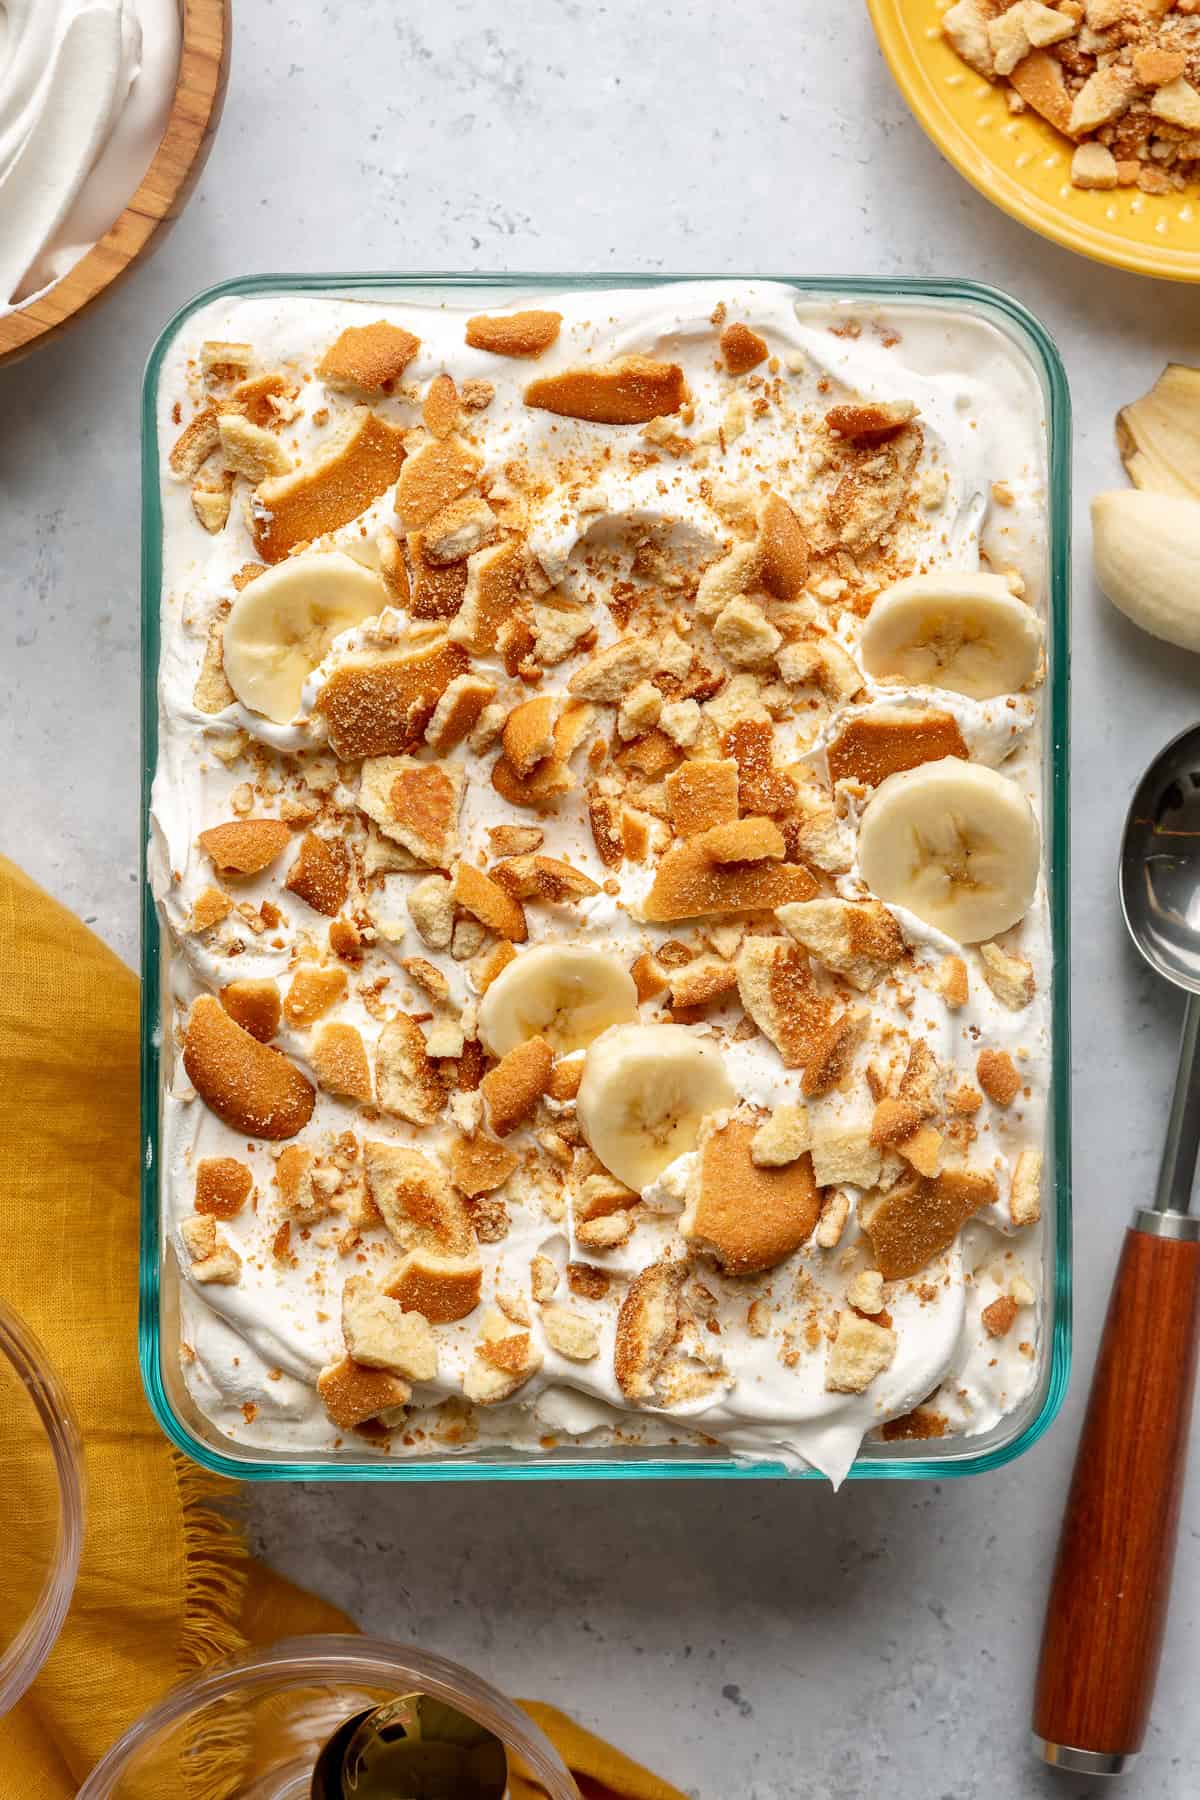
- Spoon a layer of the ice cream mixture into your ice cream container, layer with several spoonfuls of the thawed whipped topping, then a layer of vanilla wafer crumbles. Continue creating layers until all the ice cream is used. Top with additional wafers on the top.
- Cover the container and place in the freezer.
- Allow to freeze for at least 4-6 hours. Once frozen, allow to sit at room temperature for just a couple of minutes to make scooping easier.
Storage
Ice cream should be stored in a sealed container in the freezer for up to 2 months.
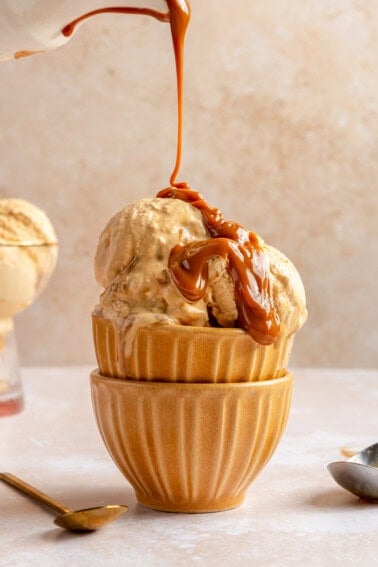
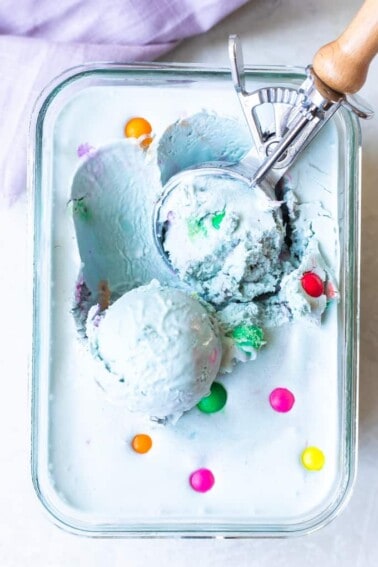
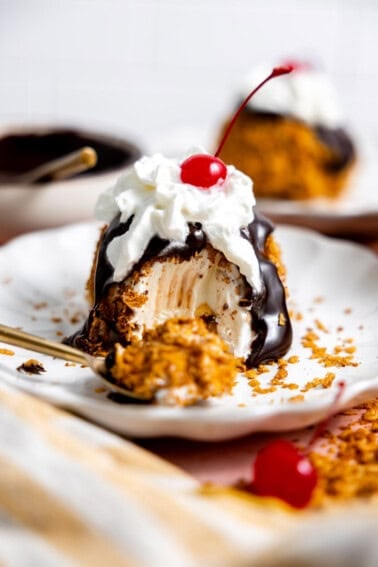
More Dessert recipes
If you make and love our recipes, it would help us if you would leave a comment and rating! And don’t forget to follow along with us on Instagram, Pinterest, Facebook, and YouTube.
Banana Pudding Ice Cream
Ingredients
- 2 cups milk cold
- 1 cup heavy cream cold
- ¾ white granulated sugar
- pinch salt
- 1 tsp vanilla extract
- 2 bananas mashed
- 4 ounces whipped topping thawed
- ½ cup vanilla wafers crushed
Instructions
- In a large bowl combine the milk, cream, sugar, salt, and vanilla extract.
- Stir to combine. Add in the mashed bananas. Stir until mixed.
- Pour the chilled cream mixture into frozen bowl of an ice cream maker. Churn according to the directions of your ice cream maker, about 20 minutes or until mixture is soft serve texture.
- Spoon a layer of the ice cream mixture into your ice cream container, layer with several spoonfuls of the thawed whipped topping, then a layer of vanilla wafer crumbles. Continue creating layers until all the ice cream is used.
- Cover the container and place in the freezer.
- Allow to freeze for at least 4-6 hours. Once frozen, allow to sit at room temperature for just a couple of minutes to make scooping easier.
- Top with additional vanilla wafers and sliced banana if desired! Enjoy!
Equipment
Notes
- Bananas: Use ripe bananas for a sweeter, more powerful banana flavoring.
- Vanilla Wafers: Nila wafers are a popular option, use a gluten free version if needed. Here’s a recipe for Homemade Vanilla Wafers if you want to keep everything homemade.
- Frozen Whipped Topping: Using a frozen whipped topping ensures that we keep a light and fluffy texture in our ice cream, it’s used to make layers and isn’t mixed into the ice cream itself. Truwhip is a great option that is store-bought but made with real ingredients and can be found in most markets.
Nutrition
Nutrition information is automatically calculated, so should only be used as an approximation.
Recipe first published June 28, 2017. Updated May 8, 2024.
Photography by JessGaertnerCreative.com

What a great idea Serene! Have a great week!