This post may contain affiliate links. Please read our disclosure policy.

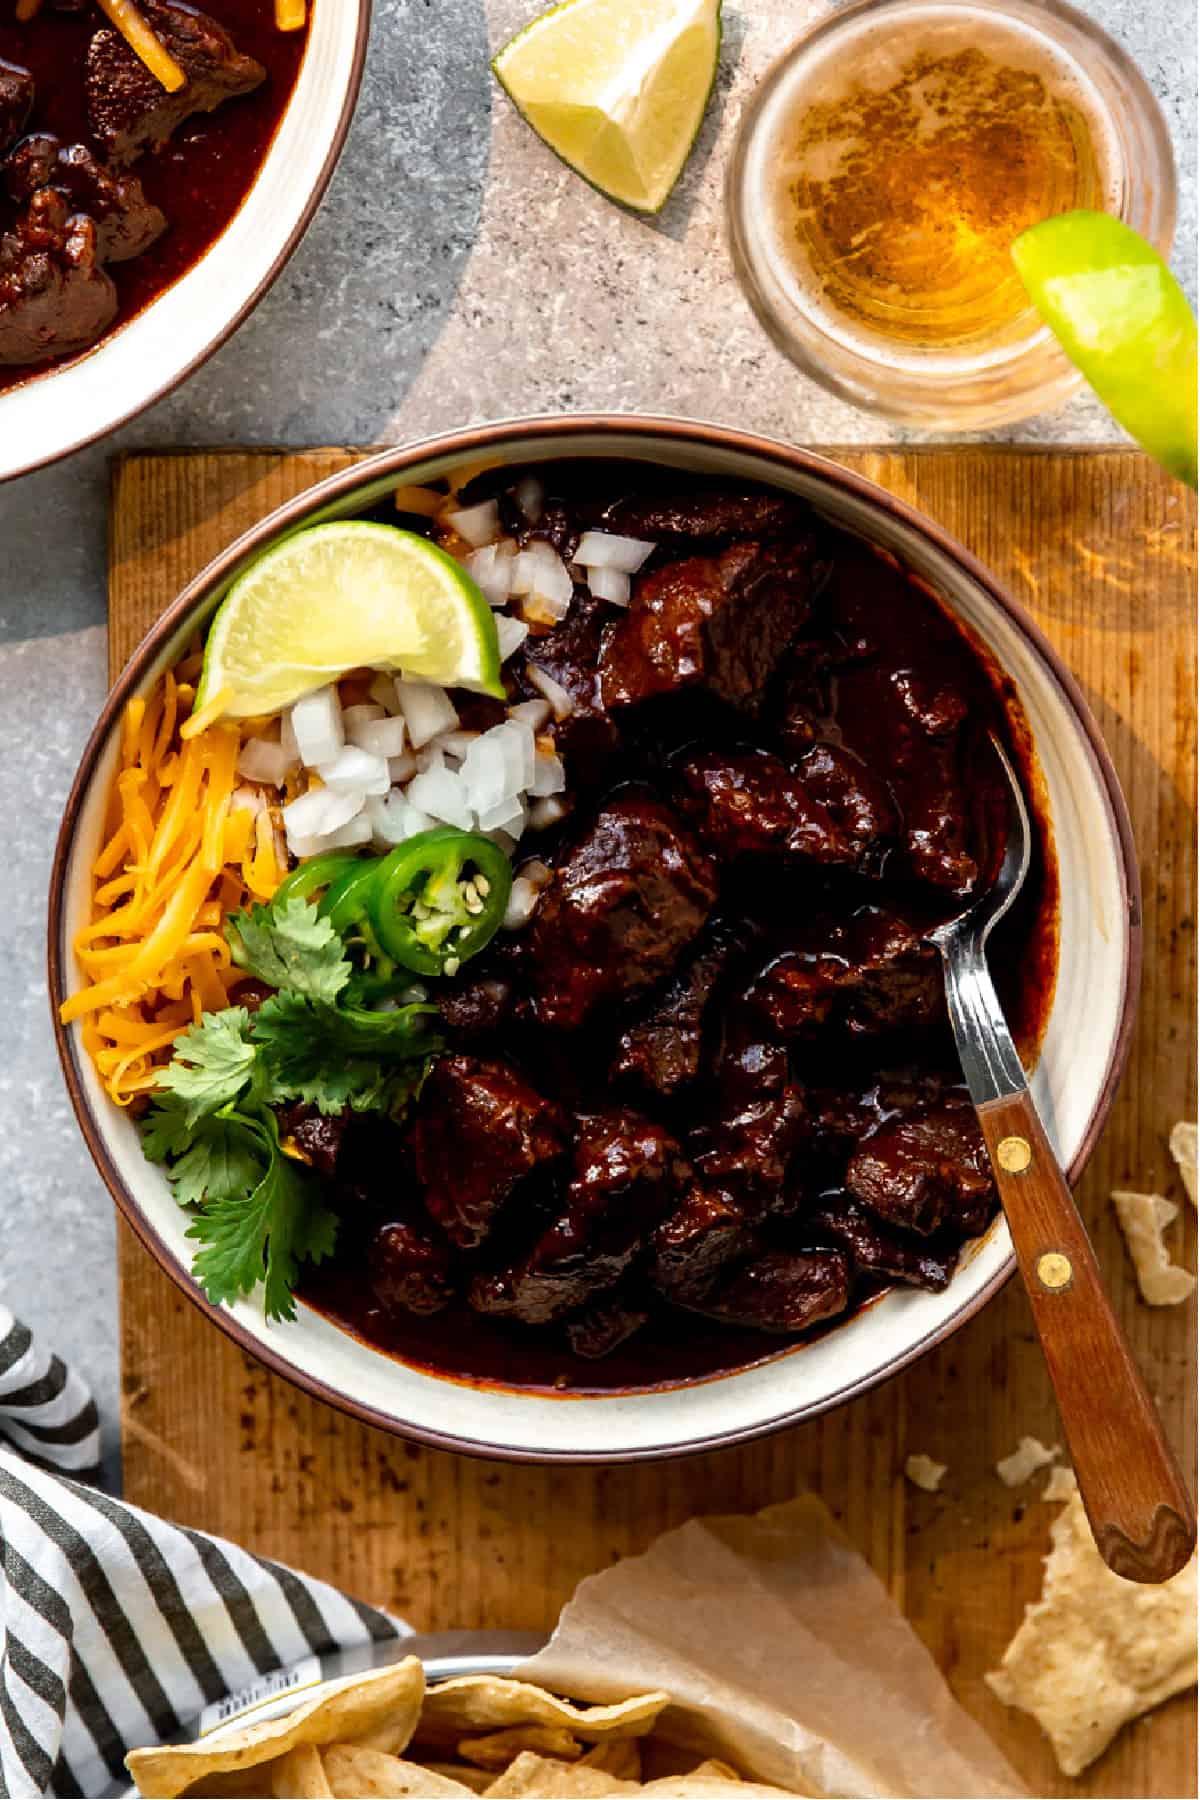
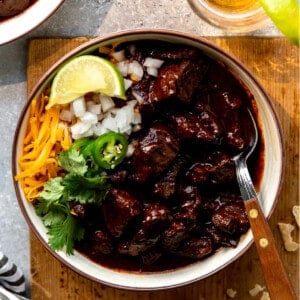
This authentic Texas chili features tender beef and a homemade chili sauce using dried chile peppers. This recipe is for you if you want an authentic Texas bowl of red!
Love hearty stews and chilis? Don’t miss out on our Chile Colorado, carne guisada, and classic beef stew.
Why I Love This recipe
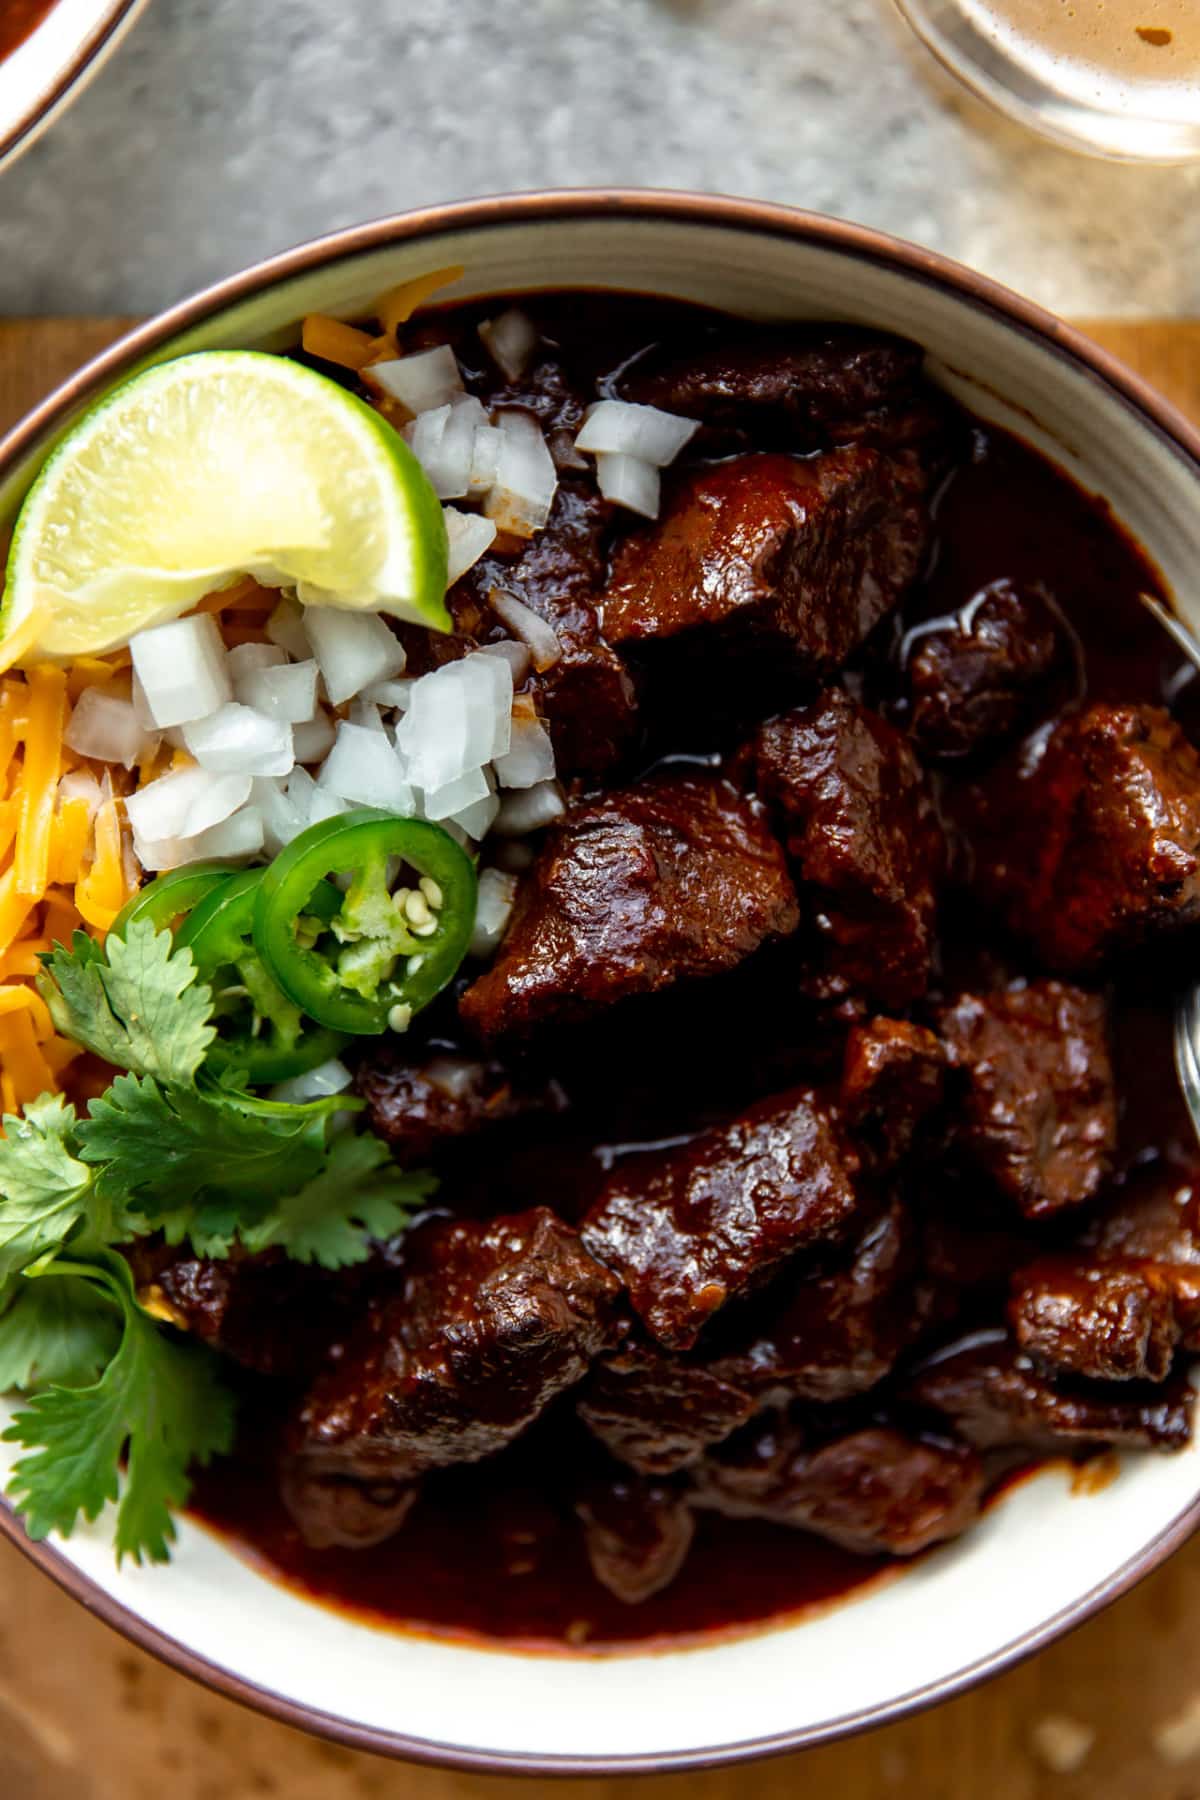
- Hearty: this Texas chili is loaded with chunks of tender beef roast, making this a hearty and filling meal.
- Flavorful: using dried chiles gives a robust, deep flavoring to the chili. Plus, adding our spices and seasonings during particular stages of cooking ensures the most flavor.
- The Toppings: the best part of any chili recipe is the toppings; use your favorites, including sour cream, cheese, diced onion, sliced jalapenos, fresh or pickled, and fresh cilantro.
Does True Texas Chili have beans?
No. An authentic Texas Chili, or chili con carne, will not have beans. Simple answer. When this recipe/dish originated, there were no beans, no onion, no tomato added. There was a concern that it would resemble a stew and not a chili. There are of course people who prefer to add those things when they make their own recipes at home though and there is nothing wrong with that. Make it to where you will enjoy eating it!
About the chiles
Dried chile peppers are crucial to achieve the authentic taste and color of Texas red. You can find them in the Mexican section of your grocery store or a local Latin/Mexican market. Alternatively, you can purchase the ancho peppers on Amazon.
How to make an Authentic Texas Chili
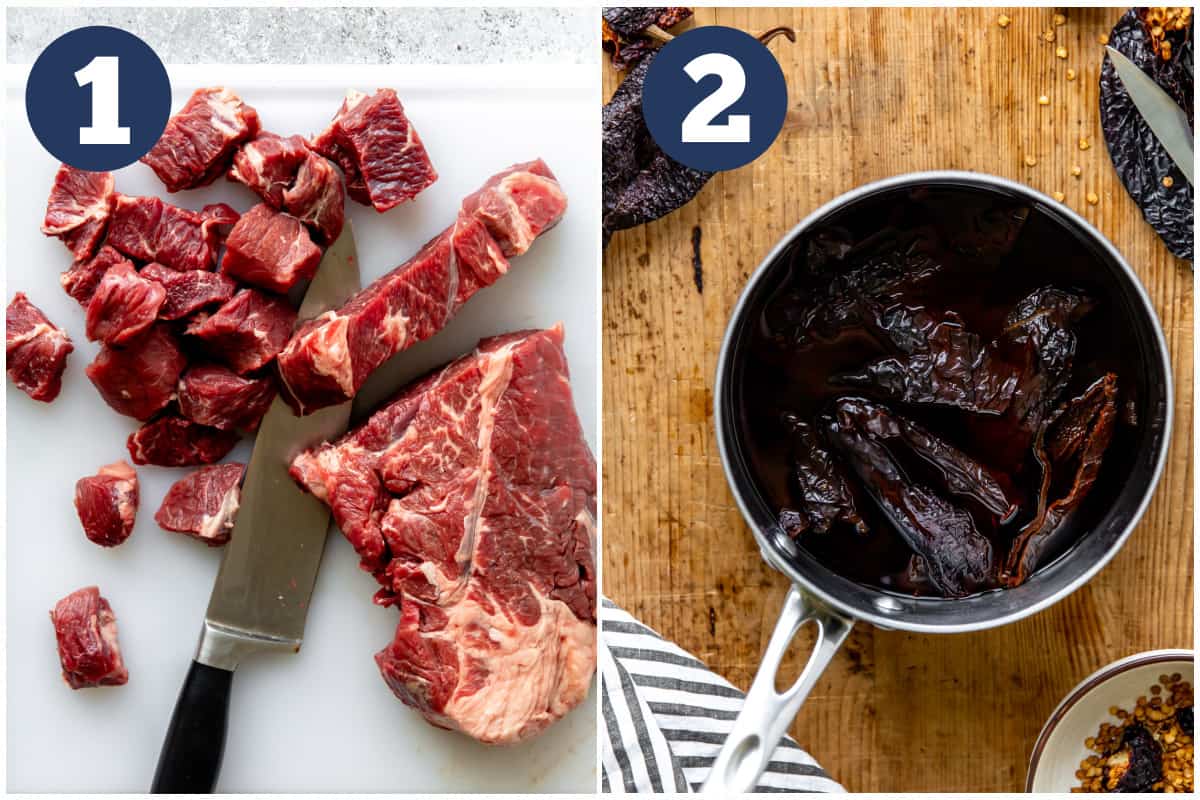
- Prepare the beef: Trim excessive fat from the meat this helps to reduce grease in the finished chili.
- Prepare the chiles: Remove chili pepper stems and seeds. Soften peppers by soaking in boiling water for 30 minutes.
- Remove the pepper skins. Slice peppers in half, place skin side down on a cutting board, and scrape off the flesh with a paring knife. Chop the remaining skinless pepper for your chili.
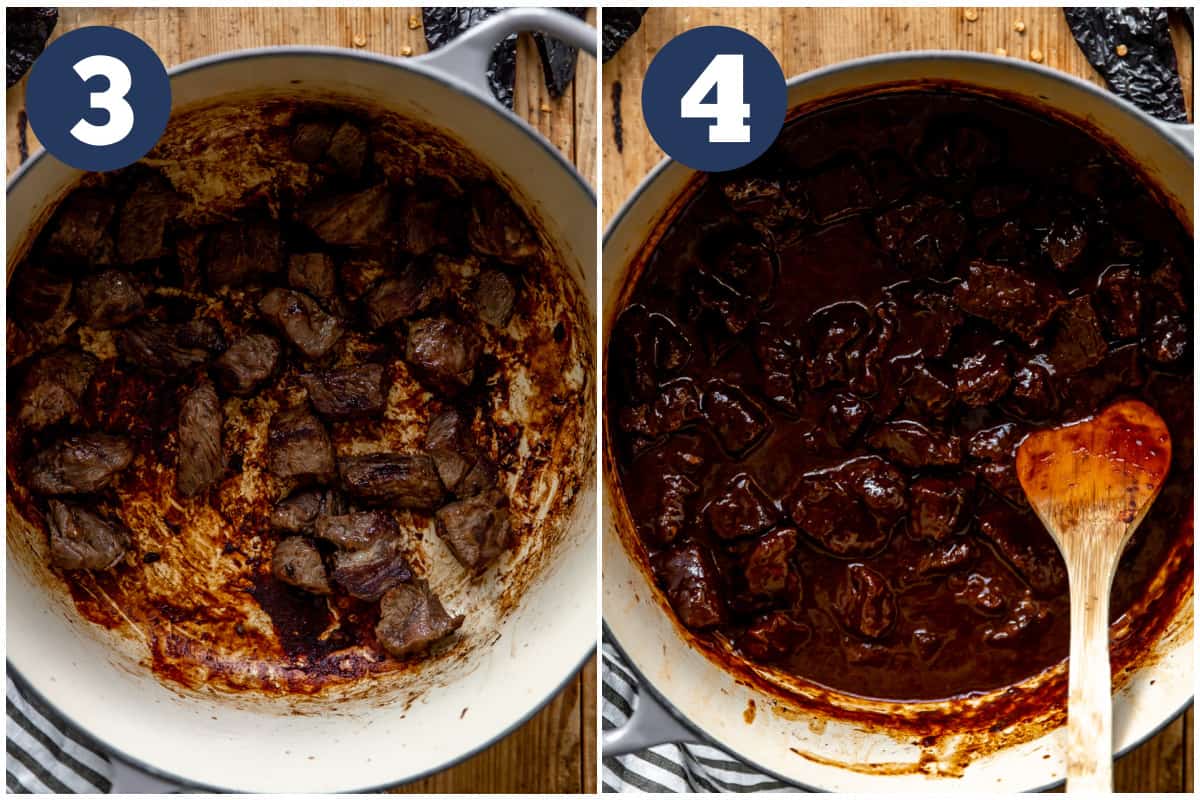
- Sear the meat: Working in batches, sear the chuck roast in the pot without oil for 2-3 minutes to enhance flavor and create flavorful juices. Sauté the garlic, add chili pepper broth, and scrape the pot bottom for all of the flavor. Add the seared meat back into the broth and bring to a simmer.
- Simmer: Keep an eye on liquid levels, adding more if needed. Season with spices as it cooks for maximum flavor. Simmer with the lid on until the meat is tender. After cooking, skim off any excess grease. If possible, let the chili chill in the refrigerator overnight for better flavor development and easier grease removal.
- Thicken: Stir in masa (or flour as a substitute) to thicken the chili.
Variations
- Liquid: Use beer or coffee along with chili-soaking liquid to make the broth.
- Chocolate: Consider using chocolate or Mexican chocolate to balance the pepper’s heat.
- Mexican Oregano: Authentic spice complement.
- Tomatoes: Add fresh or diced tomatoes if you like.
- Vinegar: Brightens up the broth flavor.
- Paprika: Optional for a deeper red color without altering the flavor.
- Onion and garlic: Sauté onion after searing meat, add garlic before the broth.
Make ahead and Storage
- Make Ahead: Texas chili is best if it’s made the day before. This allows the flavor to develop overnight and the grease can easily be scraped off the top. Follow the recipe and store the chili in an airtight sealed container in the refrigerator 3-5 days.
- Freezer: Store in the freezer in an airtight freezer safe container for up to 3 months. Thaw by removing to the refrigerator overnight.
- Reheating: Pour chili into a saucepan or Dutch oven and cook over medium heat until warmed.
Authentic Texas Chili
Ingredients
- 6 Ancho peppers, dried (Use 2 per lb of meat for a mild chili, can use up to 4 chilis per lb of meat if you want a kick)
- 3 lbs chuck roast Select or choice, NOT PRIME
- 4 cloves garlic minced
- ½ tsp dried oregano
- ½ tsp ground cumin
- 3 tsp salt
- 1-2 cups beef broth if needed
- 2 tbsp masa harina
Instructions
Prep The Chili Peppers
- Boil Water: Bring 4 cups of water to a boil in a medium size pot.
- Remove Seeds Use a sharp knife to cut off the stem of the peppers, remove the seeds.
- Toast: Heat a cast iron skillet over medium heat and add the peppers, cook 2-3 minutes just to toast them.
- Soak: Remove the boiling water from the heat, add the peppers to the boiling water, cover the pot with a lid and let the peppers soak in the hot water for 30 mins
- After soaking, remove the peppers from the water to a cutting board. They should be nice and soft and not hot to the touch. (RESERVE THE WATER FROM SOAKING THE PEPPERS)
- Remove the skins from the peppers: Easiest way is to slice the peppers in half, lay them flat skin side down and gently scrape the flesh of the pepper off of the skin. The peppers will be mostly mashed by this point, just give a few chops to the peppers to ensure they are nice and mashed, almost like a paste.
Prepare the Meat:
- Trim: Remove all excess fat from the meat—just large chunks of fat, not marbling (too much fat will make the chili greasy)
- Chop: Cut the meat into 1 inch cubes.
- Sear: Working in batches, cook the meat in a large dutch oven or iron pot over medium heat. Sear the meat on all sides, once seared, remove the meat to a plate and continue until all meat is cooked. (I never have any issues not using any oil for this step..again it cuts down the grease in the chili. Just be sure to turn the meat often while cooking to prevent sticking or bits burning in the pot.)
- After all the meat is cooked and on the plate, saute the garlic in the pot for about 30 seconds.
- Deglaze: Pour 2 cups of the reserved chili water (from soaking the peppers) into the pot. Stir and scrape the bottom of the pot with a wooden spoon to loosen any bits stuck to the pan.
- Stir in the mashed chili peppers until mixture is smooth.
- Add the meat into the pot. Add additional chili water, just enough to cover the meat. (Start with less liquid than you think.. you can always add more as it cooks, the goal is to not make it too liquid-y) If needed you can use beef broth if you run out of chili water.
- Bring to simmer, then reduce heat to low. Cover and let cook for 30 mins.
Seasonings:
- Spice Dump: After simmering for 30 minutes, uncover and stir in the oregano, cumin, and salt. Check liquid levels, add additional chili water/beef broth as needed to keep the meat covered in liquid.
- Bring back to a simmer, lower heat, cover and let cook for 45 minutes. Keep stirring limited during this time to help prevent meat from breaking apart.
- Seasoning: After simmering 45 minutes, uncover, skim any grease off of the top. Test the flavoring and adjust as needed (additional salt, chili powder for more heat, etc.) Add additional liquid if needed.
- Thicken: In a small bowl add 2 tbsp of masa, pour in 1/4 cup of the broth from the chili. Whisk this together, then pour this into the pot of chili. The masa will help thicken the chili and bind it all together.
- Bring to a simmer, lower heat, cover and let simmer a final 30 minutes.
- Serve bowls of chili topped with diced onion and shredded cheddar cheese, or additional toppings if desired!
Video
Equipment
Notes
- Meat: Chuck Roast is a great option, make sure you are getting a SELECT or a CHOICE, do not use PRIME. This is because Prime has too much marbled fat and it gets too tender as it simmers away, turning the meat into mush. We want nice thick chunks of meat in our finished dish.
- Peppers: ancho chili peppers are a great option for this dish. Use 2 per lb of meat for a mild chili, can use up to 4 chilis per lb of meat if you want a kick. If you are unable to find dried peppers you can substitute with a Chili Powder, I would recommend the Texas standard of Gebhardts Chili Powder. Use 1 tbsp of chili powder per dried pepper as a substitution.
- To multiply this recipe: 1 lb of beef will need approximately 1 cup of liquid, 2-4 chili peppers depending on the amount of heat you prefer, 1 clove of garlic (or more if desired), and 1 tsp of salt.
- Spice dumps: spices are dumped at different times during the cook also. This allows the flavors to develop over the duration of the cooking process.
Nutrition
Nutrition information is automatically calculated, so should only be used as an approximation.
Photography done by KJandcompany.co


Really good recipie. Informative and easy. Family and friends agree with me after tasting this chili. 🙂
Definitely a recipe I’m putting into regular use. Best thing to make during these cold months. Cheers!
Hi there. How is the nutrition information calculated on this? The Carbohydrate number looks really high!
Also, if I’m adding arbol chilis (I’m a chili-head) do I add those to the “tea”, or grind them and add separately?
There’s an automatic calculator that does the nutrition information when I put the ingredients and amounts a recipe. For accurate information I would recommend doing your own calculations online. And you can definitely add arbol chilis to this, you could do either methods. You could soak them or grind and add as a spice. Either way it will work! Enjoy 🙂
I’ve been making chili for about 50 years. This is the base for all the chilis that we know today. The way this is written is perfect, thanks for offering so much insight into the process.
Thank you Serene Herrera! I’m a native San Antonian. This recipe is exactly the one my grandmother made all throughout my life. The only difference is the prep of ancho chilies. She simmered them in water but I used the method on this recipe and it worked great. I did toast them in a 350 degree oven for 3 minutes as I couldn’t get to my cast iron skillet. One this I can add that may help in trying to scrape the chili pulp is use a wood cutting board and if you have a hard time getting the pulp out, try turning them over so the skin side is up. Sometimes the skin will pull right off in one big piece. Enjoy!
Planning on making this recipe this week. What are your thoughts on using Pasilla and Guajillo chili peppers? I will grab Ancho chilis if they are preferred.
Jake, I’ve only ever used ancho chiles because that’s what I grew up with. Serena has made comments on other chiles so go for it!
Well, I had this for lunch today, and it was great… very good. I left a earlier note but it is not posted yet. Will make again for sure…Thanks
I’m really excited about making this chili recipe. I live in South Texas and have my own version of Texas Chili, and then bought the book “A bowl of Red”, and found out I was way off. So, right now, I’m in the 45 minute cook step, and counting the minutes. I followed your recipe exactly, and I will follow up with my tasting evaluation. The biggest problem I had was scraping the flesh off of the dried chili peppers. I cut off the stems, removed the seeds and soaked them in very hot water for 30 minutes. The problem was the skin kept tearing as I tried to scrape. Important step is to let the peppers cool before scraping, which helped, but the skin was still very tender. Maybe next time I will try to soak for only 20 minutes and see if that helps. Thanks for a great recipe, and I will get back later today. or tomorrow.
Hello! I’m so excited you’re giving this recipe a try! I look forward to your tasting evaluation. Getting the skins removed can be tricky, I absolutely agree. I have found that using my paring knife and scraping the flesh off the skin is the easiest method, work gently to help prevent the skin from tearing. I’m sure over time you will find your own preferred method. Let me know how your chili turns out!
I turned the chiles skin side up on some of them and the skin peeled right off! I hadn’t tried that before so it they’re giving you trouble, try that! I’ve had good luck using a teaspoon to scrape.
Okay, this was AWESOME! The flavours were rich and deep and irresistible and the heat was just right with two ancho chiles per pound of beef. Accompanied by some quick mac and cheese and this was an incredible Sunday lunch 😃 Thank you for helping that food experience happen half way across the globe from Texas! 😋🤤
Thank you so much! I’m so glad you enjoyed!
This chili recipe was SO good! I had never made an authentic chili like this before, but Serene’s recipe and directions were easy to follow and each bite was pure decadence! Regular chili recipes don’t even come close to the flavor you get from this recipe. My husband and I ate every last bite!
Thanks so much Kate!! I’m SO happy y’all enjoyed the recipe 🙂