This post may contain affiliate links. Please read our disclosure policy.
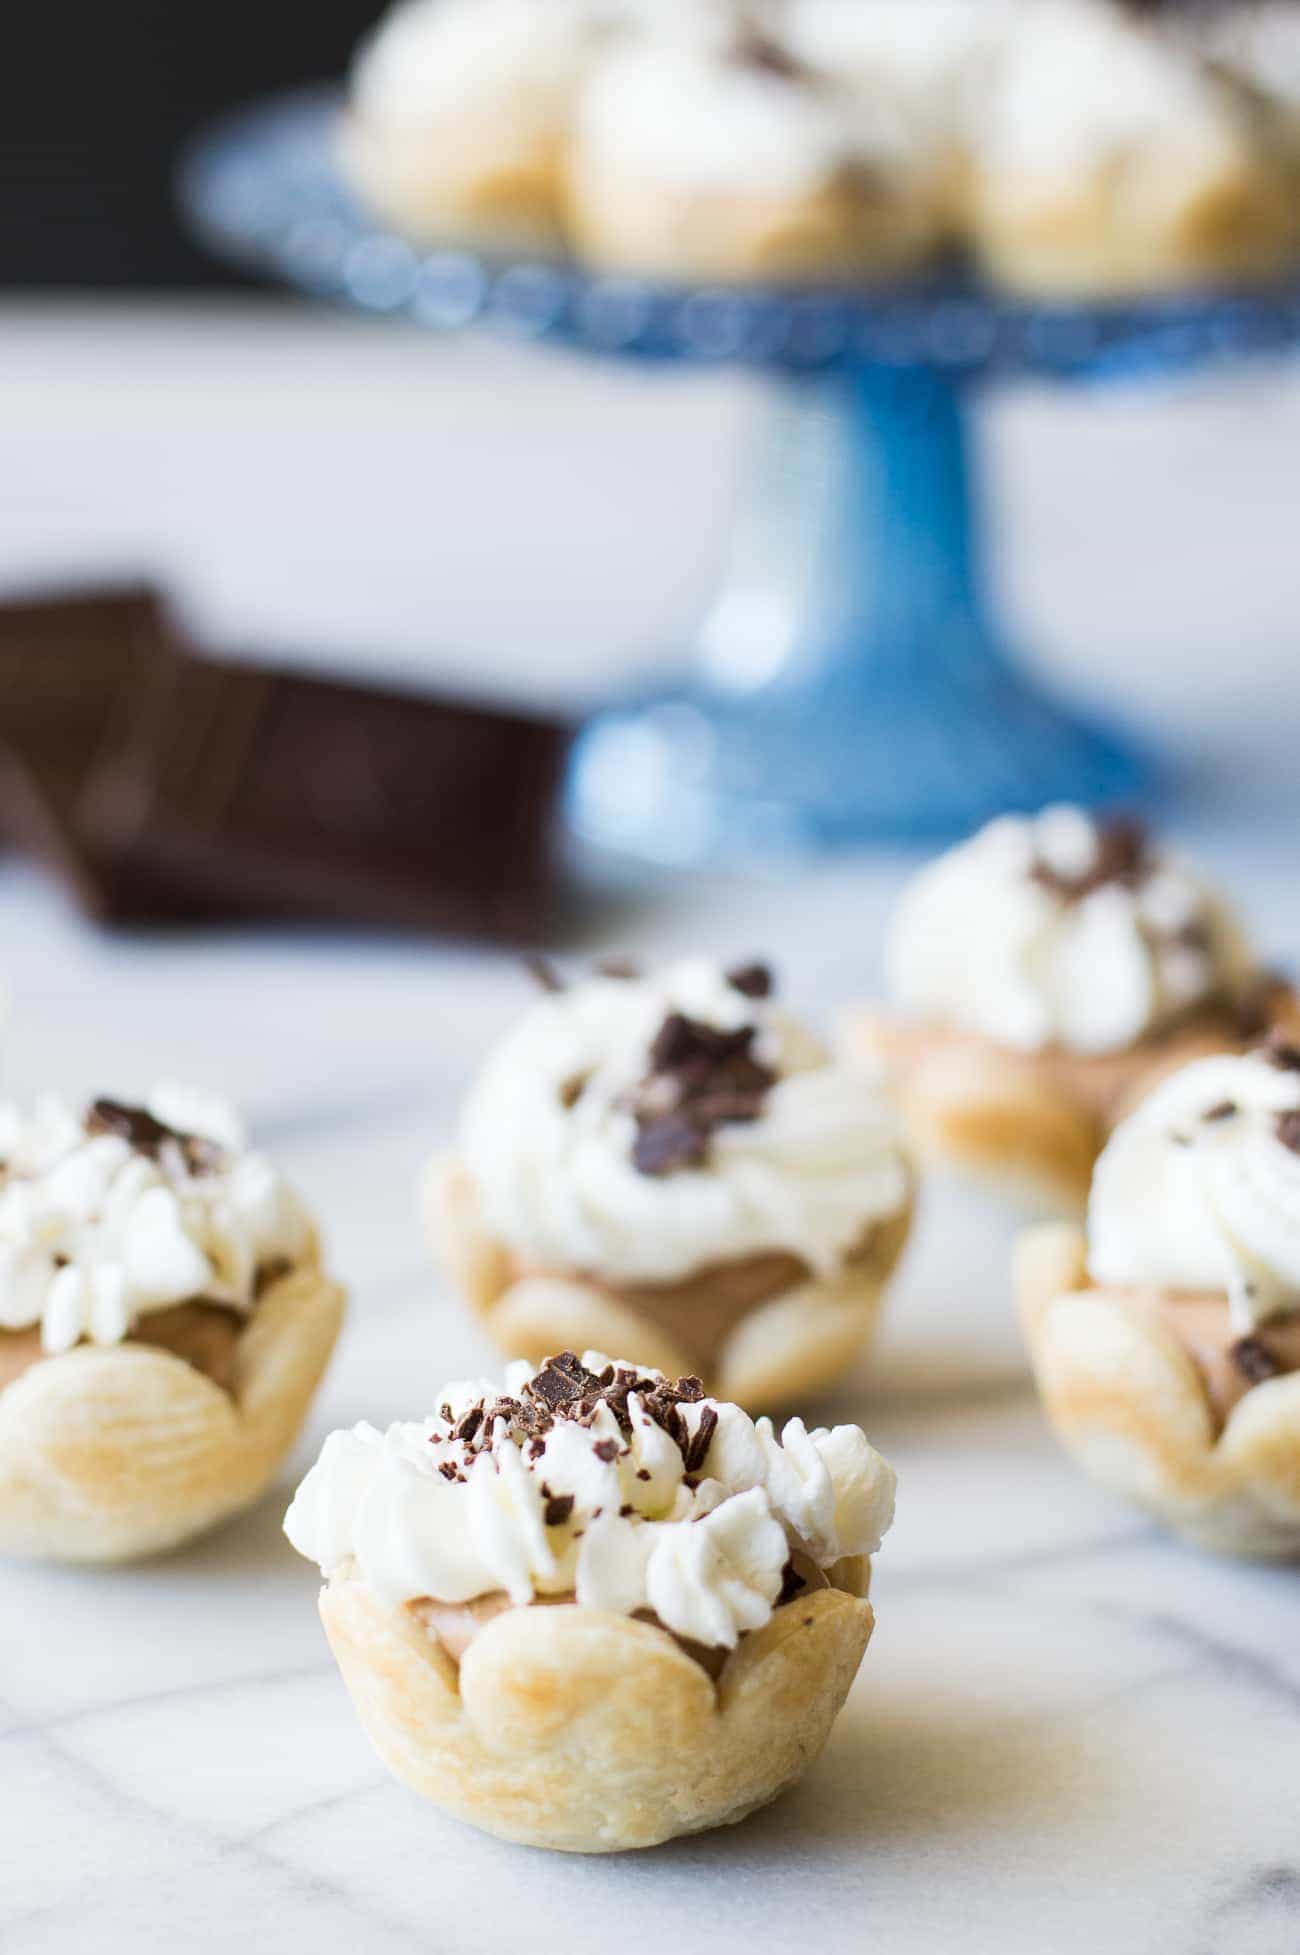
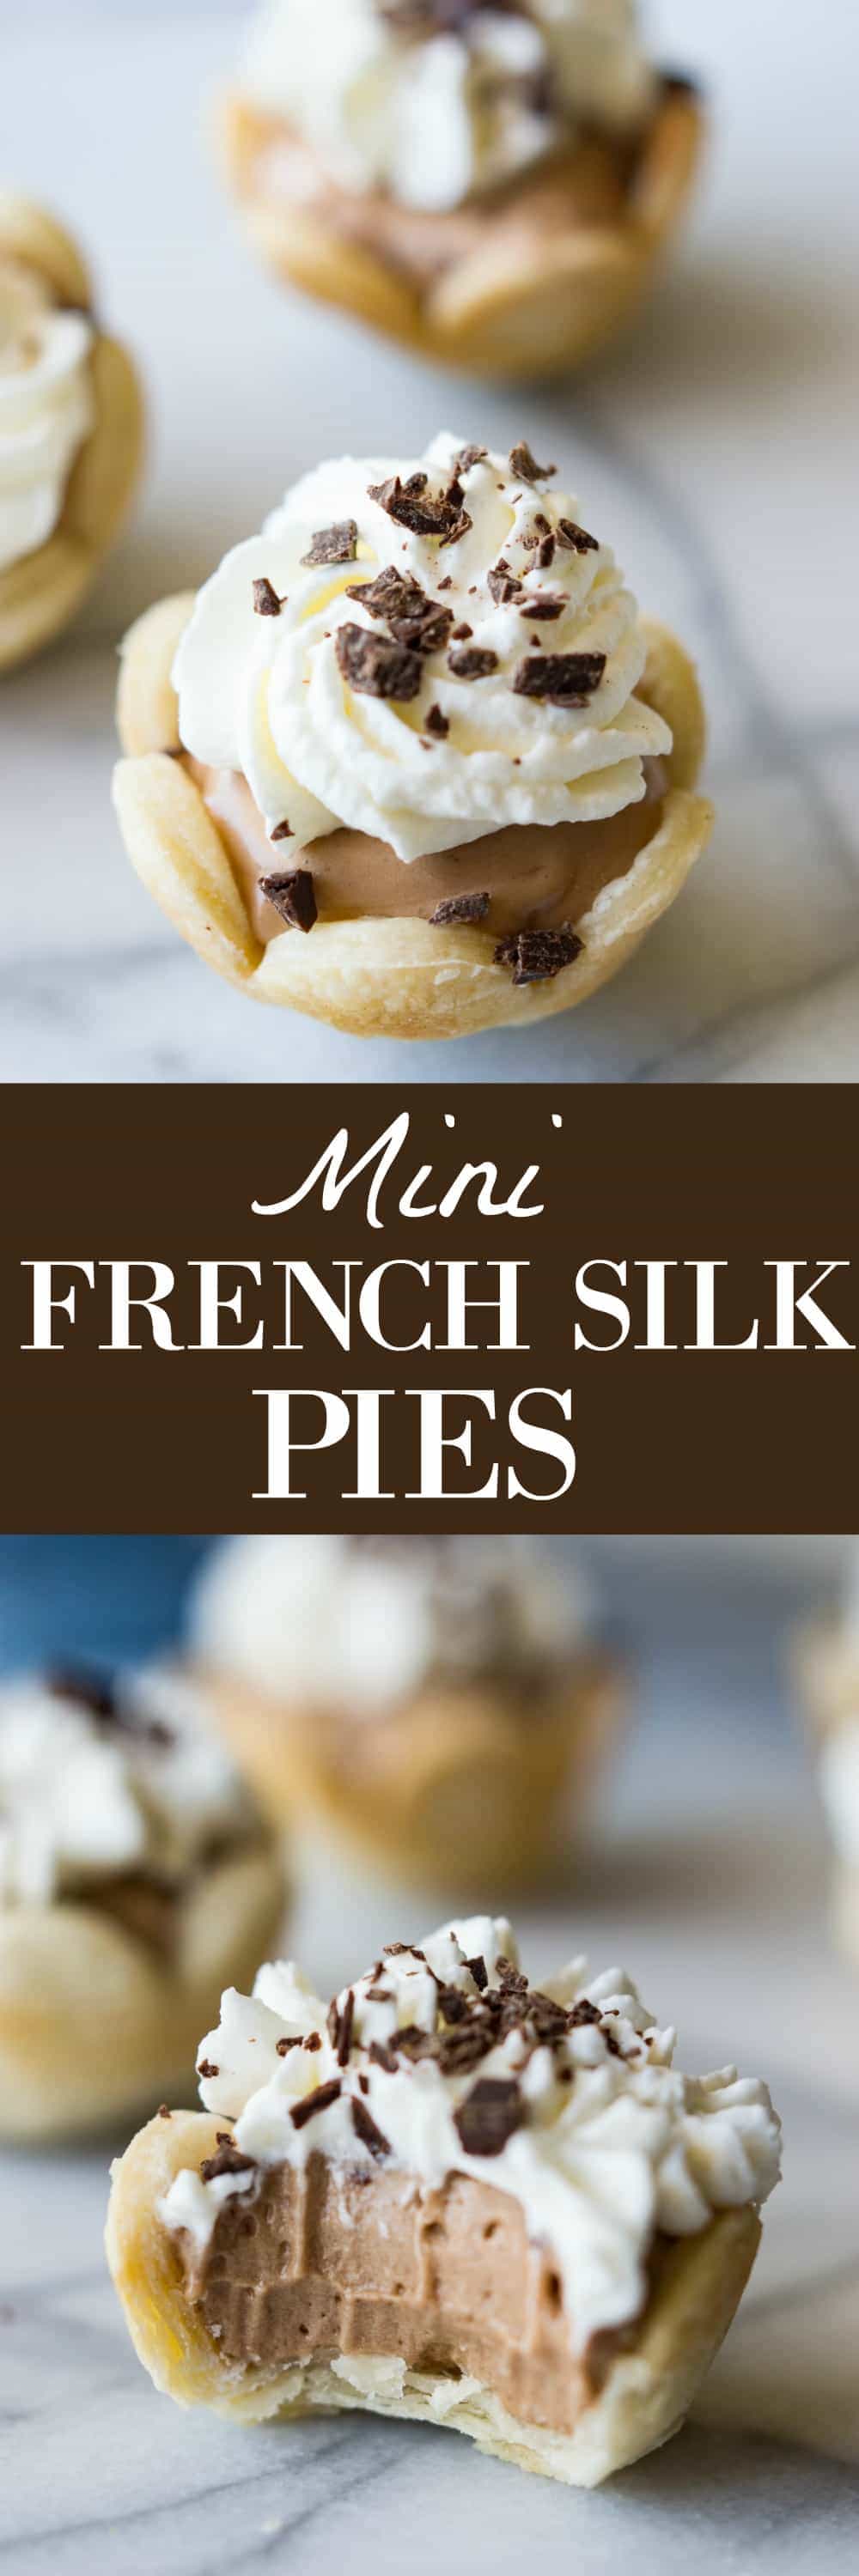
Mini French Silk Pies. Easy to make than you probably think and decadently DELICIOUS! Silky, creamy, chocolate bliss topped with homemade whipped cream. All in bite size mini pies!
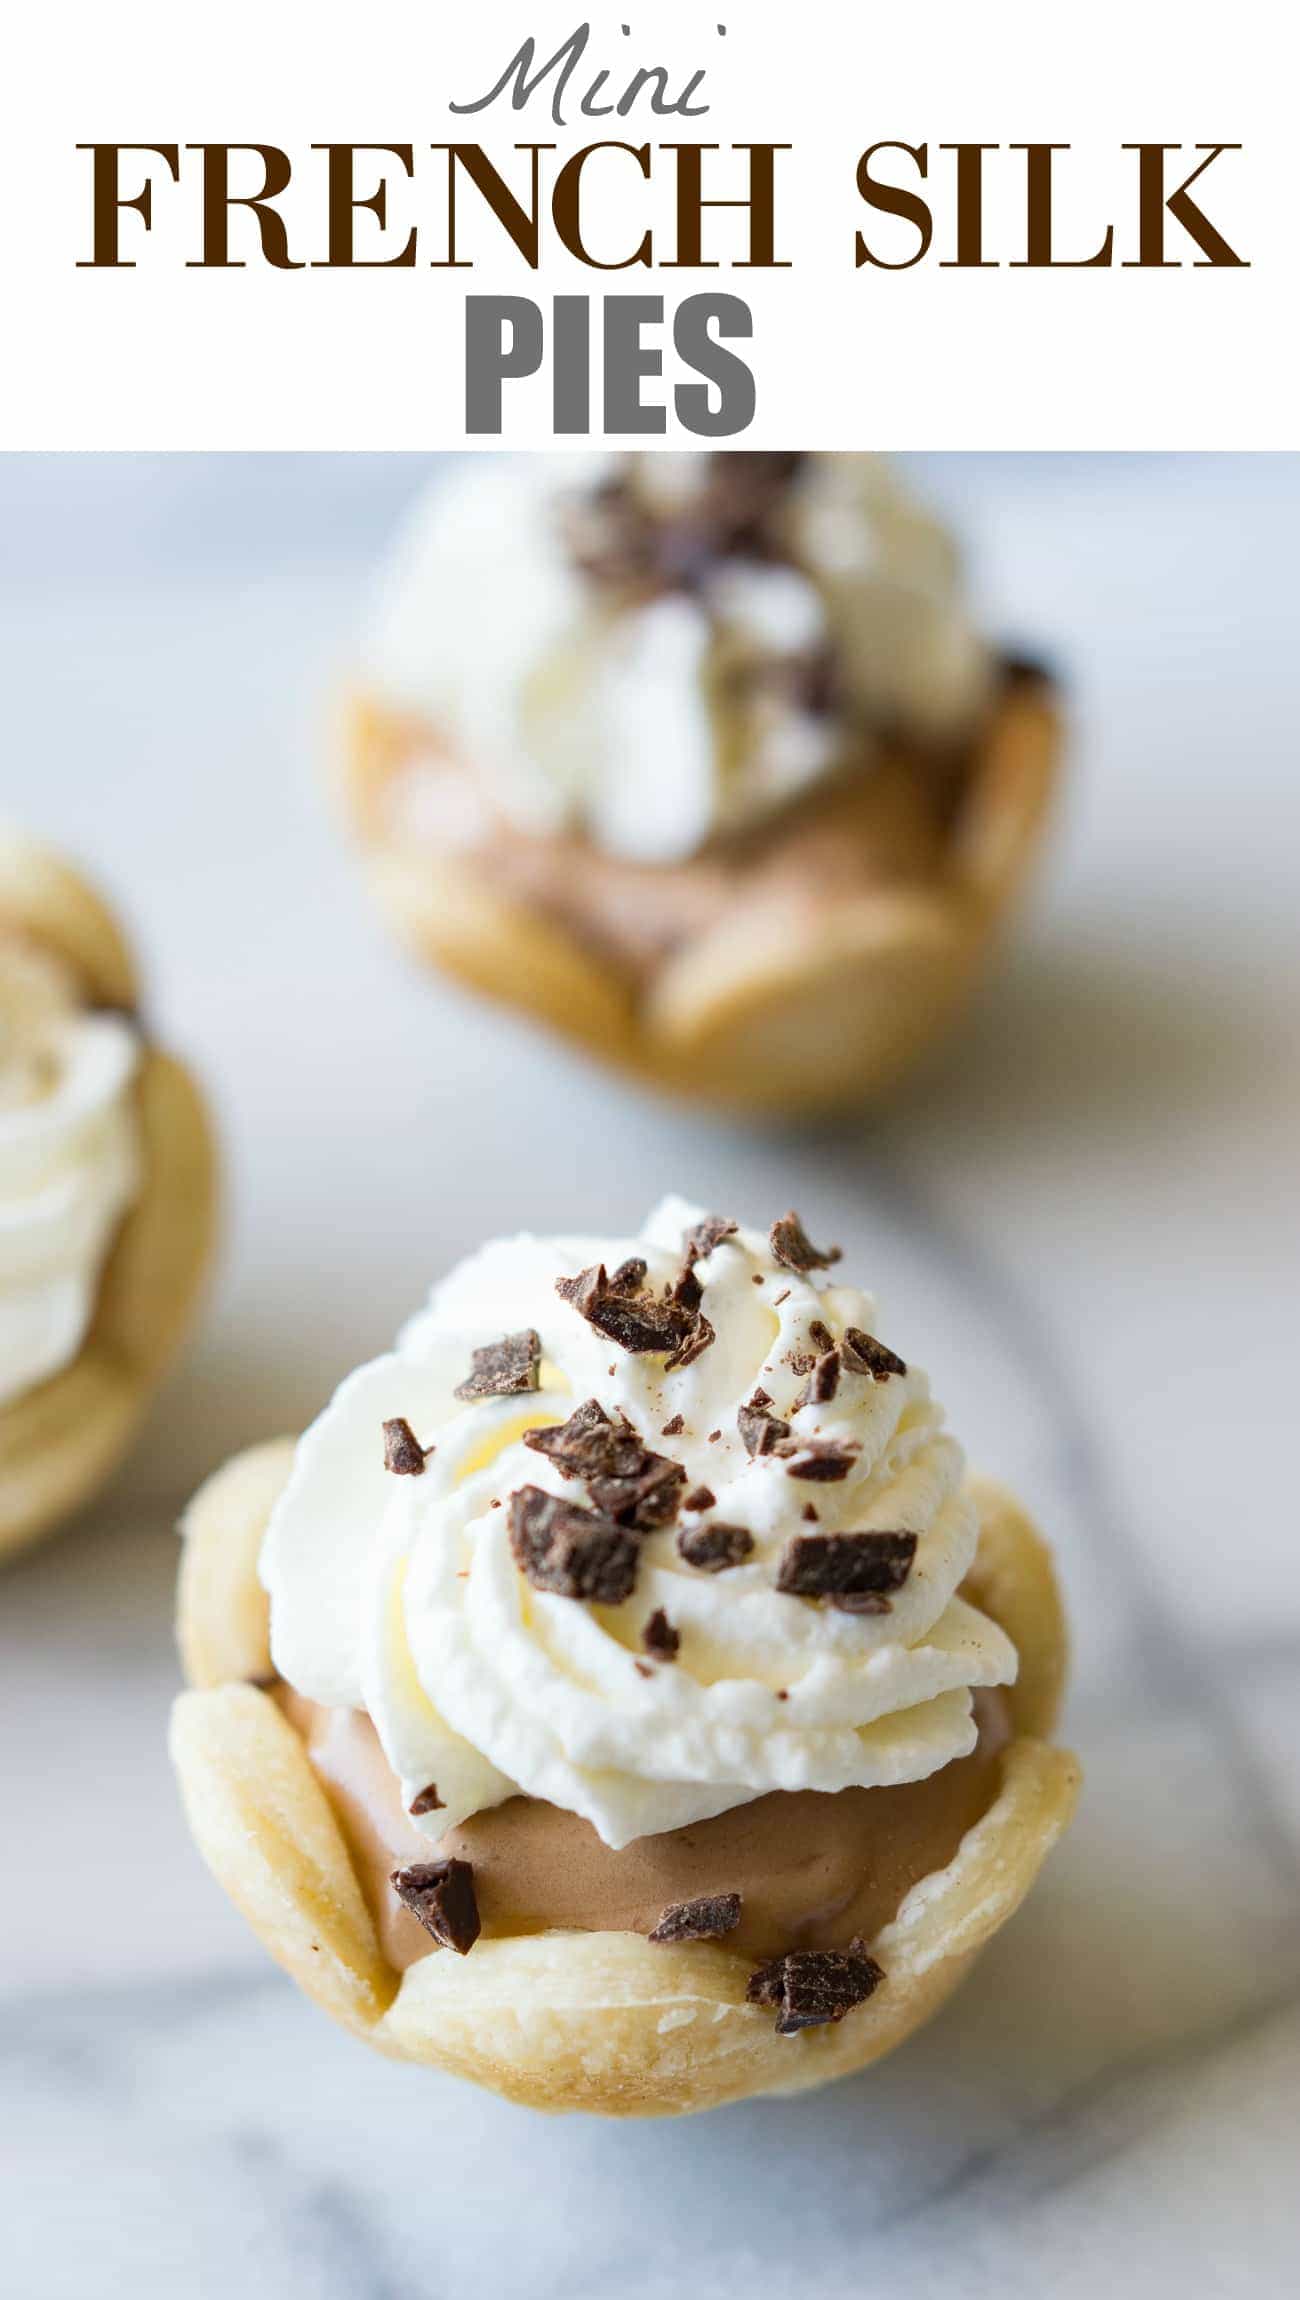
Mini French Silk Pies. Silky. Creamy. Decadent. I’m in love. I have made these little pies a few times now trying to get it just right. And I finally succeeded and I feel super confident that you can make these easily! Since I have all the tips and tricks to help you along the way.
I was a little nervous about attempting this since it seems super complicated. But it really isn’t. There’s just a few particulars that need to be in place.
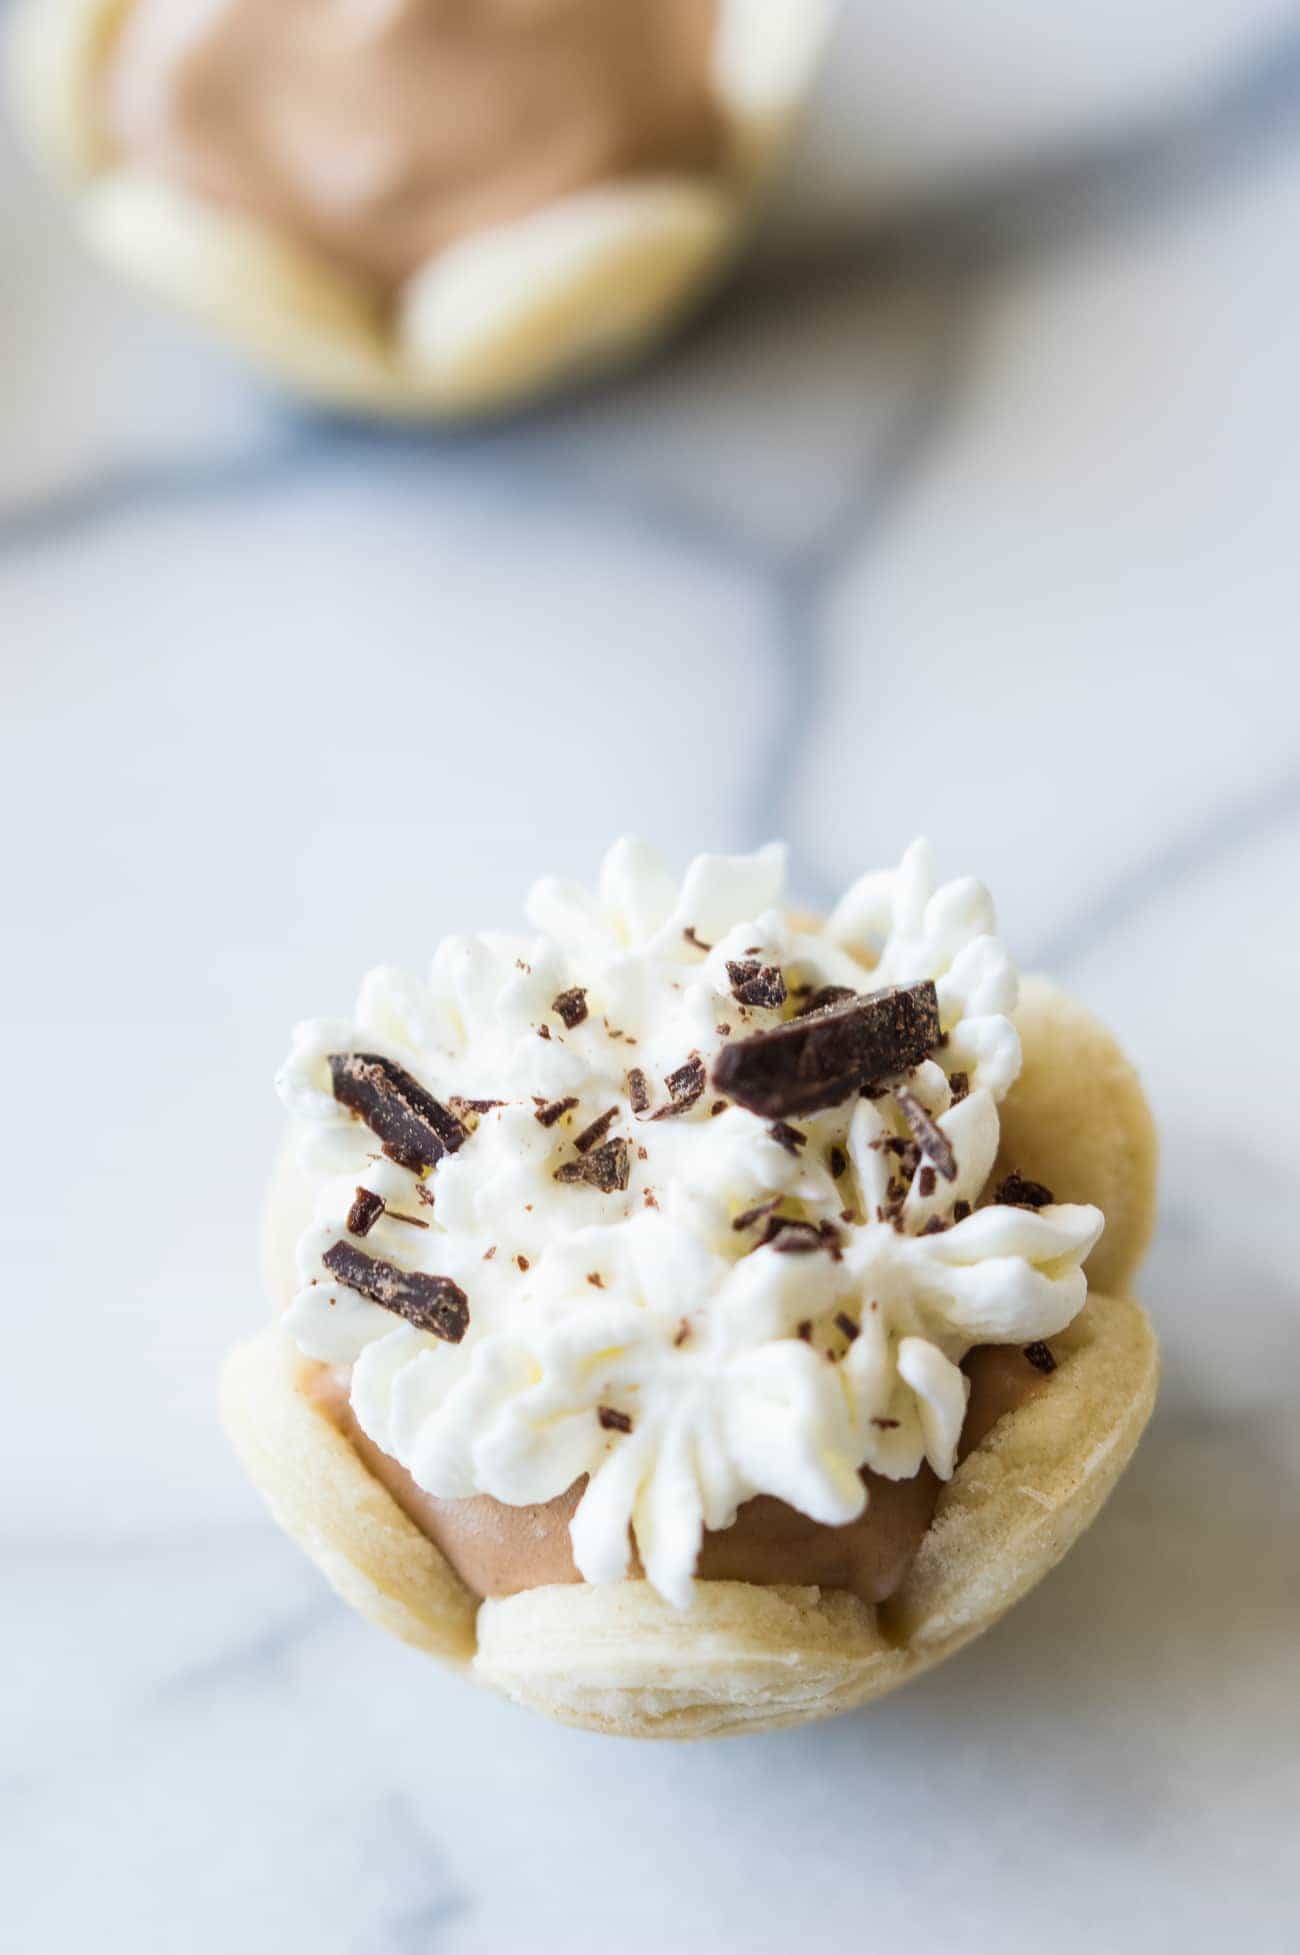
So, let’s start with the pie crust. I still used the same pillsbury pie crusts. This time I cut them into a fun little flower shape using a flower cookie cutter. Just press that into a greased mini muffin tin, bake for about 7 minutes and they come out so cute!!
Some of mine have puffed up a little bit while baking, I tried poking the bottom with a fork prior to baking and they still kind of puffed up, but just give a little poke with the fork again after baking and it will go right back down. I was able to make 30 of these little pie crusts out of 2 pre-made pie crusts. I had to gather the scraps and roll out again to get the last 5 though.
Now onto the pie filling. That smooth, delicious, heavenly pie filling. For starters, we are going to need ultra fine sugar. Just grab some white granulated sugar and pour it into the food processor or blender, pulse it a little bit and you will end up with ultra fine powdery sugar. Perfect for this pie filling. If you don’t do this step you will notice a slight gritty texture to the filling and we want pure silk.
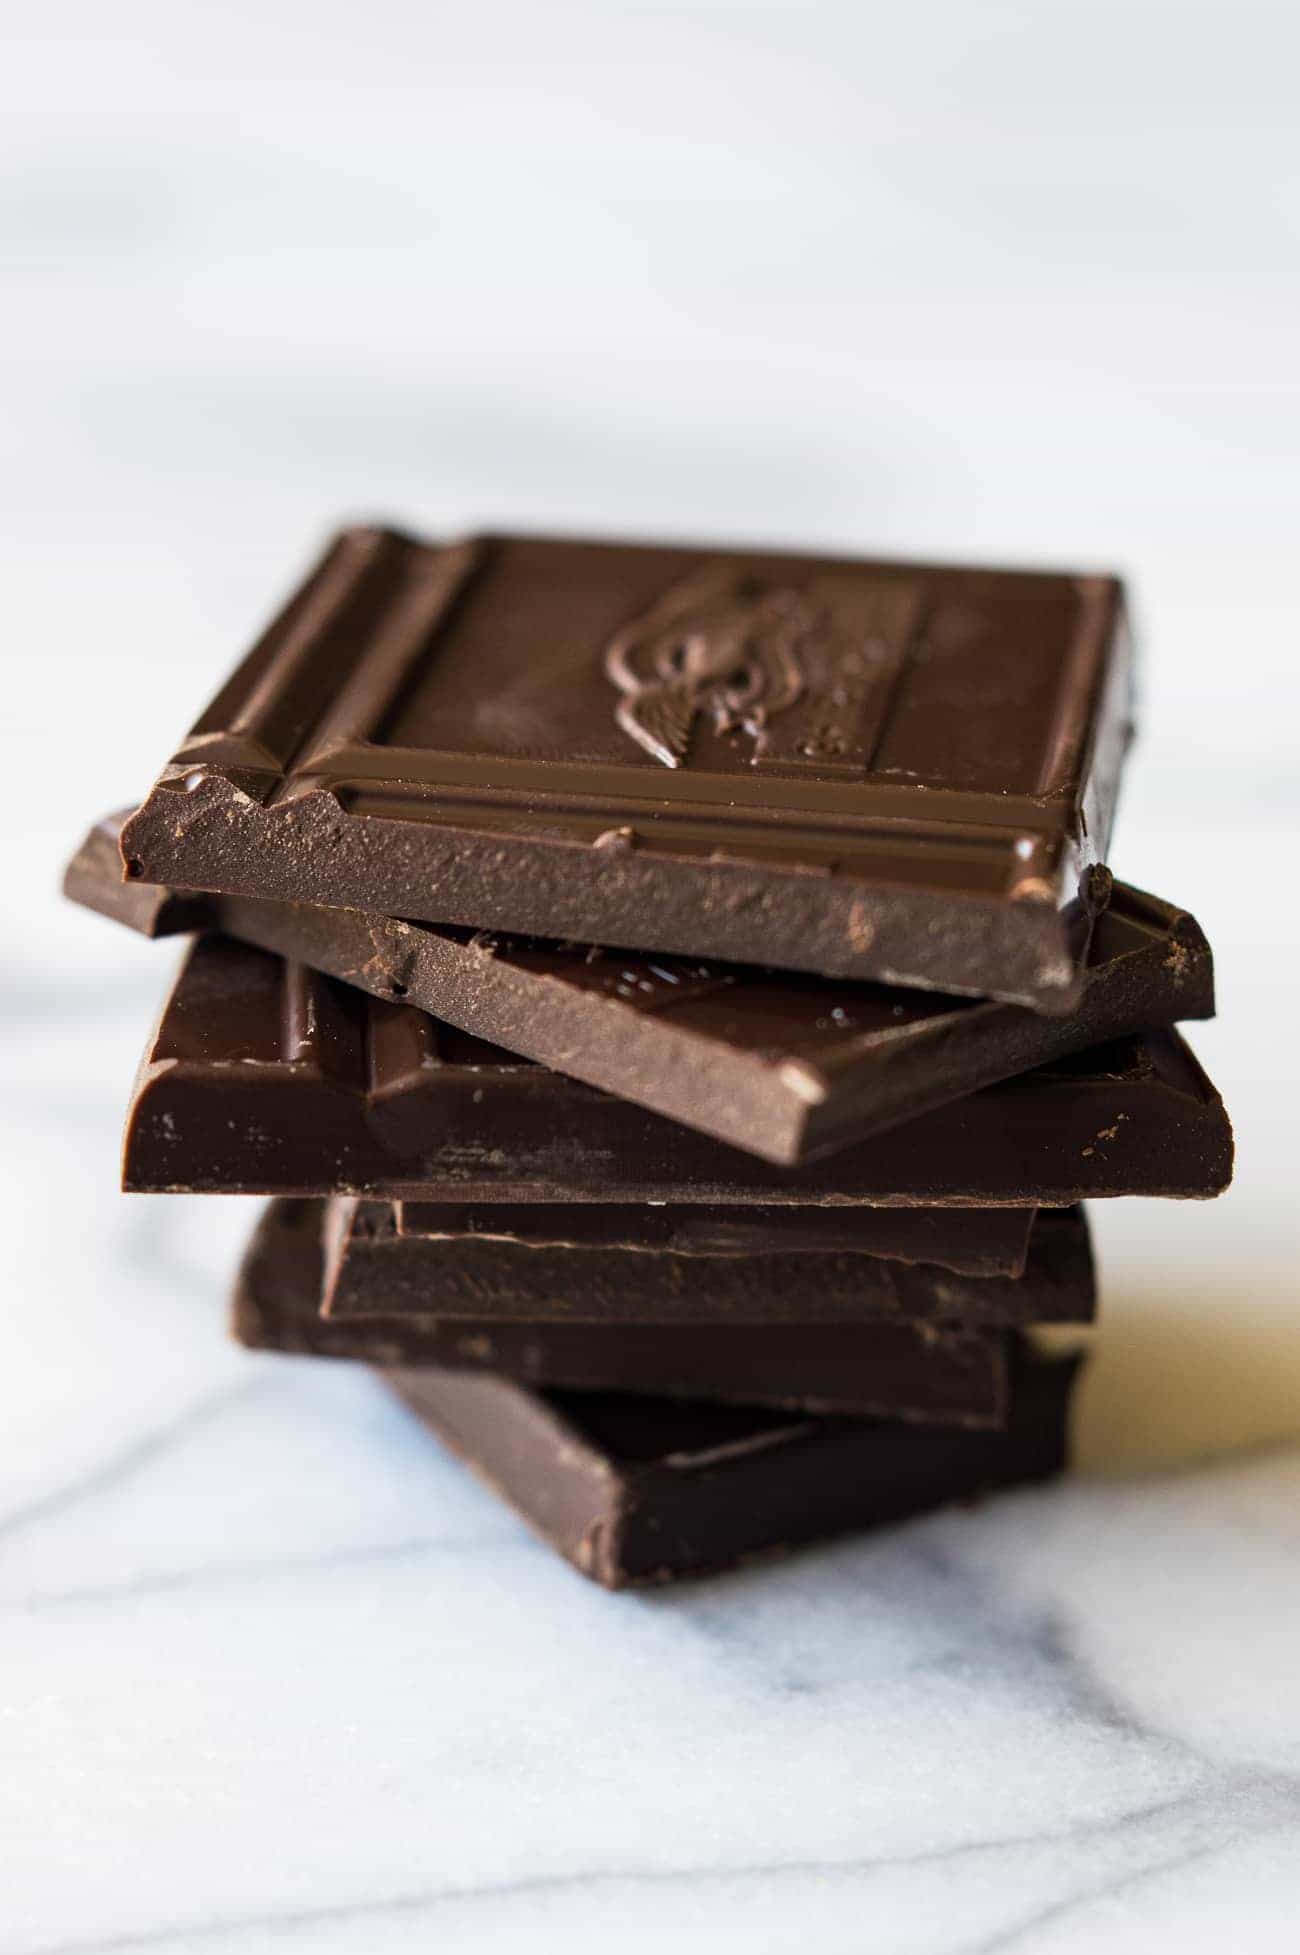
Next. The temperature of the chocolate. The chocolate needs to be melted. But not warm. Warm will melt our butter.
Also, know that the butter needs to be soft. Not melted. Just soft. About 30 minutes of sitting out at room temperature should do the trick. Just set out a stick of butter when you start on the pie crusts and all will be good.
Now the fun part. We get to mix the filling. Cream the butter and that ultra fine sugar. Add the chocolate and vanilla. Now comes the fun. We’re going to add one egg. A cold one from the fridge. And turn that mixer up to high speed. Let that mixer whip that up for 5 minutes.
Now that you’ve been mixing for 5 minutes time to add the next egg. And yes, we’re going to add it cold from the fridge again.
Once we add that second egg we are going to, you guessed it, mix on high speed for 5 minutes.
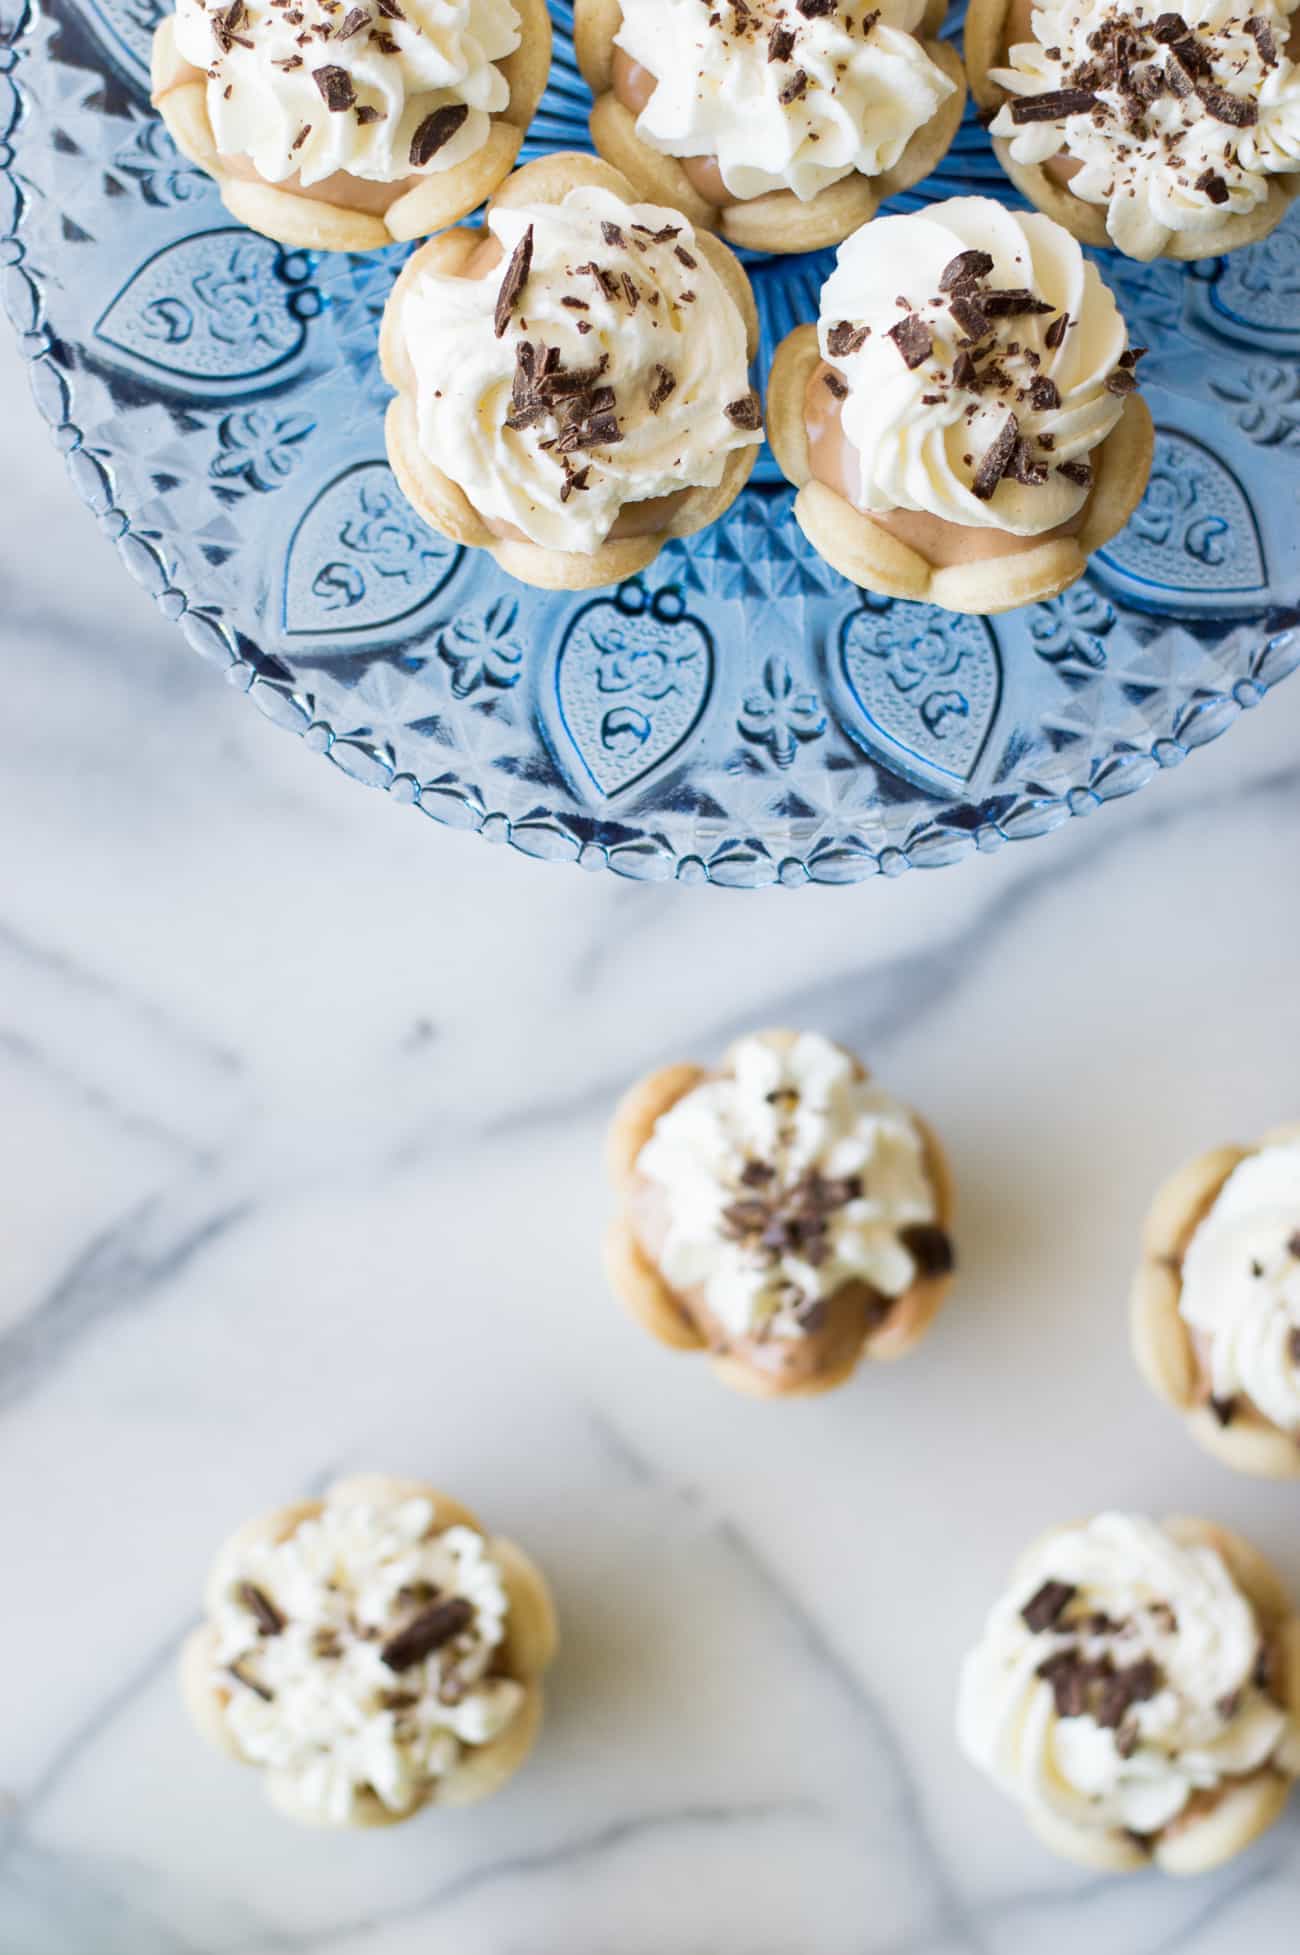
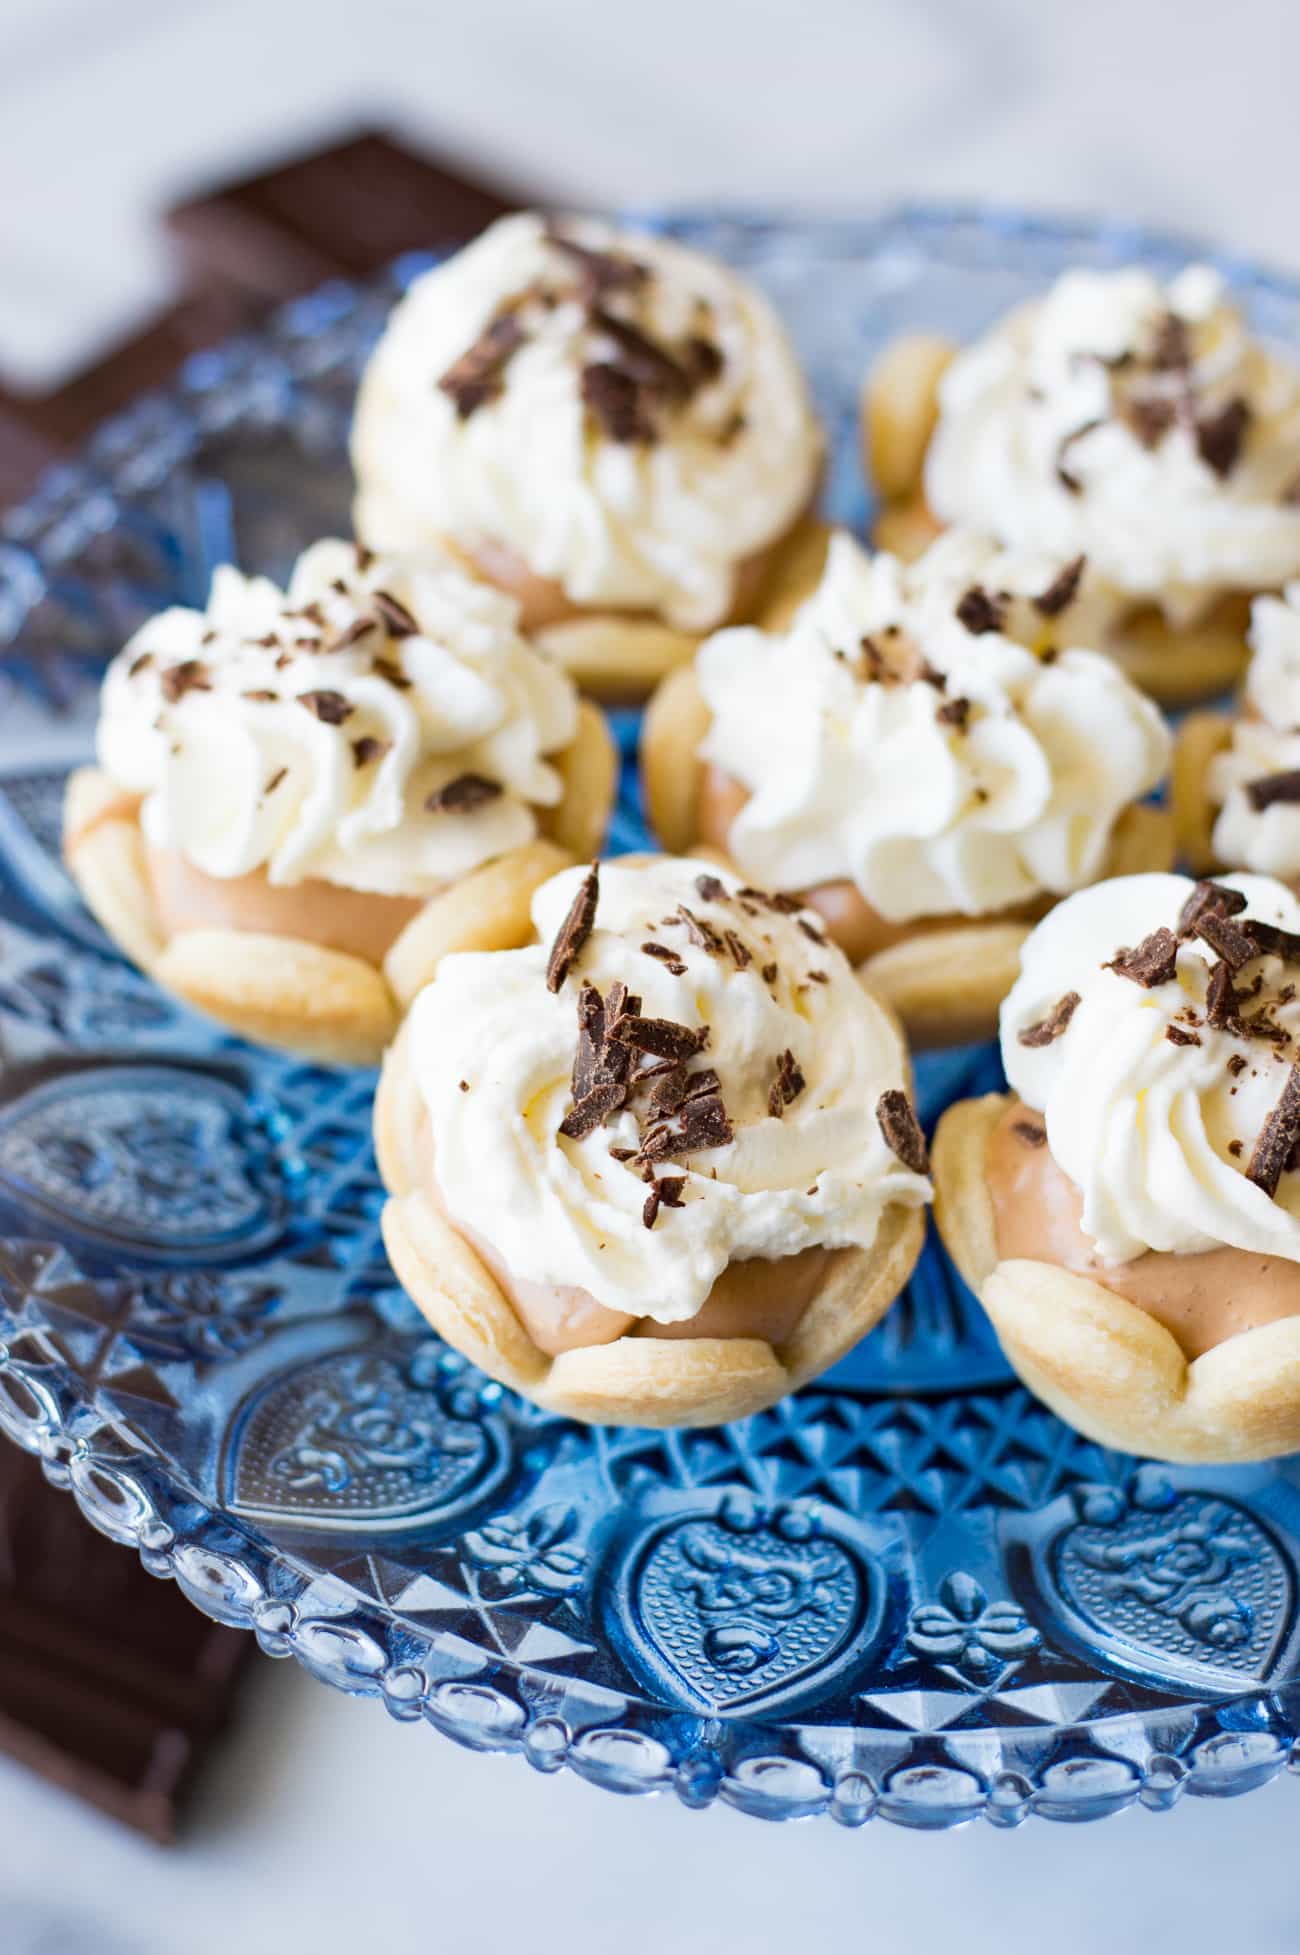
High speed is the best for this recipe. If we don’t mix it fast enough then the eggs aren’t going to whip up nice and fluffy and we won’t have our perfect texture. At the end of the 5 minutes we will be left with creamy, silky, chocolate bliss. Spoon this into the cooled pie crusts, pop them in the fridge and let them chill. Top with whipped cream and of course more chocolate.
***Now here’s the part where I tell you: Yes. This recipe does contain raw eggs. I tried making this with a pasteurized egg product…whomp whomp whomp. Didn’t turn out. Texture was weird. Could have been that I didn’t mix it fast enough, some research advised me that the pasteurized egg stuff should be beaten even faster and longer to whip to perfection.
But I also made batches with real eggs. I had no issues. After lots of research I found, this is how French silk pies are made. And lots of people actually eat raw eggs. If you are pregnant, nursing, or have a weakened immune system, I would recommend not eating raw eggs, but guys..I’m not a doctor. So proceed at your own risk. The pasteurized egg stuff will work just fine. It tastes good! I just wanted to master the perfect texture. It’s your choice!

Mini French Silk Pie

Ingredients
- 2 pie crusts
- 2 oz bittersweet chocolate I used Ghirardelli -melted and cooled
- ¾ cup sugar
- ½ cup butter softened to room temperature
- ½ tsp vanilla extract
- 2 large eggs
Whipped Cream
- 1 cup heavy cream
- ¼ cup powdered sugar
- ½ tsp vanilla extract
Instructions
- Preheat the oven to 350°F.
- Cut the pie crust into round circles about 3 inches across, or use flower cookie cutters.
- Bake for approximately 7 minutes. If the bottom of the pies puff up gently press a fork into the pie crust to deflate it. Allow the pie crusts to cool in the pan about 5 minutes then remove to continue cooling on a wire rack. You will be able to make about 30 mini pie crusts with 2 pre-made pie crusts (this will require taking the scraps and re-rolling the dough out).
- To make the pie filling you will need to melt the chocolate and allow it to cool. It should still be stirrable but cool. Melt in the microwave heating in 30 second increments and stirring in between until all chocolate is melted.
- Add white granulated sugar to the blender or processor and pulse until sugar is powder like and ultra fine.
- In mixer cream the butter and the ultra fine sugar together. Pour in the cooled melted chocolate and mix until combined. Scrape the sides to ensure completely mixed.
- Add in the vanilla extract and mix on low to combine.
- Add in one egg, cold from the fridge. Mix on high speed for 5 minutes.
- Scrape the sides and add the second egg, cold from the fridge. Mix for another 5 minutes on high speed. The mixture will be smooth and silky. Spoon into the cooled pie crusts and place in the fridge to allow the filling to set for about 2 hours.
- Prepare the whipped cream by mixing the heavy cream on high speed until thickened, add the powdered sugar and vanilla extract, continue mixing on high speed until stiff peaks form.
- Add the whipped cream to a piping bag and pipe onto the mini pies, I used a Wilton 2C tip. Top with pieces of chopped up chocolate.
- Serve and enjoy! Store in the refrigerator.
Equipment
- flower cookie cutters
Notes
Nutrition
Nutrition information is automatically calculated, so should only be used as an approximation.
Recipe adapted from Pioneer Woman.
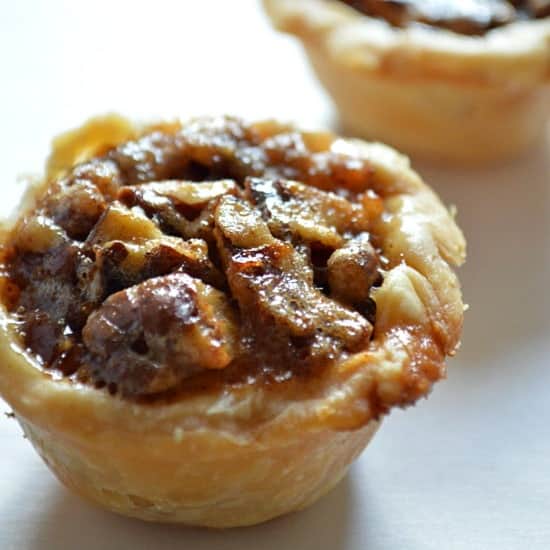
Make sure you check these mini pies too:

Can I make the chocolate filling ahead of time?
Yes! You can make that ahead and just store it in the refrigerator.
Followed this recipe to a T and it was wonderful! Will definitely make this again! Great taste and texture. Loved it!
Can this be made into 2 single pies vs minis? If so, does the recipe require altering at all?
The filling amount would equal one full pie. To make two pies, you will need to double the recipe. And it wouldn’t need any altering. Pre-bakethe pie crust completely, the bake time could be different.
I made these for a get-together and they were super duper delicious!
Unfortunately trying to make the “ultra-fine” powdered sugar with my blender didn’t work at all so I had to start the filling over. For the second attempt, I used store-bought powdered sugar, and then the filling turned out perfect! The ultra-fine powdered sugar is definitely not a necessity!